9 Day South Island Road Trip Itinerary: Queenstown, Wanaka & Mount Cook in Winter
New Zealand had been on our travel list for years, and after finally visiting, it completely lived up to the hype. For our first trip, we wanted to experience the South Island a little differently. Travelling in August meant lots of snow-capped mountains, skiing, winter hikes and beautiful alpine scenery that New Zealand is famous for.
This 9 day South Island road trip itinerary starts and ends in Queenstown, travelling through Glenorchy, Arrowtown, Wanaka, Lake Pukaki and Aoraki/Mount Cook along the way. The route gives you a great mix of skiing, hiking, scenic drives, small towns and some of the best mountain landscapes on the South Island without trying to cover too much ground.
Hiring a car from Queenstown Airport made it easy to explore at our own pace and stop whenever the scenery was too good to drive past which happened a lot. If you’re planning a New Zealand winter itinerary and don’t mind the cold, this route is a great option for experiencing Queenstown in winter while also getting to see the best of a South Island road trip.
Our 9 Day South Island Winter Road Trip at a Glance
Day 1: Arrive in Queenstown, Fergburger and explore the lakefront
Day 2: Beginner ski lessons at The Remarkables
Day 3: Full ski day at The Remarkables and Queenstown
Day 4: Deer Park Heights, Glenorchy day trip and Coronet Peak night skiing
Day 5: Queenstown to Wānaka via Arrowtown, Cardrona Hotel and Blue Pools
Day 6: Wānaka to Aoraki/Mount Cook and Hooker Valley Track
Day 7: Sealy Tarns Track and Tasman Glacier Lake
Day 8: Mount Cook to Queenstown via The Secret Sauna at Lake Hāwea
Day 9: Final morning in Queenstown and fly home
Total Trip Cost
Driving in Winter
What to Pack
Day 1: Arrive in Queenstown
We flew from Sydney to Queenstown with Virgin Australia. The views flying into Queenstown were absolutely unreal and made for one of the most scenic arrivals we’ve experienced anywhere. We were seated on the left side of the plane coming into Queenstown and had endless views over the snow-capped mountains below us. If you can, make sure you book a window seat when flying into Queenstown.
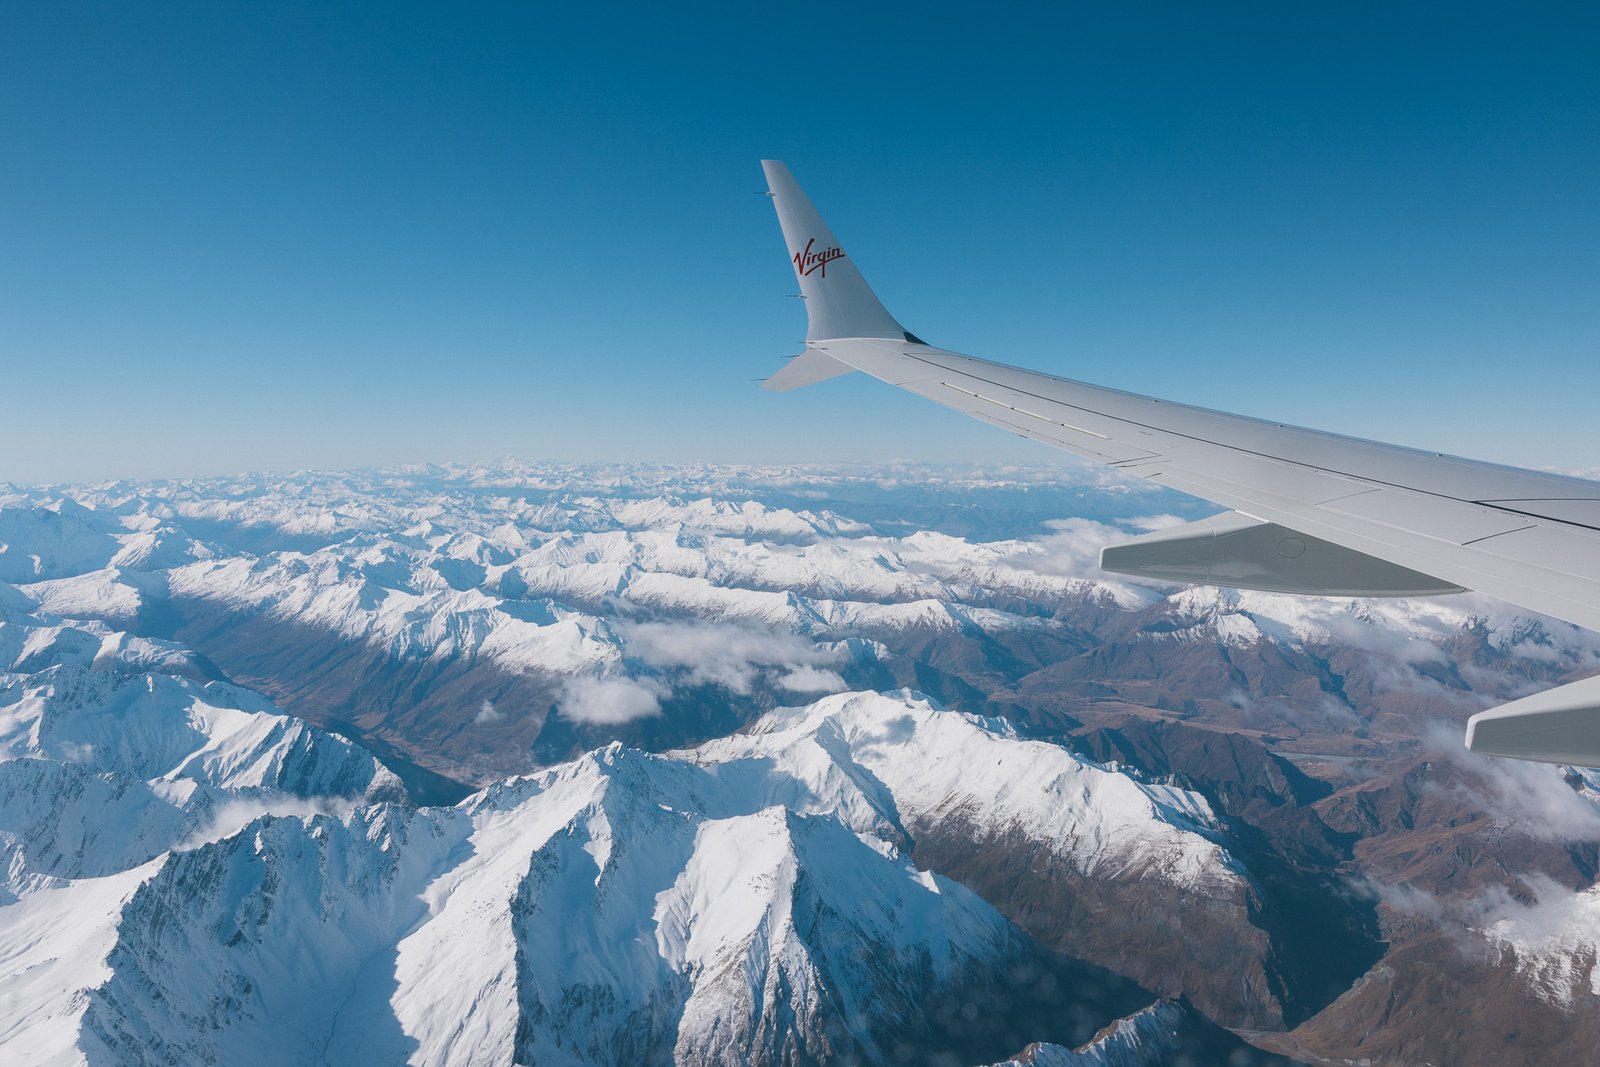
Once we’d landed, we collected our NZSki passes at Queenstown Airport. There’s a MyPass kiosk near the baggage claim area where you can scan your online booking and collect your physical ski-pass cards. There was no queue when we arrived, so it took hardly any time and meant we didn’t have to organise them in town or at The Remarkables the following morning.
Hiring a Car in Queenstown
For our South Island road trip itinerary, we hired a RAV4 AWD from GO Rentals at Queenstown Airport. If you’re renting a car during winter, adding snow chains is worth considering. Even if you never need to fit them, some mountain roads require you to carry them and weather can change quickly throughout the South Island. It’s also a good idea to learn how to fit the chains before leaving rather than trying to figure it out for the first time in the snow.
Queenstown centre is around a 15–20 minute drive from the airport depending on traffic. One thing that surprised us was how quickly the roads around Queenstown could become congested, particularly during peak periods, so allow some extra time when planning your days.
Our First Afternoon in Queenstown
We were starving by the time we arrived, so we headed straight to Fergburger to try Queenstown’s famous burgers. There’s almost always a line, but it moved surprisingly quickly. The burgers themselves weren’t anything overly complicated, but everything tasted incredibly fresh and they definitely hit the spot after the flight.
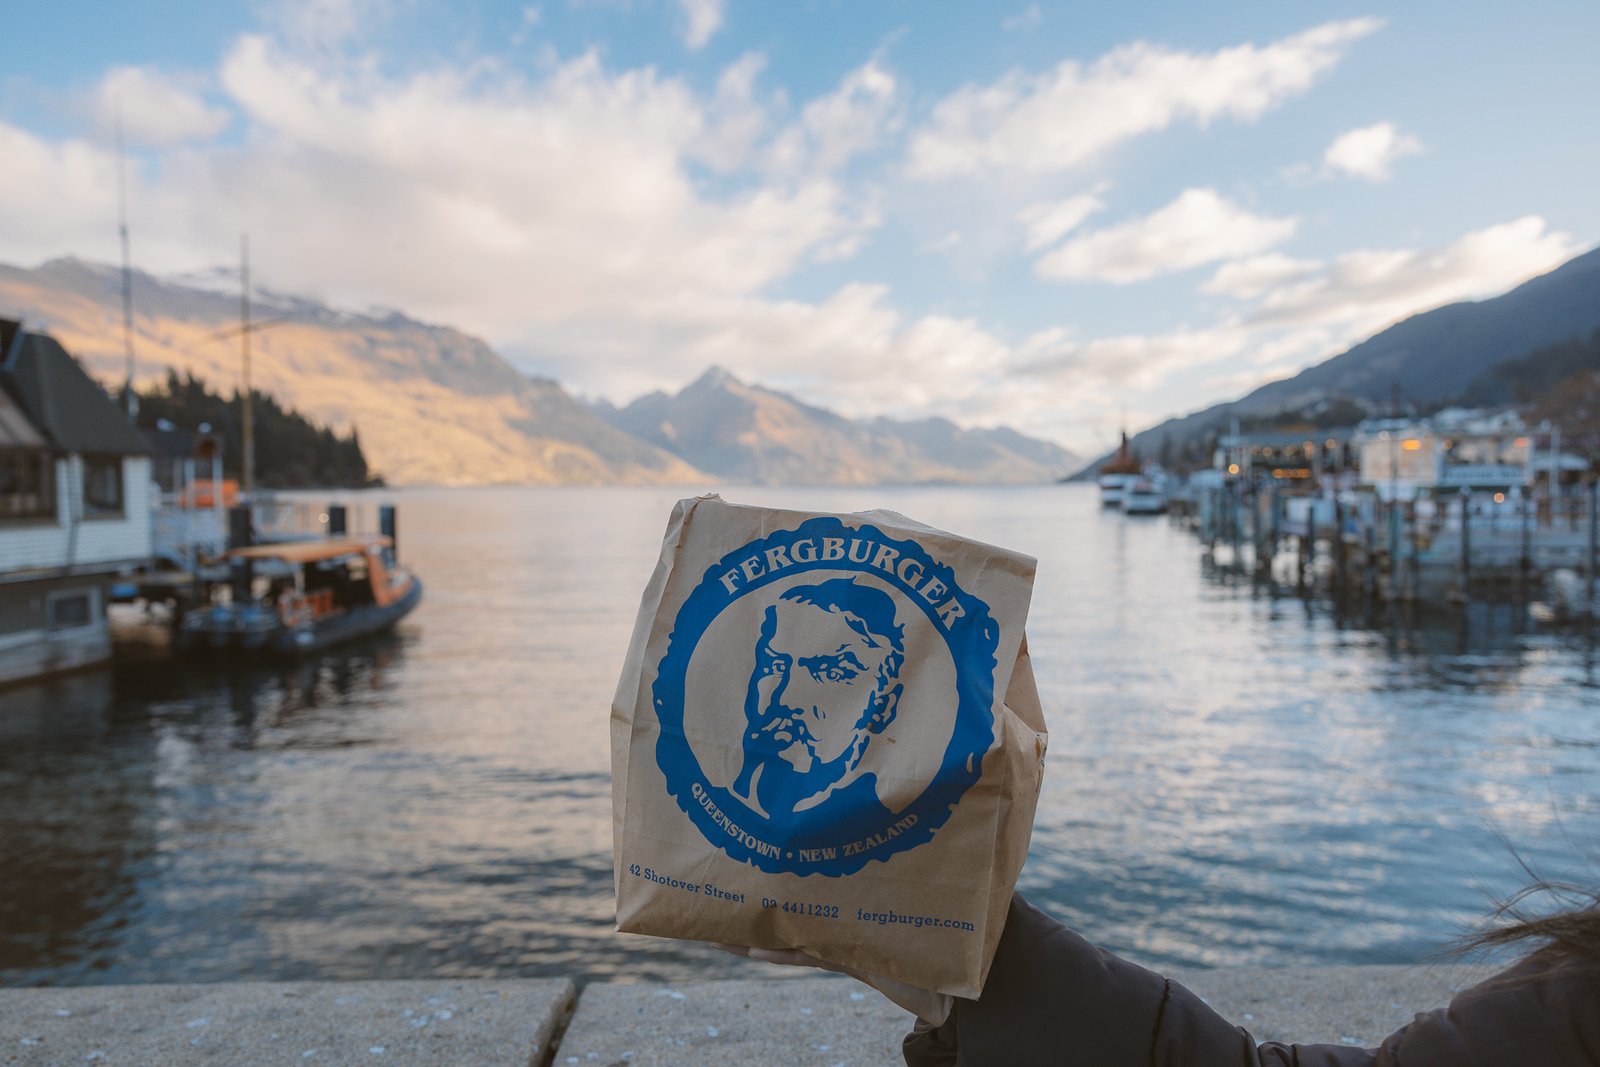
Spend the rest of the afternoon wandering around Queenstown and the waterfront, taking in your first proper views of Lake Wakatipu surrounded by snowy mountains. Before leaving town, we picked up our ski and snowboard gear from Snowbiz so we were ready to head straight to the mountain the following morning. We also stopped at Woolworths at Five Mile in Frankton to stock up on groceries and supplies for the next few days.
Where We Stayed in Queenstown
For our first four nights, we stayed in an Airbnb at Jacks Point and absolutely loved the location. Jacks Point is close to the access road for The Remarkables and was around a 30-minute drive from the ski area, making it a great base for the skiing portion of our trip. We also avoided having to drive through central Queenstown every morning, where traffic can add quite a bit of time to the journey.
The trade-off is that there’s very little around Jacks Point itself. Five Mile is around 15 minutes away and central Queenstown around 20 minutes, so if you’d rather be within walking distance of restaurants, shops and the lakefront, staying in Queenstown itself will probably suit you better.
If you don’t want to stay in an Airbnb, search for hotels around Frankton and Five Mile for convenience, or central Queenstown if you’d prefer to be close to restaurants and the lakefront.
Find accommodation in Queenstown
Day 2: Beginner Ski Lessons at The Remarkables
Our second day was the beginning of the skiing part of our South Island road trip itinerary, with the next two days dedicated to skiing in Queenstown. Leave Jacks Point early to beat the morning traffic and make your way up The Remarkables access road before sunrise. The views on the way up are beautiful, and we pulled over at one of the stopping areas to watch the sky light up over the mountains. Getting there early also means you’re able to park in the upper car park and walk a couple of minutes to the base building rather than parking further down and taking a shuttle.
Ski Lessons in Queenstown
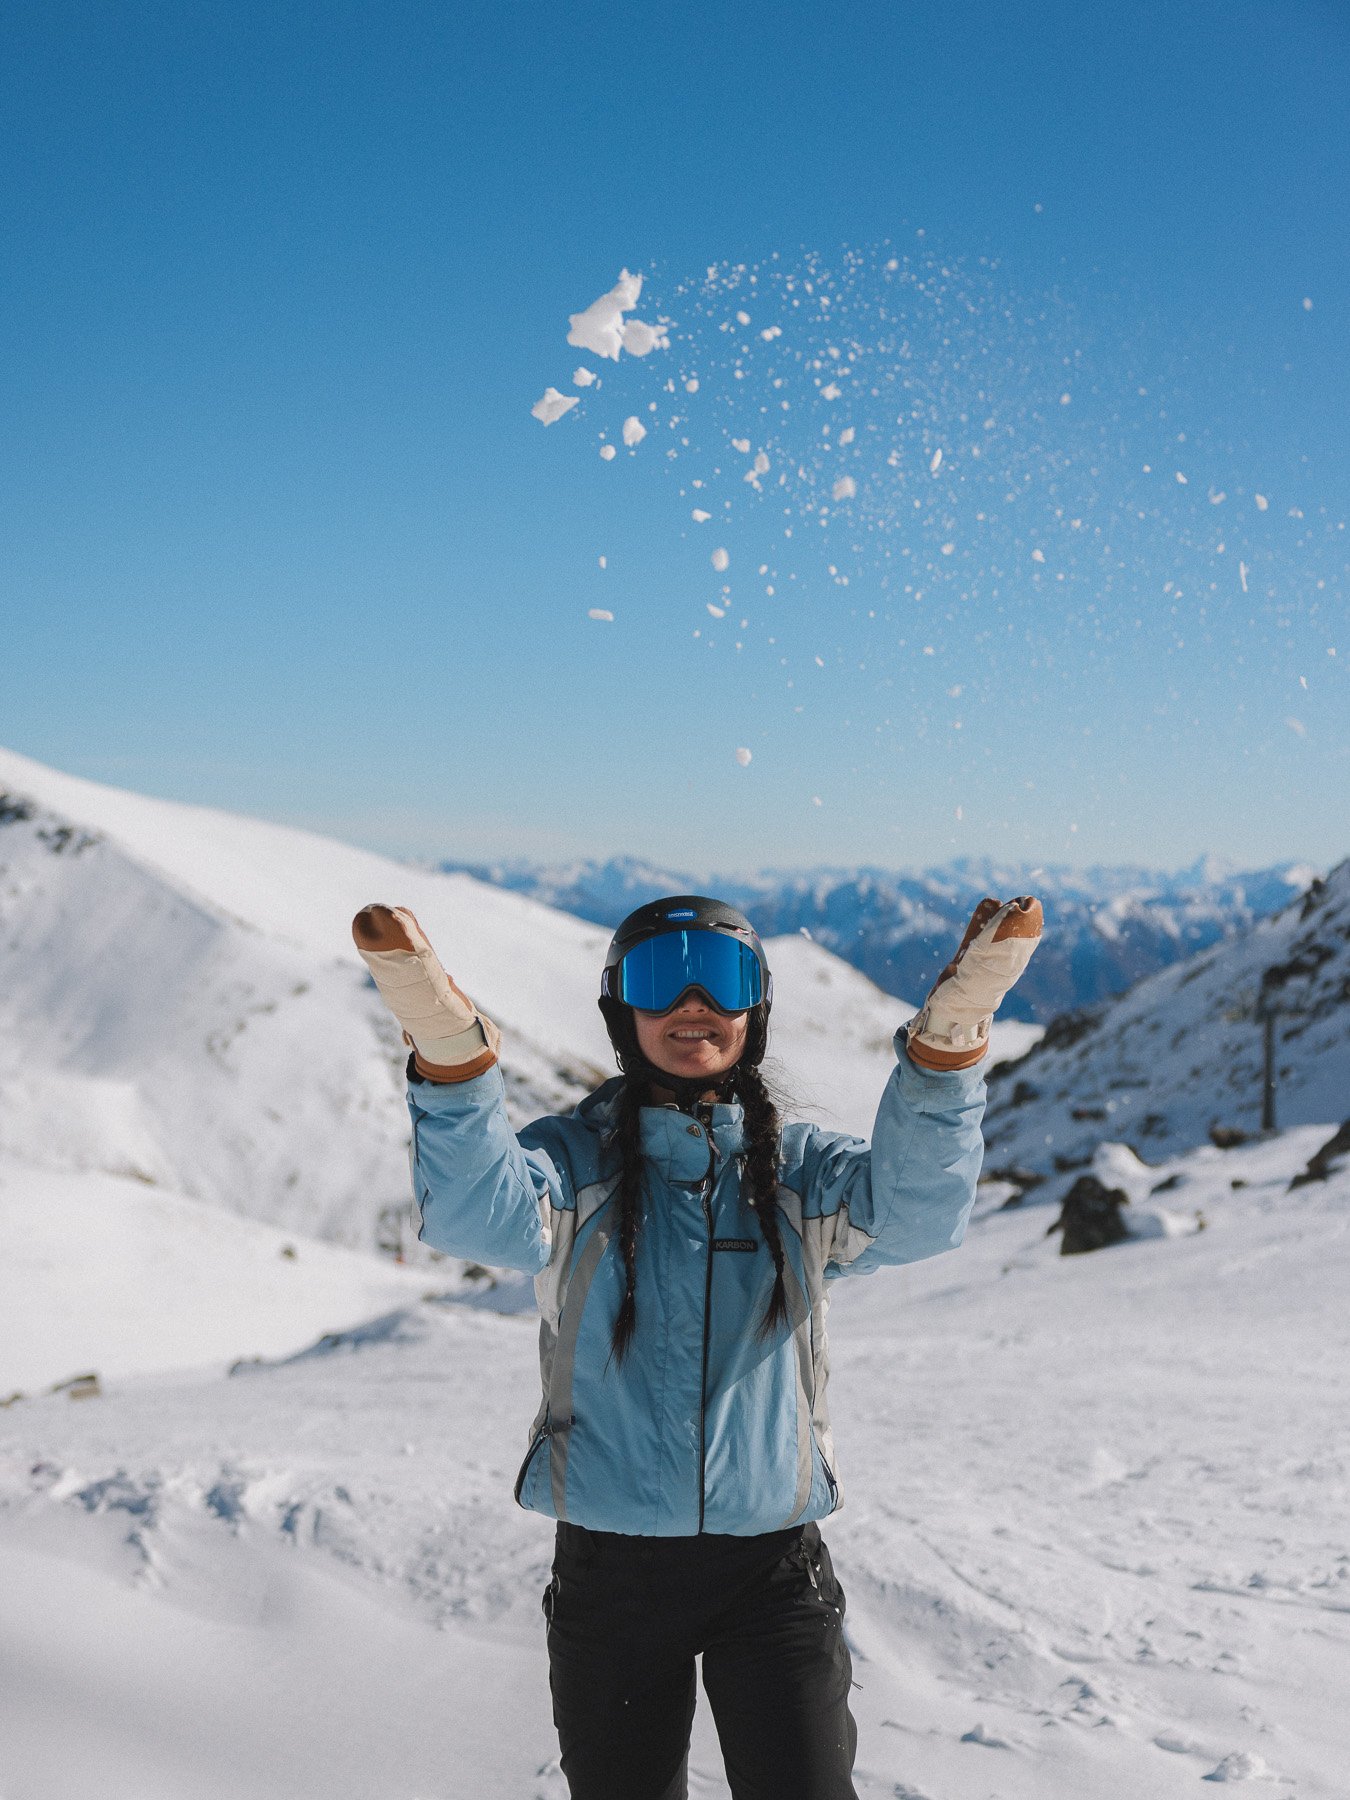
If it’s your first time ever on skis or a snowboard, we’d definitely recommend taking a lesson. Beginner lessons go through the fundamentals, from getting your equipment on to stopping safely and learning how to move around on the snow. If you’ve already spent some time on the snow and know those basics, a lesson aimed at progressing onto green runs is more worthwhile, as you’ll start working on things like turns and using the chairlifts.
Lessons run from around 10am until 3pm, including a lunch break, and they are such a good way to build your confidence. By the end of the lesson we were able to make our way around some of the easier green runs. With the lifts closing at 4pm, we spent the last hour practicing everything we’ve learnt on our own.
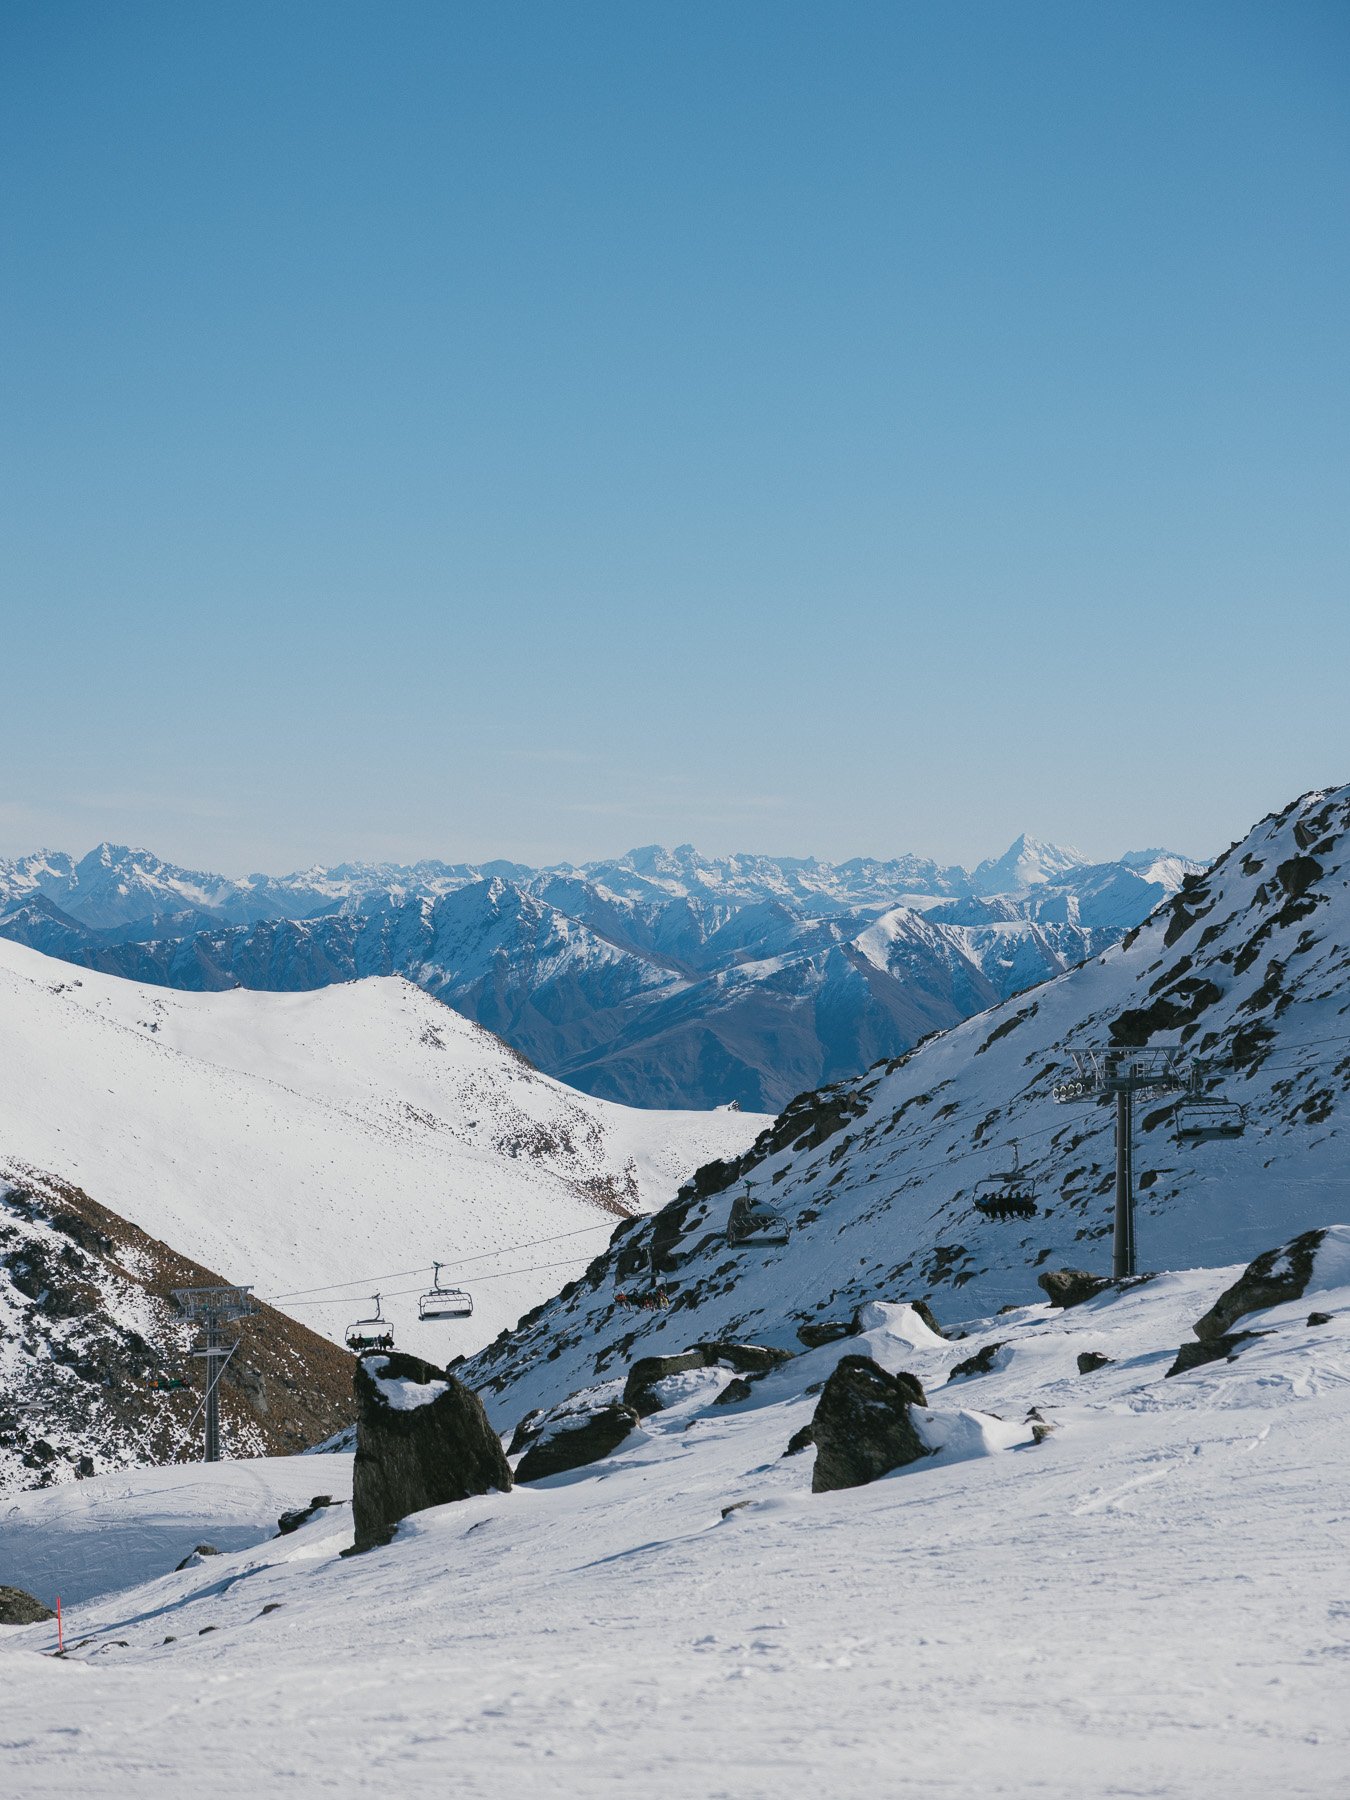
Tip: Pack your own lunch for the mountain, which saves you from buying every meal at the ski resort.
If you’re planning your own Queenstown ski trip, you can browse and book Queenstown ski experiences here.
Day 3: Full Ski Day at The Remarkables
After another early start, we were back at The Remarkables Ski Area ready for the first runs as the lifts opened at 9am. Having completed lessons the previous day made such a difference. After starting with a few warm-ups around the learner area, we quickly progressed onto the chairlifts and green runs.
We began with the Alta chairlift before eventually moving onto Sugar Bowl Express. The green Casterway run from Sugar Bowl became one of our absolute favourites. It starts relatively gently before introducing a few slightly steeper sections, and the mountain views are incredible.
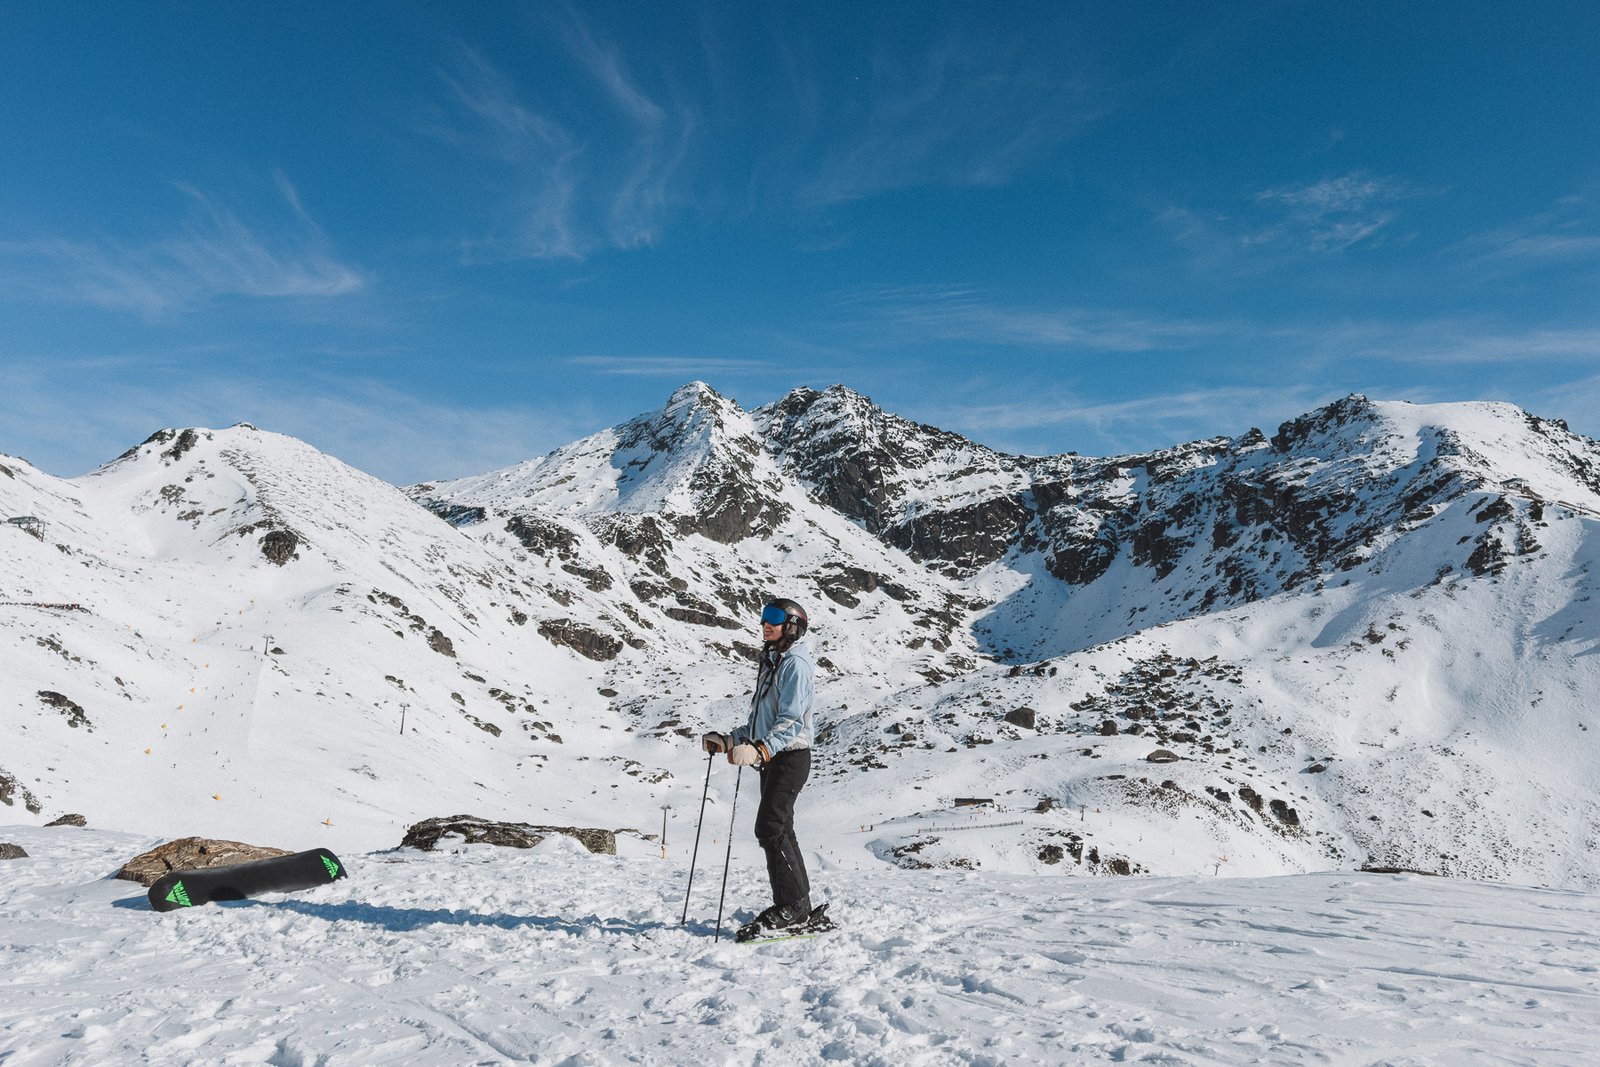
One thing we’d been worried about before our Queenstown ski trip was that, as beginners, we wouldn’t get to experience the epic alpine views you see from the more advanced runs. Thankfully, that wasn’t the case at all. The Remarkables has some beautiful beginner terrain that still takes you high enough to feel completely surrounded by the mountains.
If you’re comfortable tackling some blue intermediate runs, you can also make your way towards the Aperol Ice Bar for a drink with a pretty spectacular backdrop. We skied right up until the lifts closed at 4pm before packing everything up and heading back down the mountain.
Sunset in Queenstown
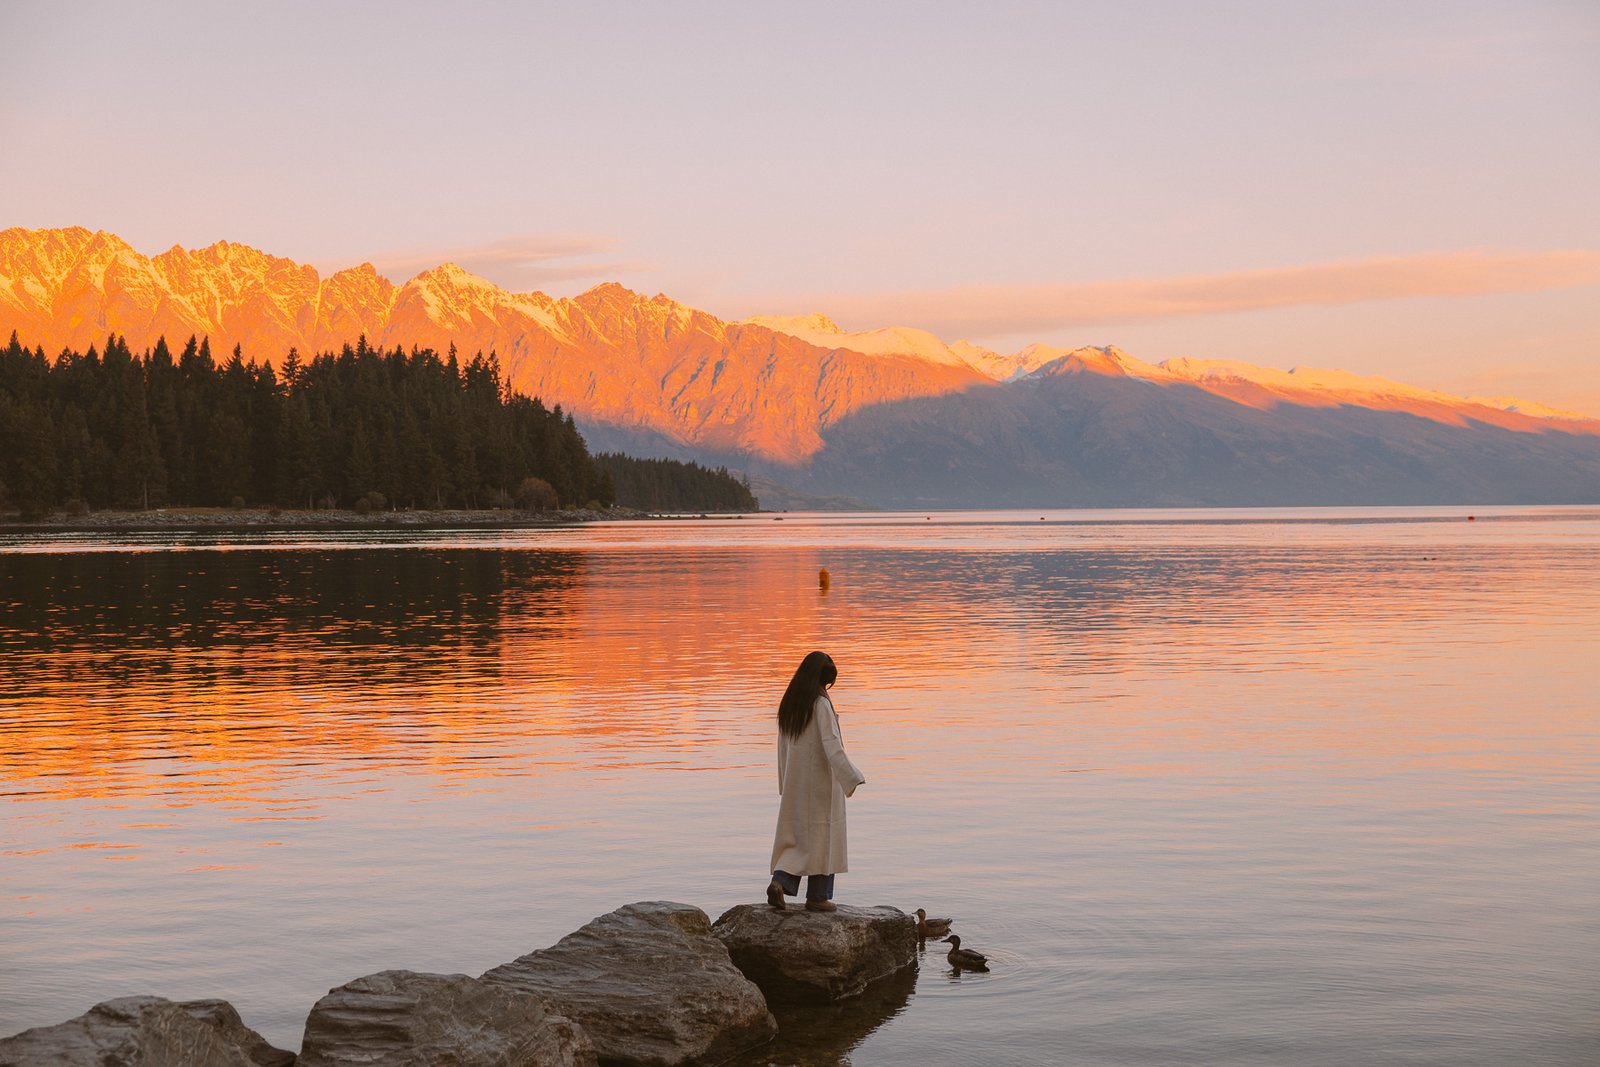
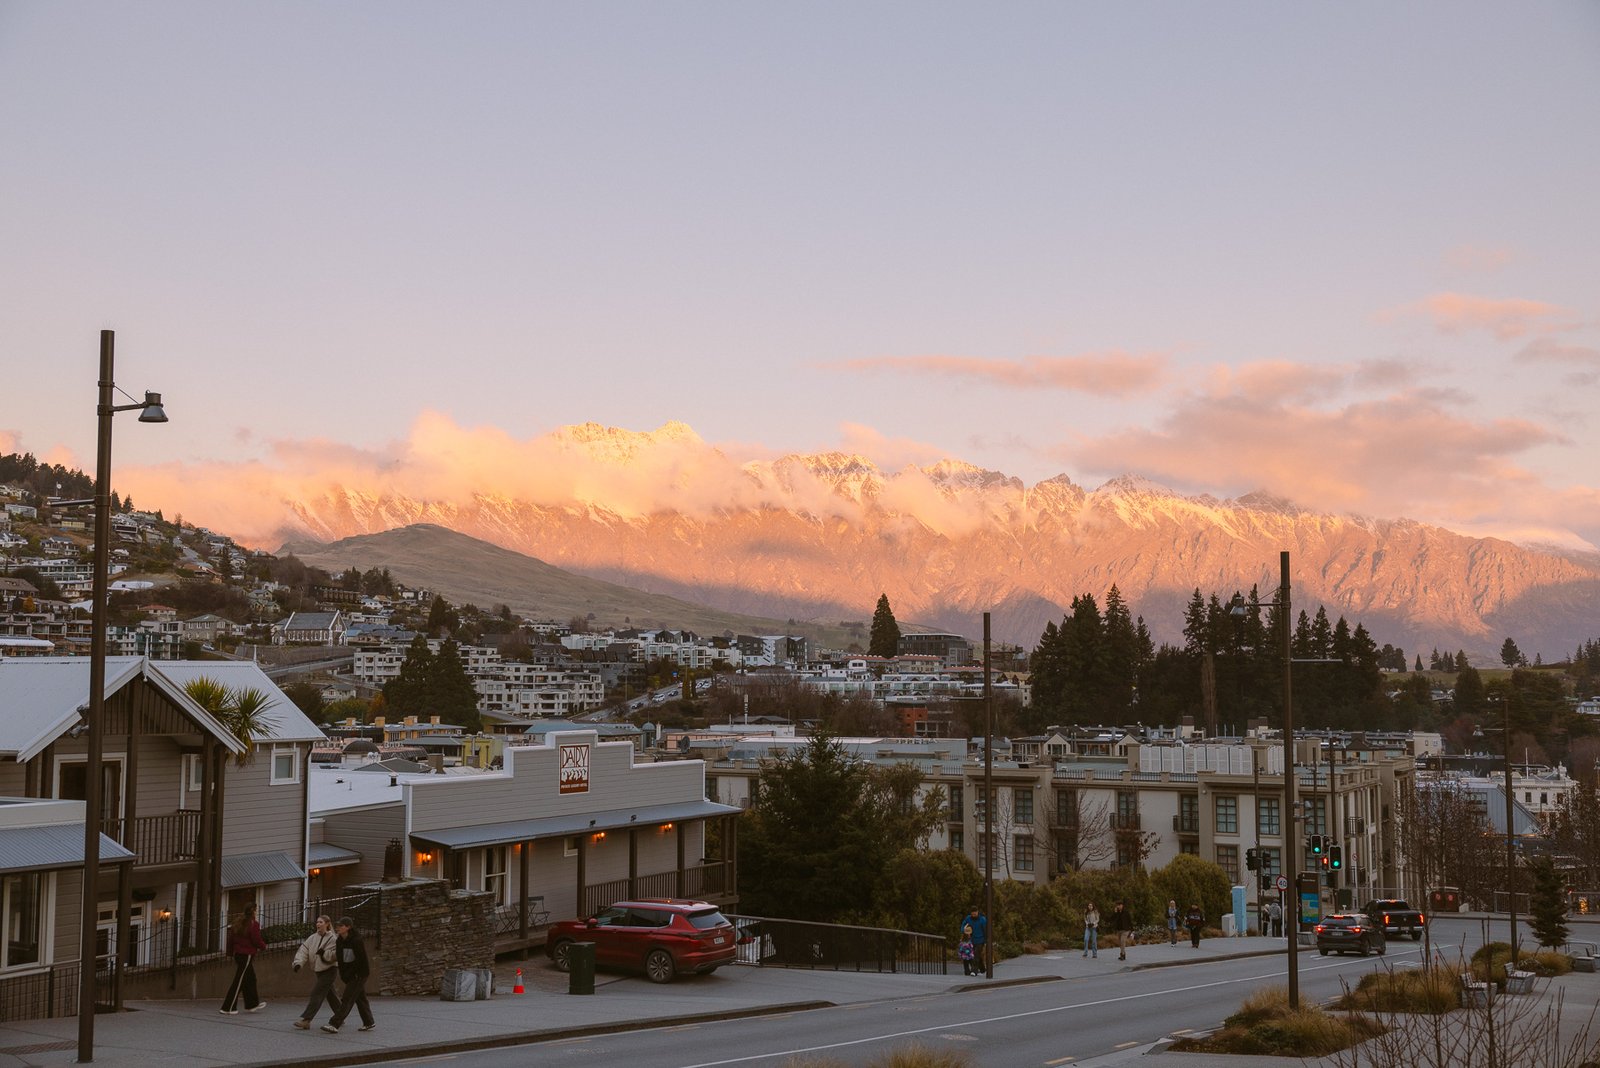
Spend the rest of the afternoon around Queenstown and the lakefront. If you’re driving into town, one of the easiest (and free!) places we found to park was around Lake Esplanade near Saint Omer Park. From there, it’s an easy walk along the lake into the centre of Queenstown. It also became one of our favourite places to watch sunset. Looking across the lake towards the snow-covered mountains was exactly how we’d imagined Queenstown in winter.
Day 4: Deer Park Heights, Glenorchy & Coronet Peak Night Skiing
Day four ended up being one of our favourite days of the entire 9 day South Island road trip itinerary because we managed to fit three completely different experiences into one day.
Deer Park Heights
Start the morning at Deer Park Heights which is a scenic drive high above Queenstown. Entry is NZD $75 per vehicle, and most people spend around two hours slowly making their way around. The views alone are worth the drive. From different points along the route, you’re looking across Queenstown, Lake Wakatipu and the surrounding snow-capped mountains. You’ll also see deer and other farm animals throughout the drive, but our favourites were the huge stags with their incredible antlers towards the end of the loop.
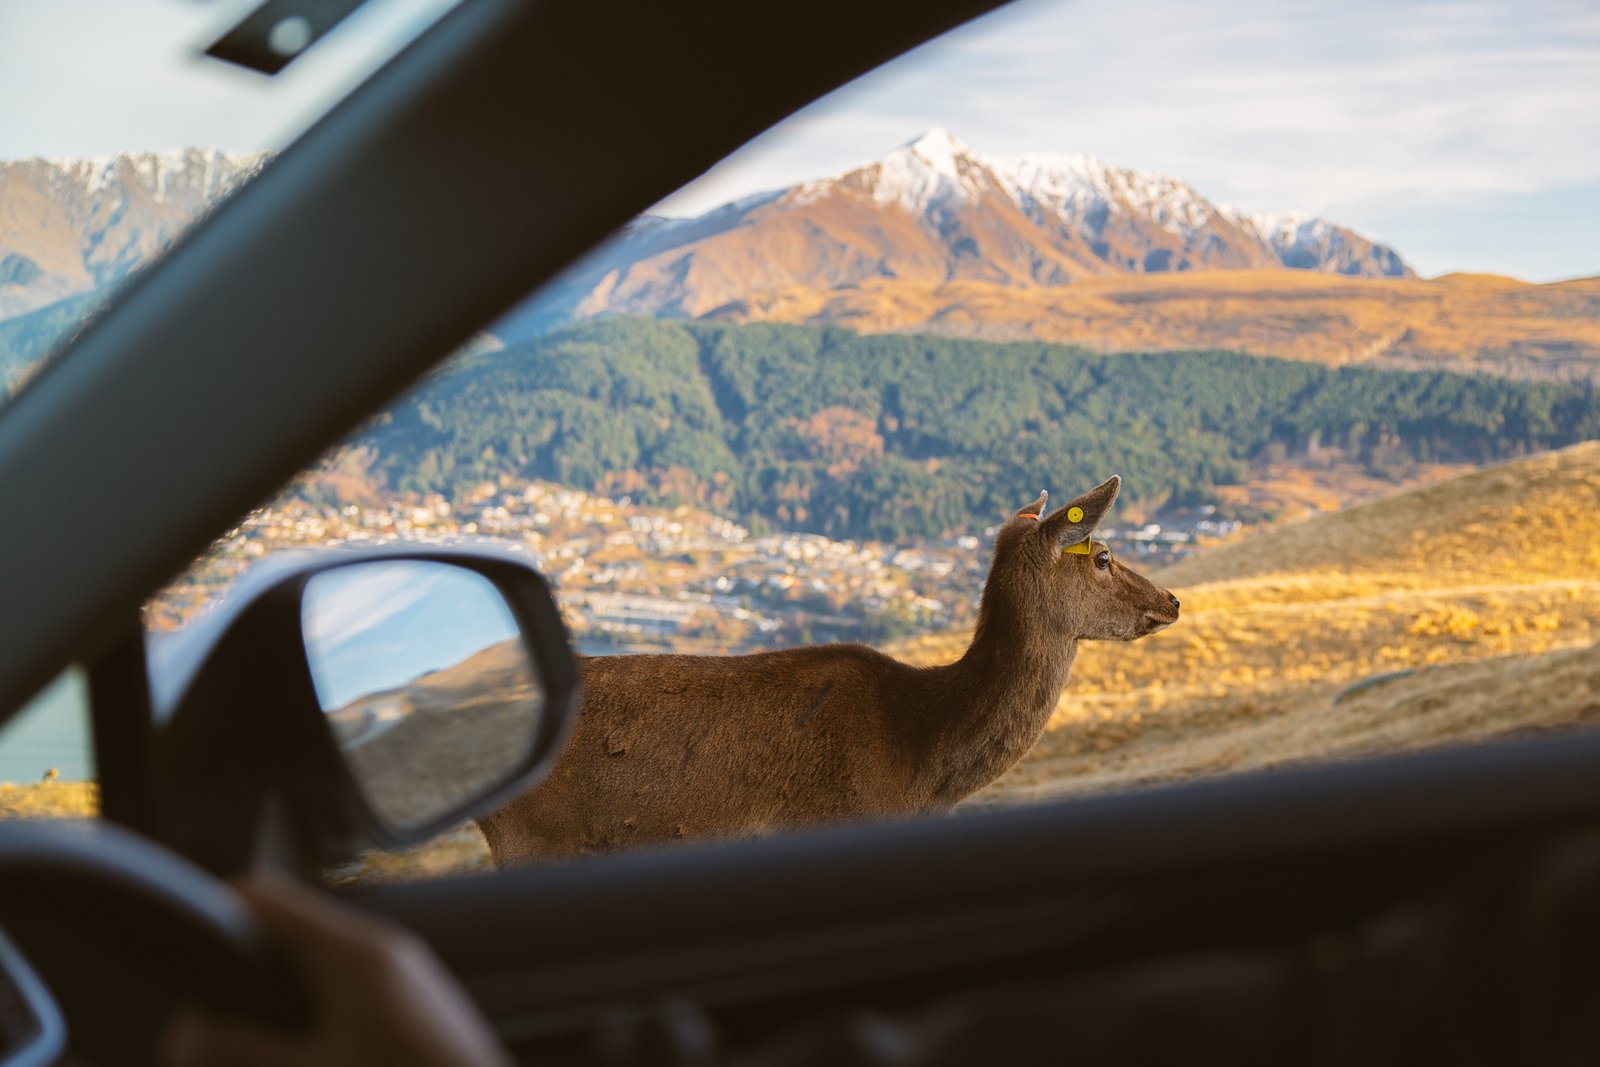
Bookings are limited and often book out in advance, so this is one Queenstown attraction we’d organise ahead of time rather than leaving until the morning you want to visit.
Explore things to do in Queenstown.
Glenorchy Day Trip from Queenstown
From Deer Park Heights, we continued on one of the most scenic drives of the trip and made our way to Glenorchy. The drive takes around an hour from Queenstown. Even without stopping, the drive itself is beautiful as the road winds between the lake and mountains. There are plenty of places to pull over safely and enjoy the scenery along the way.
A Glenorchy day trip wouldn’t be complete without visiting the famous red shed and Glenorchy Wharf. Both are popular photo locations, so don’t expect to have them to yourself unless you come early.
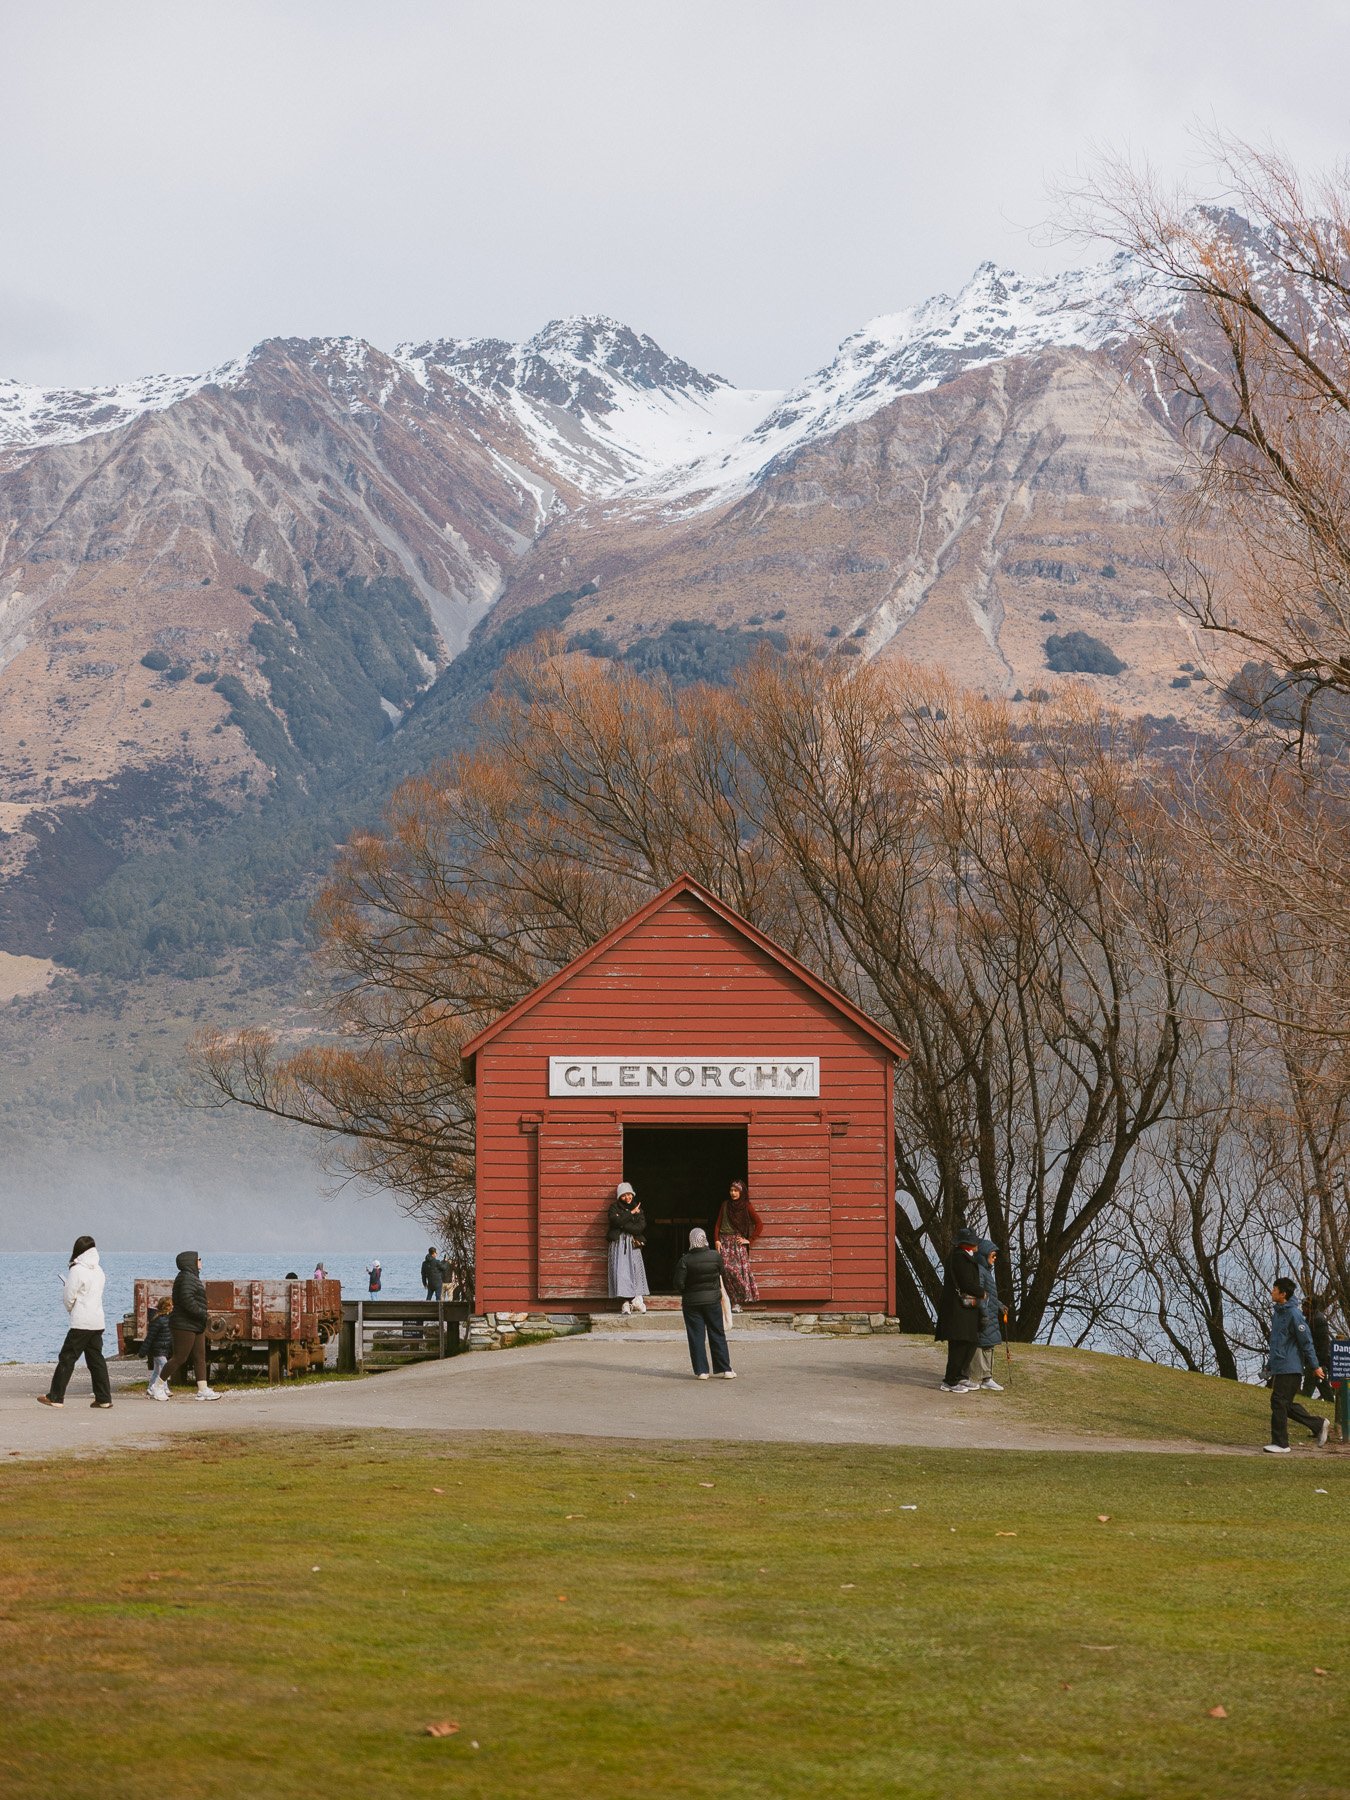
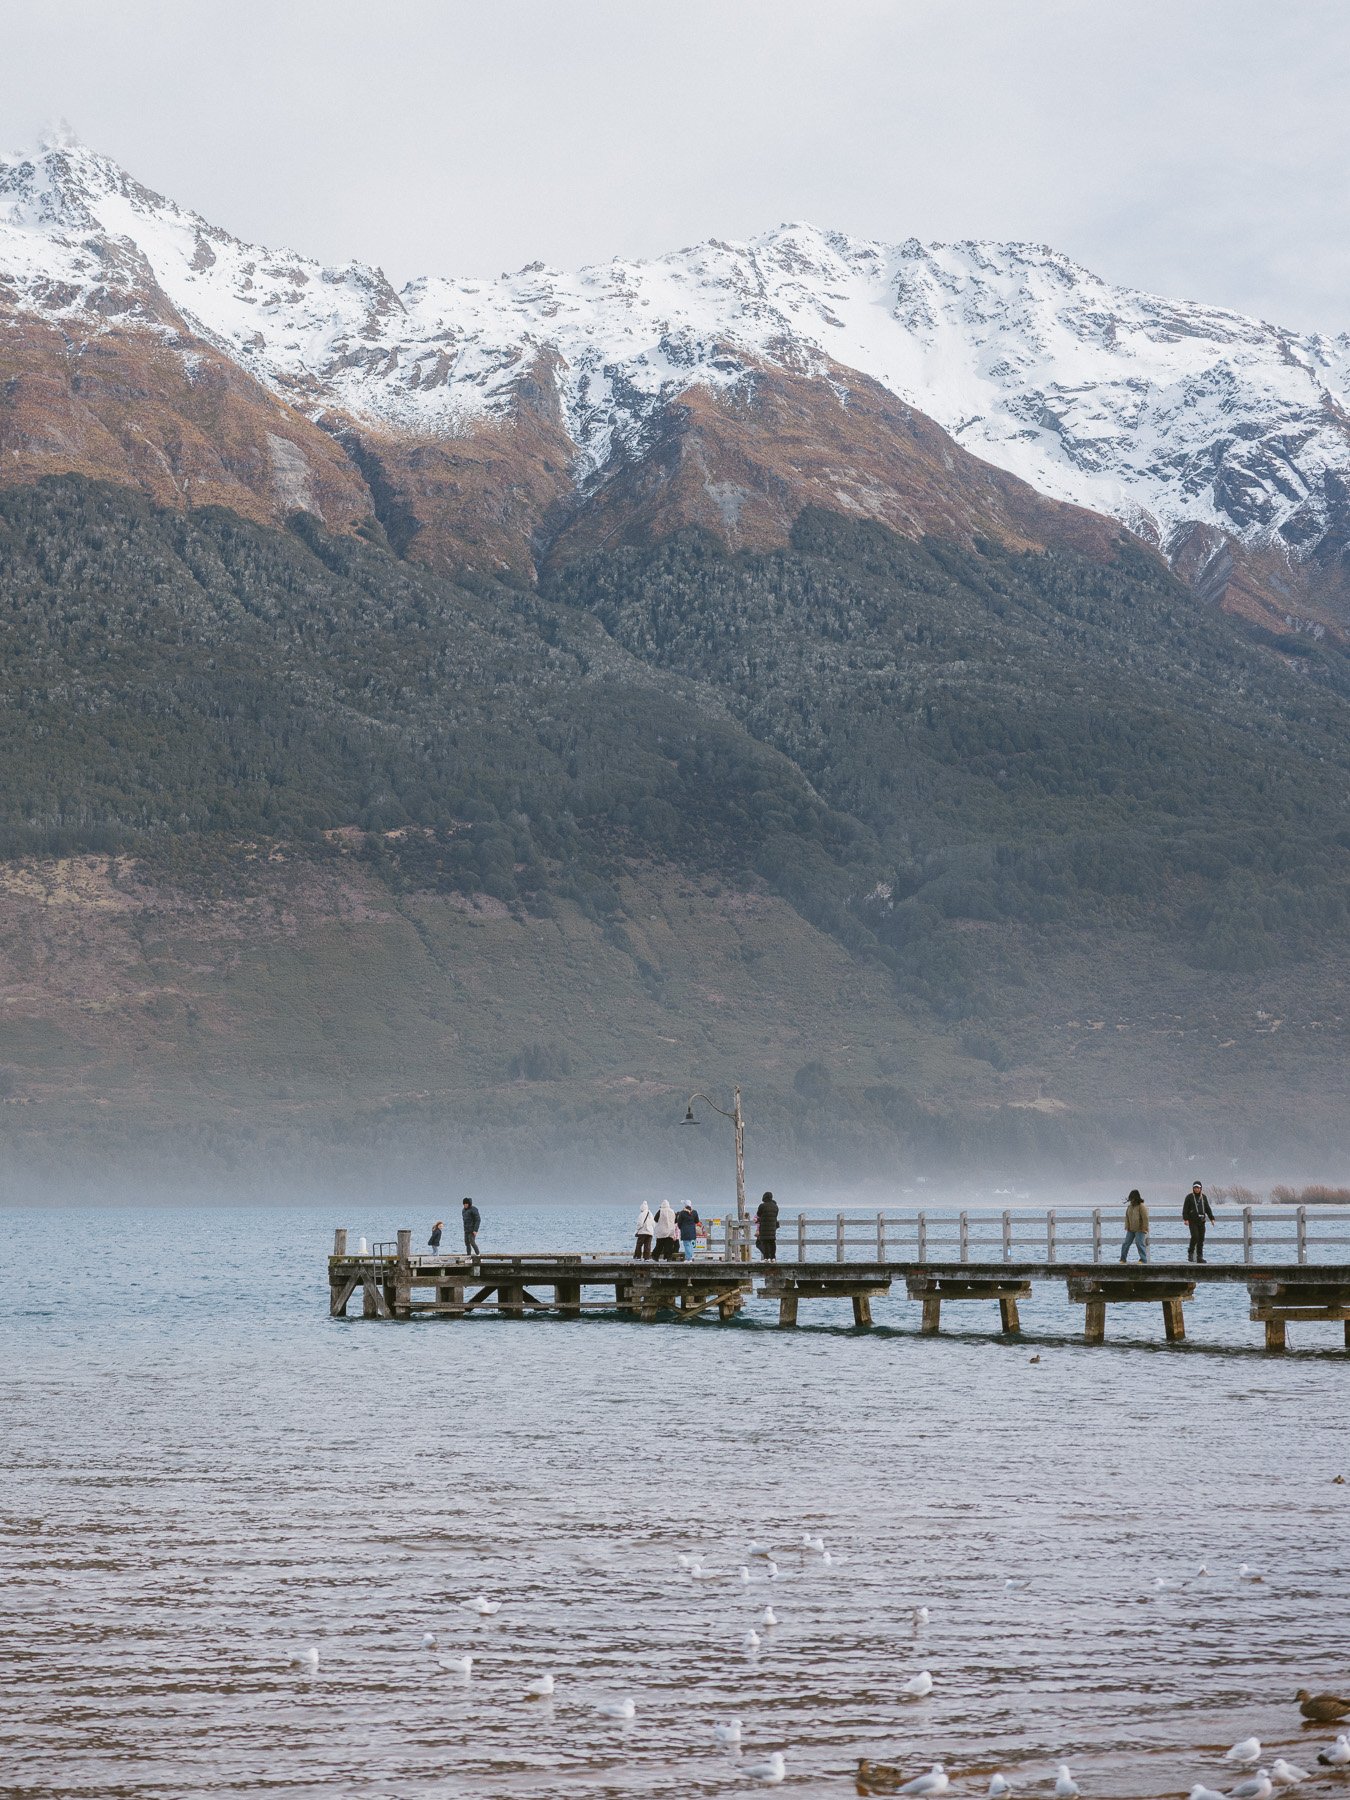
Unfortunately, the weather wasn’t particularly kind to us while we were there and several tour buses arrived around the same time, so Glenorchy felt much busier than we’d expected. The town itself was also smaller than we imagined, so we only ended up spending around half a day here before making our way back towards Queenstown.
If you’d rather not self-drive, you can take a Glenorchy day tour from Queenstown.
Coronet Peak Night Skiing
Now for one of the most memorable parts of our entire trip, Coronet Peak night skiing. After spending two days skiing at The Remarkables, this was such a fun way to finish our time on the slopes.
During the winter season, Night Ski runs at Coronet Peak on Wednesday and Friday nights from July through early September. We had a multi-day Superpass and used our final ski day here. With a Superpass, if your first lift scan at Coronet Peak is after 1pm on a Night Ski day, you can ski through until 9pm. You can also buy a separate Night Ski pass if you don’t want to use a full ski day pass which gives you access from 4pm to 9pm.
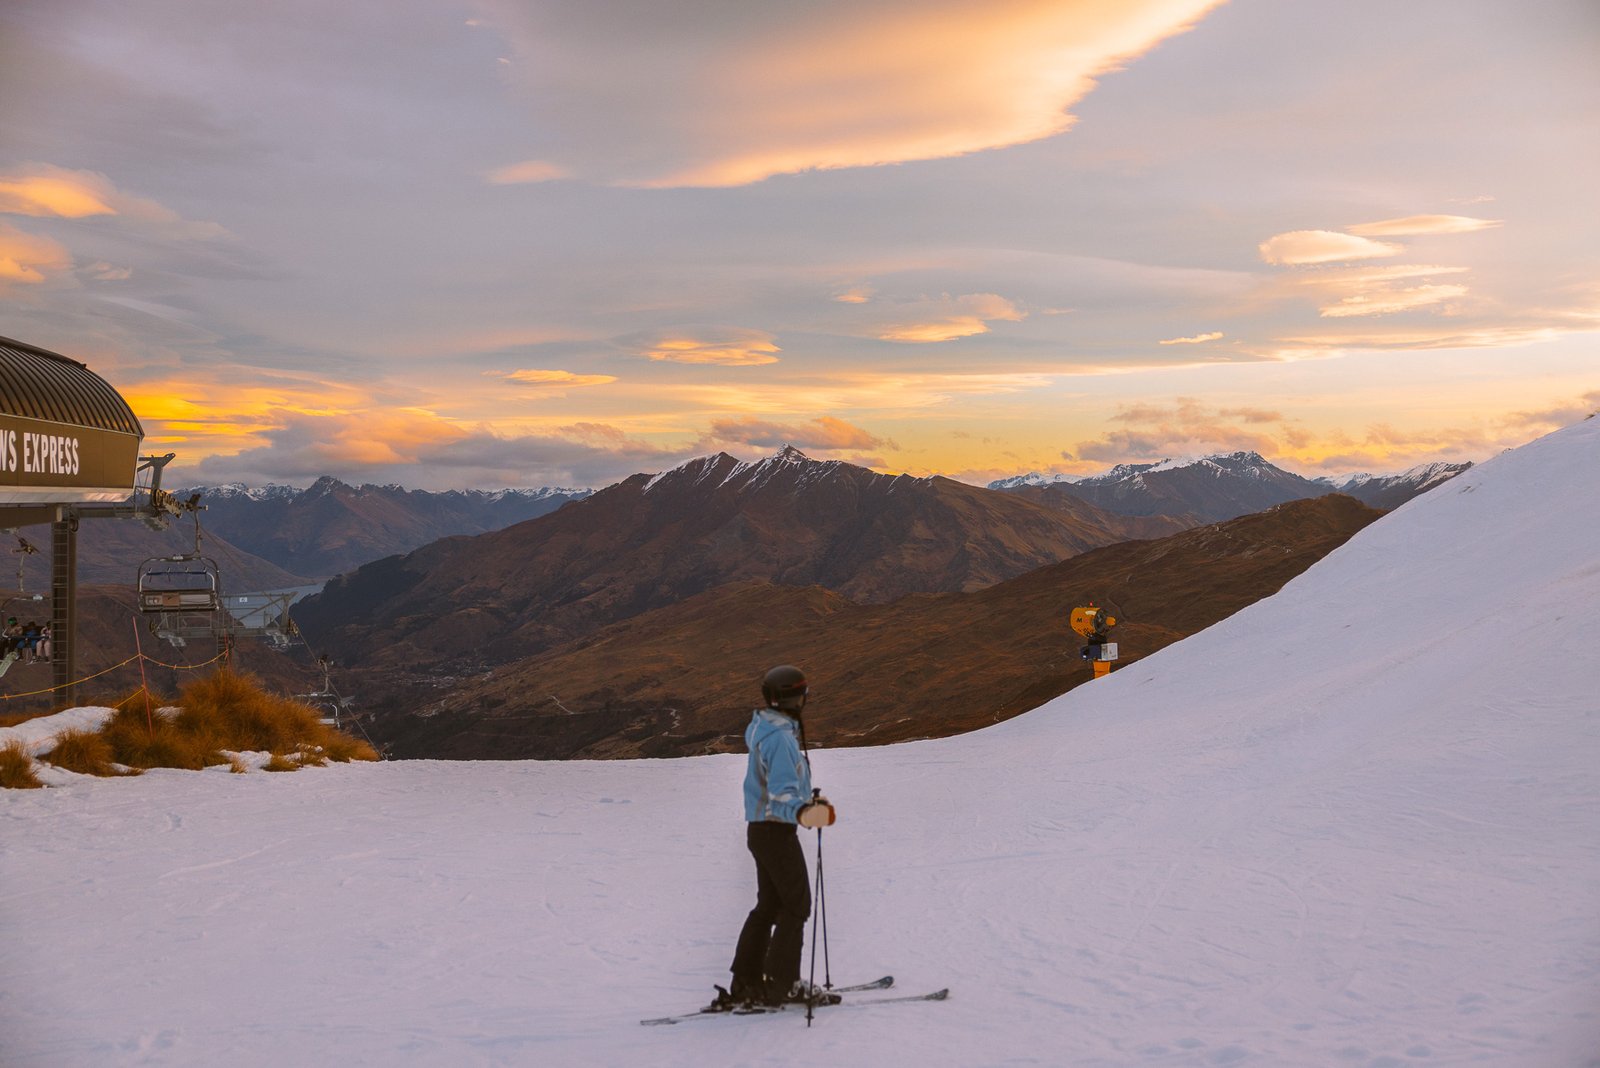
Not every run is open after dark, but we still found night skiing at Coronet Peak completely worth it, especially as beginners. The beginner runs were actually some of our favourite skiing of the trip. The slopes were gentle enough that we felt comfortable, but there were still enough bends to keep things interesting.
The best part was watching the entire atmosphere change as the sun disappeared and the floodlights came on. There was music playing, people gathered around the outdoor fires and the whole mountain had such a fun atmosphere. Sitting around a fire with a hot chocolate between runs was the perfect way to finish our Queenstown skiing experience.
Would we recommend Coronet Peak Night Skiing? Absolutely. Even if you’re a beginner, be sure to make room for this in a winter Queenstown itinerary.
Day 5: Queenstown to Wanaka via Arrowtown, Cardrona & Blue Pools
It’s time to leave Queenstown and begin the road-trip portion of the South Island road trip itinerary. The direct drive from Queenstown to Wānaka isn’t particularly long, but we turned it into a full day by making several stops along the way.
Arrowtown
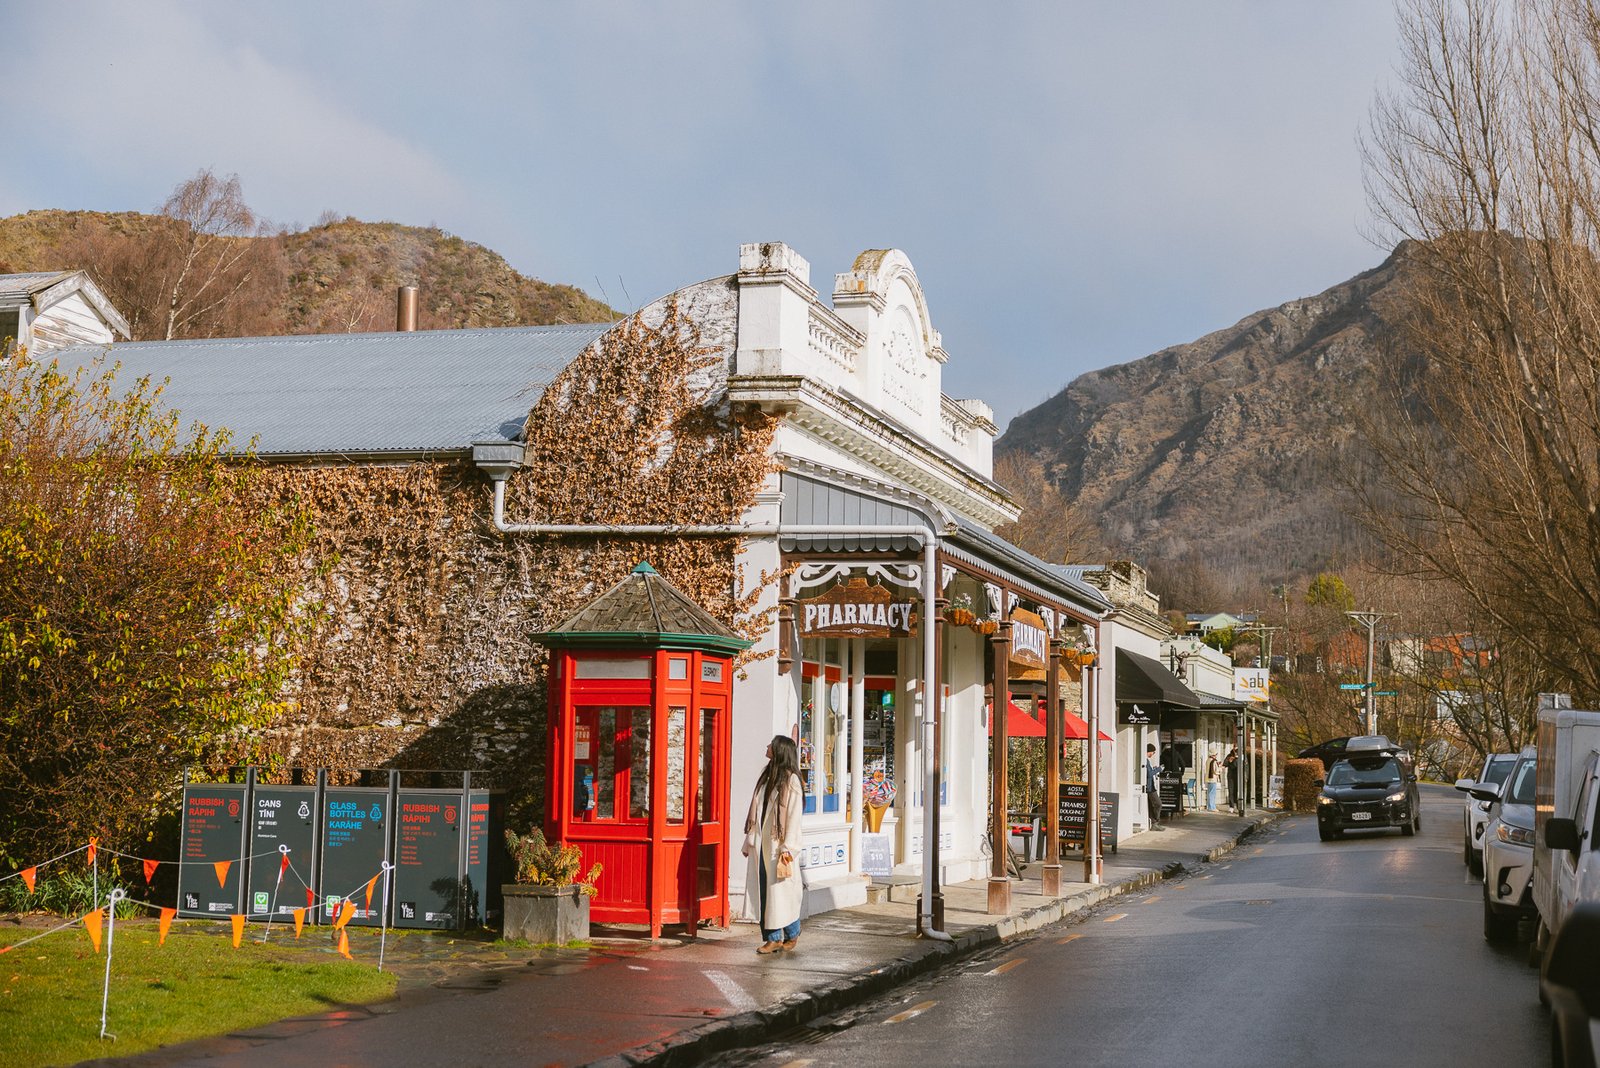
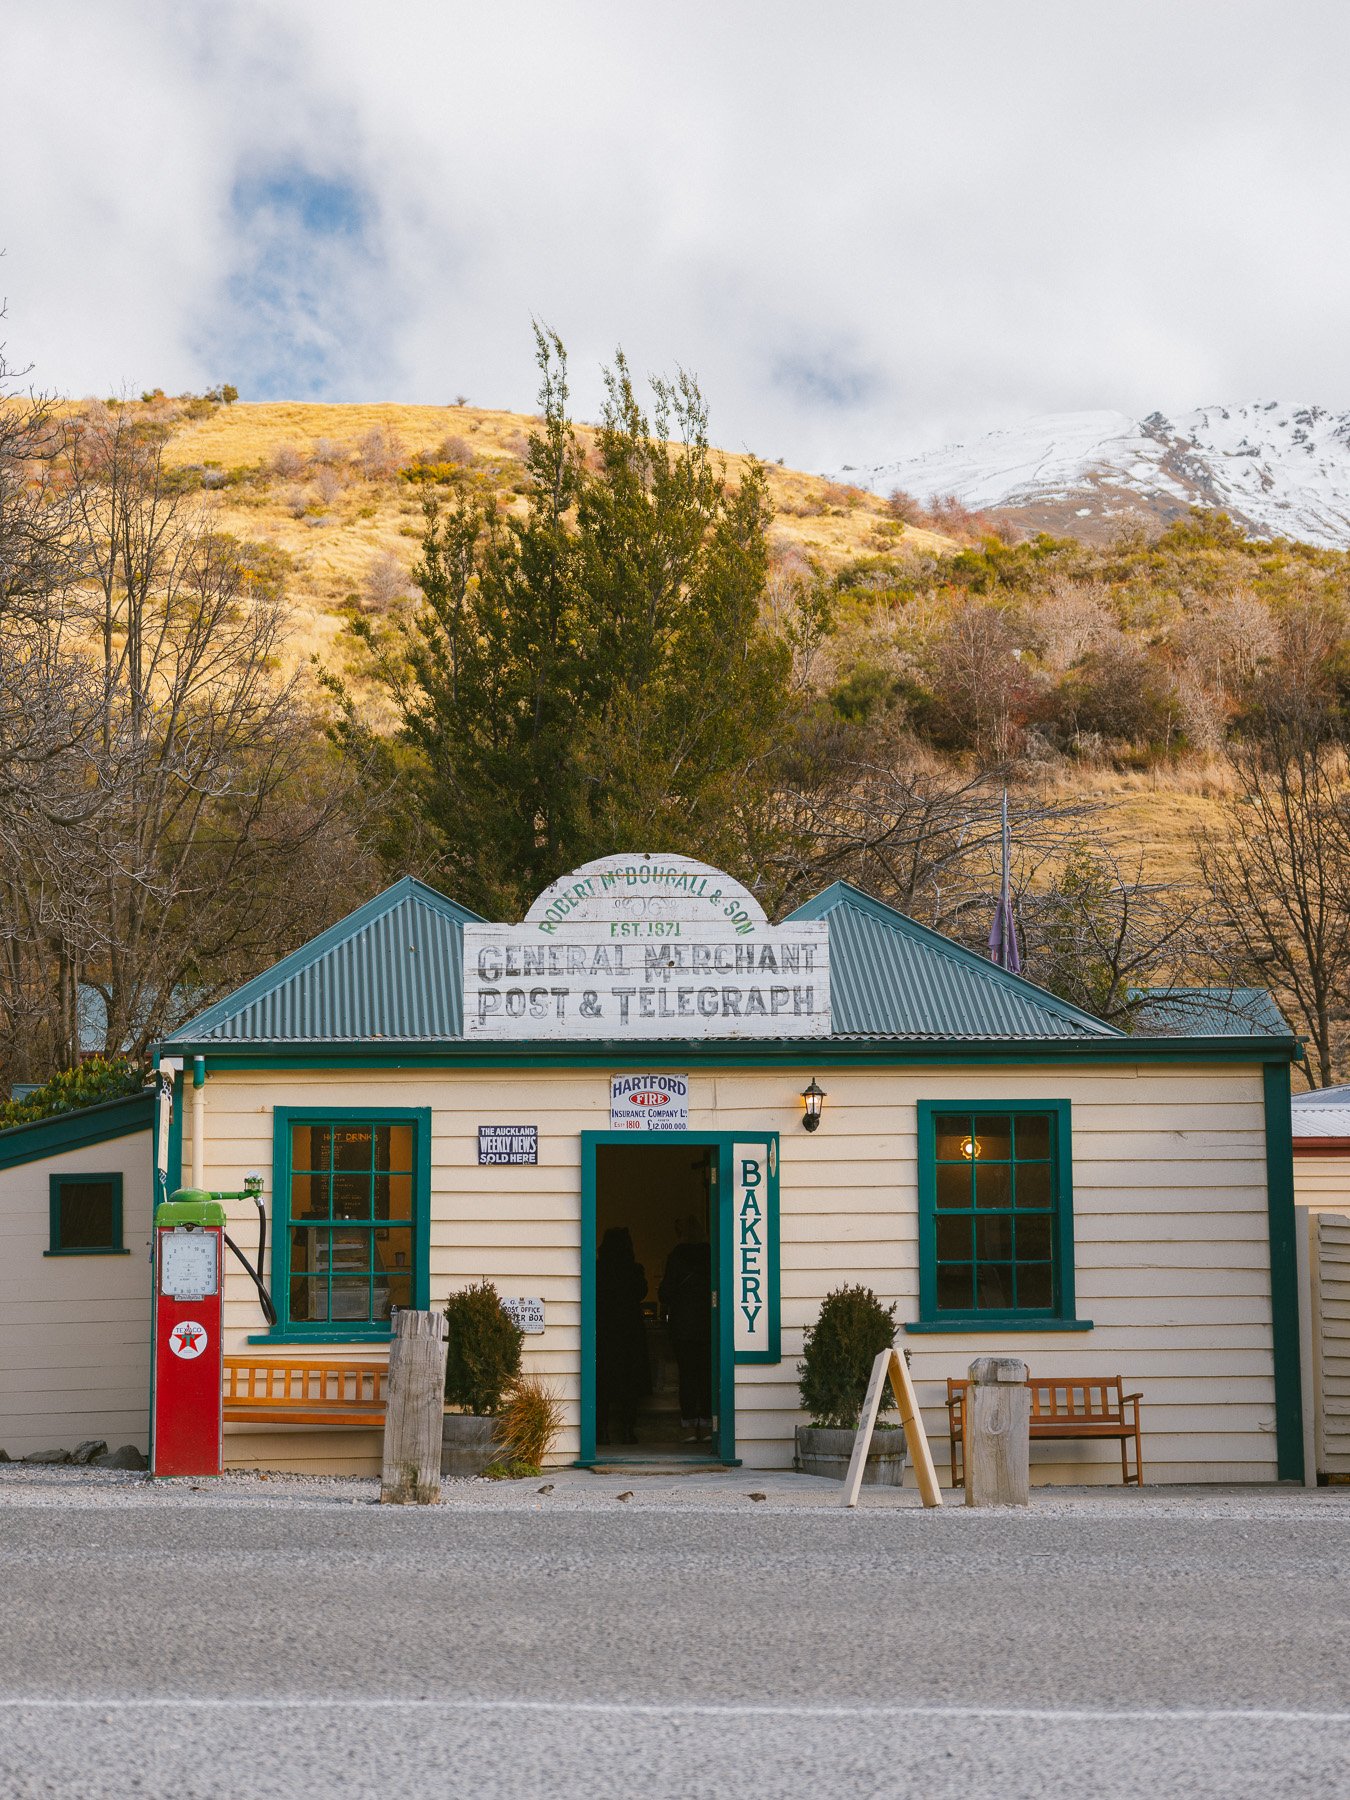
The first stop is Arrowtown which is a cute historic town. Buckingham Street is the main street and is lined with historic-style buildings, shops and cafés. We only made a quick stop to walk around and take some photos, but you could easily spend longer here if you wanted to explore more.
Cardrona Hotel
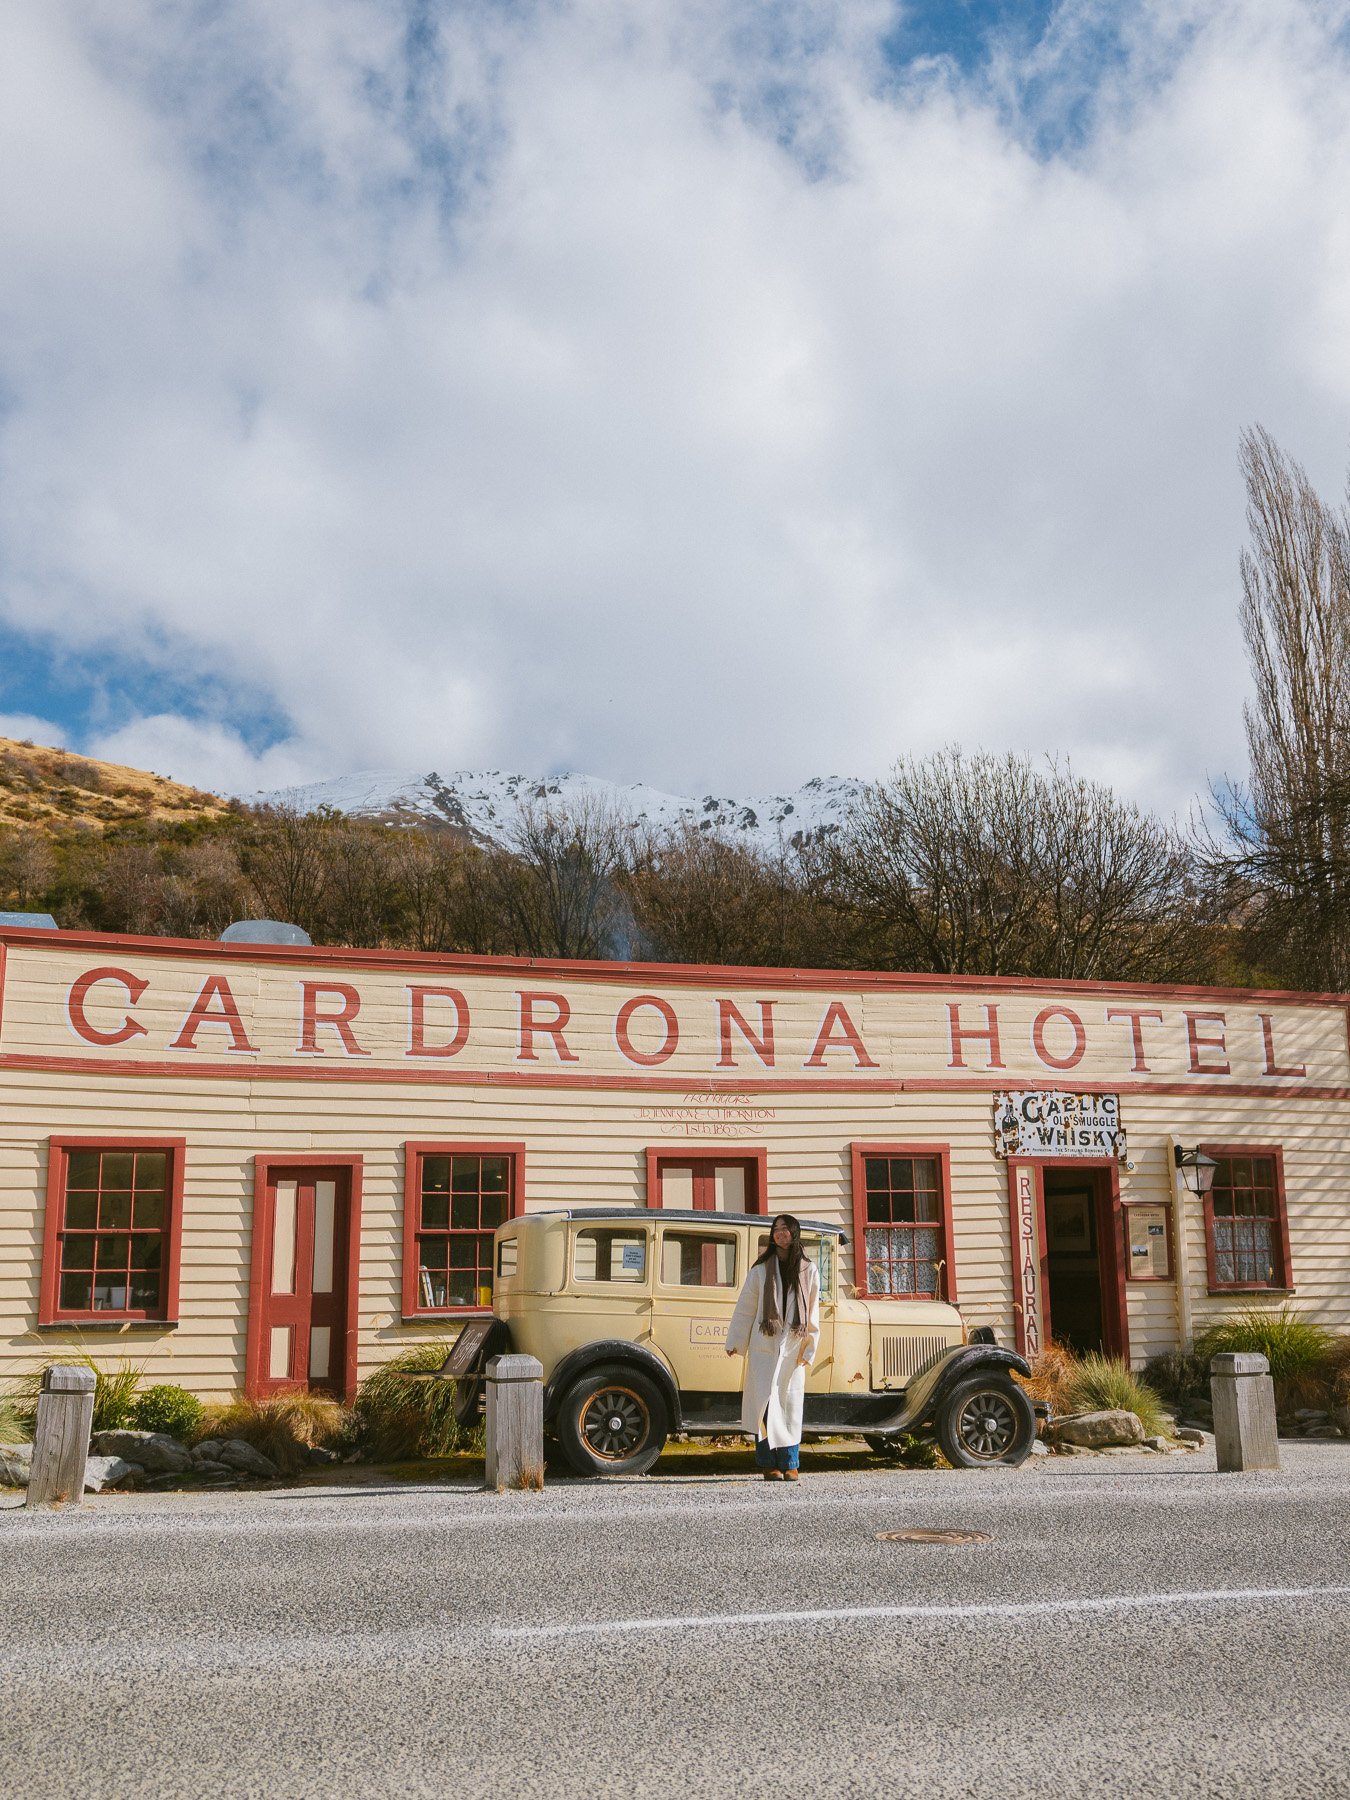
We took the Crown Range Road from Queenstown, which is the more scenic route towards Wānaka. During winter, make sure you check road and weather conditions before setting off because snow and ice can affect the route. Along the way you’ll pass the famous Cardrona Hotel. It’s an easy stop along the drive and worth pulling in for a quick leg stretch and photo in front of the historic building. If you’re hungry, you can also stop in for a pub meal.
Blue Pools Wanaka
Before heading into Wanaka, continue towards Mount Aspiring National Park to visit Blue Pools Wanaka. The drive out is beautiful in itself and Blue Pools makes a great short walk if you want to ease yourself into hiking before heading to Mount Cook.
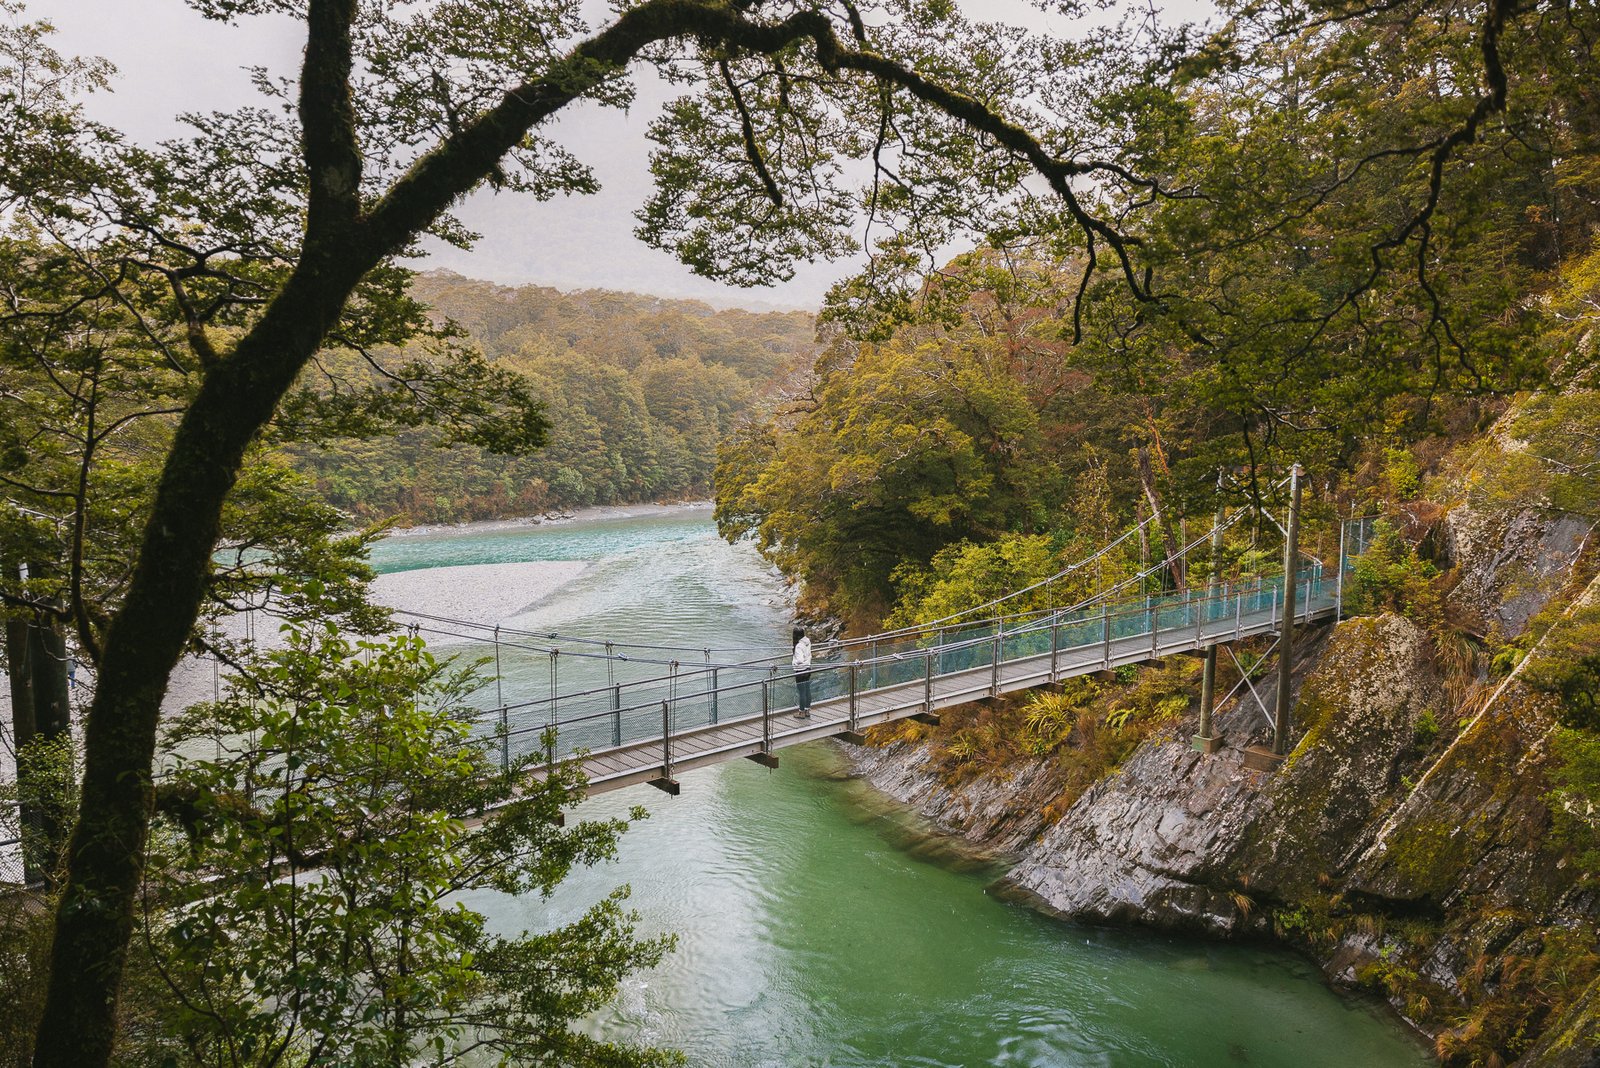
The track is relatively flat and takes you through beautiful moss-covered forest before crossing suspension bridges above the scenic river and Blue Pools. It’s a short walk which takes an hour to complete. We visited in August after recent rain, so while parts of the water had that beautiful blue colour Blue Pools is known for, other sections were murkier and greener than we’d seen in photos. If you visit after a period of clear weather, you’ll have a better chance of seeing the vivid blue water.
An Evening in Wanaka
After Blue Pools, we drove back into Wanaka for a late lunch at the food truck park. There were heaps of different cuisines to choose from and the portions were exactly what we needed after a day of driving and walking.
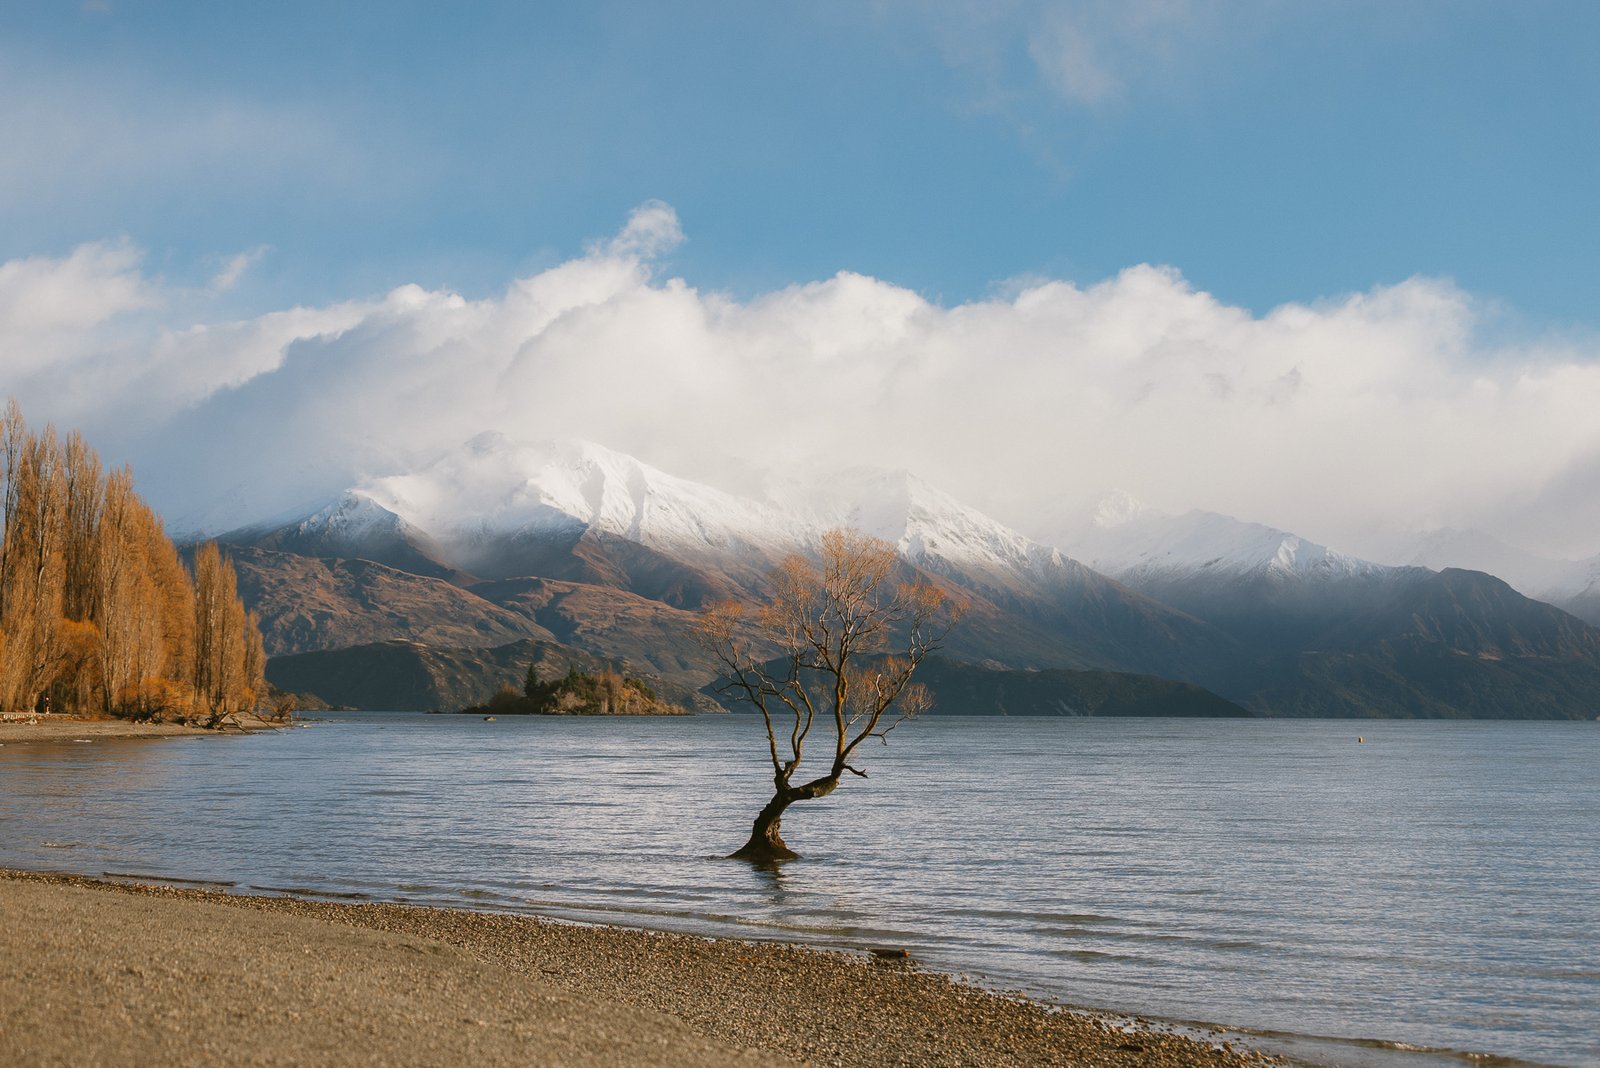
Lastly, spend sunset along the lakefront and of course visit the iconic Wanaka Tree. There were plenty of other people photographing it, but the scenery along the lake and mountain views is beautiful enough that it’s worth coming down for a walk regardless of whether you’re interested in the tree.
Where to Stay in Wanaka
We only needed accommodation in Wānaka for one night, so we opted for an Airbnb before continuing towards Mount Cook the following morning. If you’re following this itinerary and would rather stay in a hotel, I’d look for somewhere close to the Wanaka lakefront so you can easily walk into town for dinner and enjoy the lake without needing to drive again.
Day 6: Wanaka to Aoraki/Mount Cook
Before leaving Wanaka, take advantage of being close to a large supermarket and stock up on groceries and supplies for Mount Cook. There are very limited options once you arrive in Aoraki/Mount Cook Village, and having a kitchen and our own groceries made our two-night stay much easier.
The drive from Wanaka to Mount Cook is one of the most scenic parts of this South Island road trip itinerary, taking roughly 2.5–3 hours without stops. When we travelled through, the roads were clear, but snow arrived shortly afterwards. Conditions can change quickly during a South Island winter road trip, so always check the latest weather and road conditions before leaving.
Lake Pukaki & Mount Cook Alpine Salmon
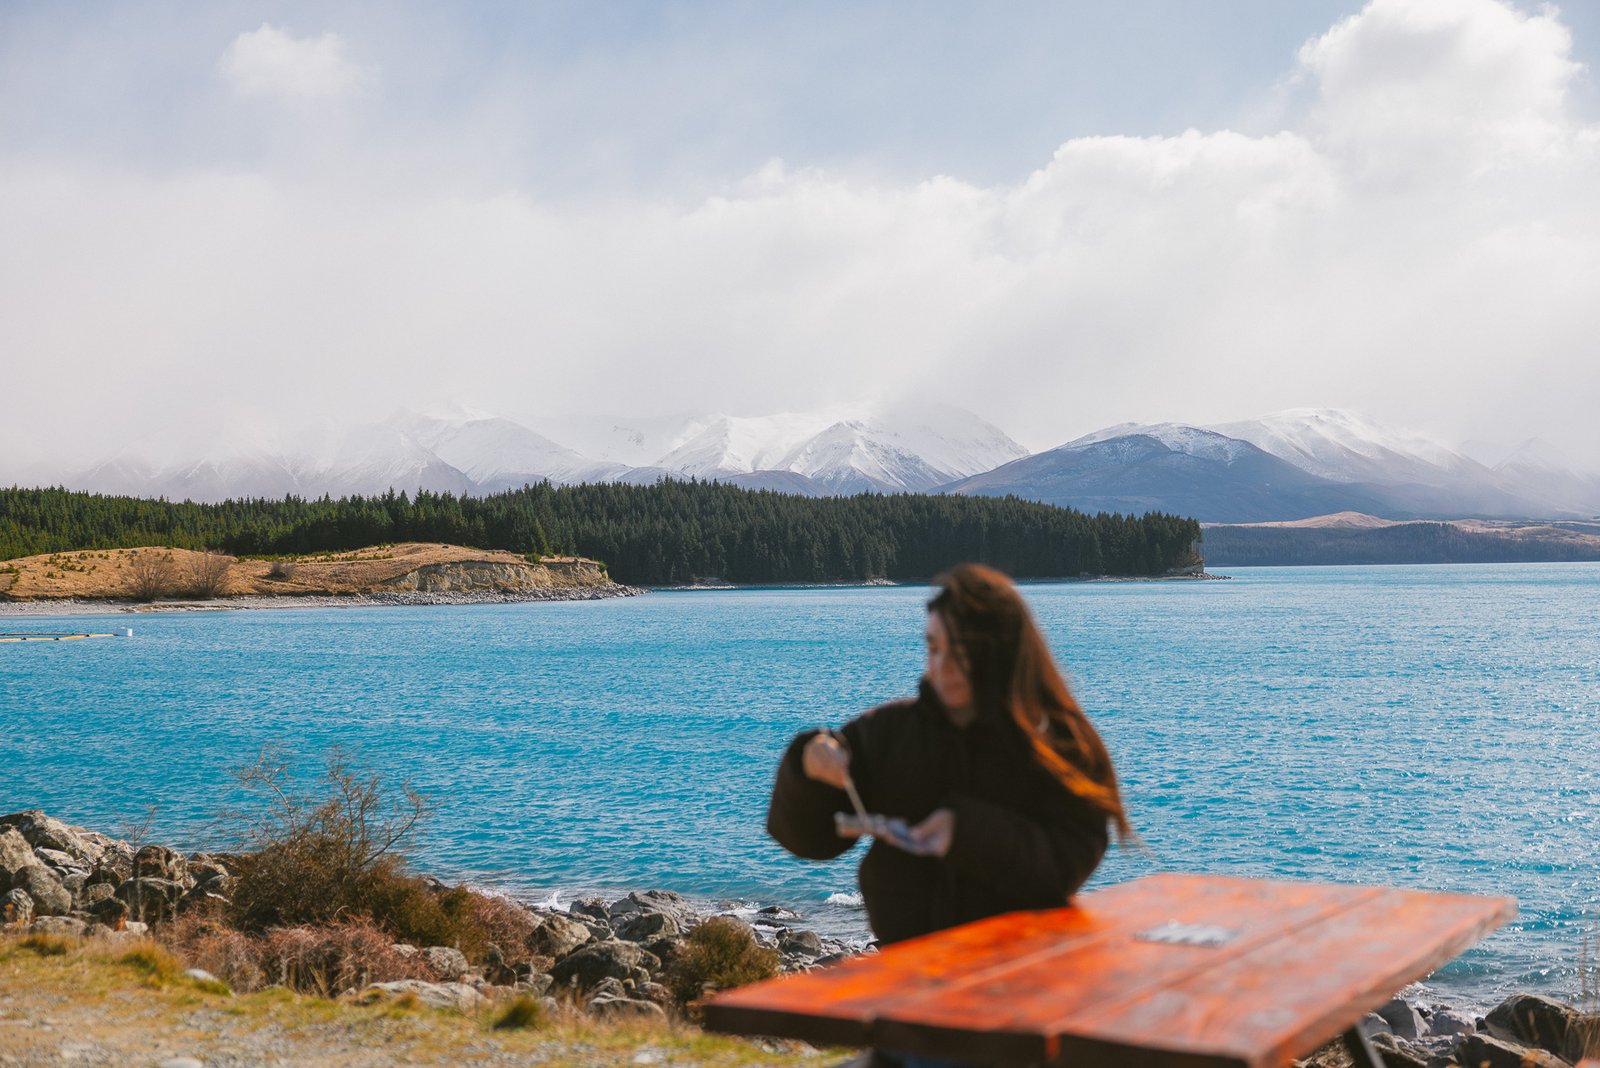
Before turning onto the road towards Mount Cook, be sure to stop at the Lake Pukaki Visitor Centre and Mt Cook Alpine Salmon Shop. The salmon sashimi here was incredibly fresh and basically melted in our mouths. Eating it while looking across the turquoise water of Lake Pukaki towards Aoraki/Mount Cook in the distance made the stop even better.
Peters Lookout, Lake Pukaki
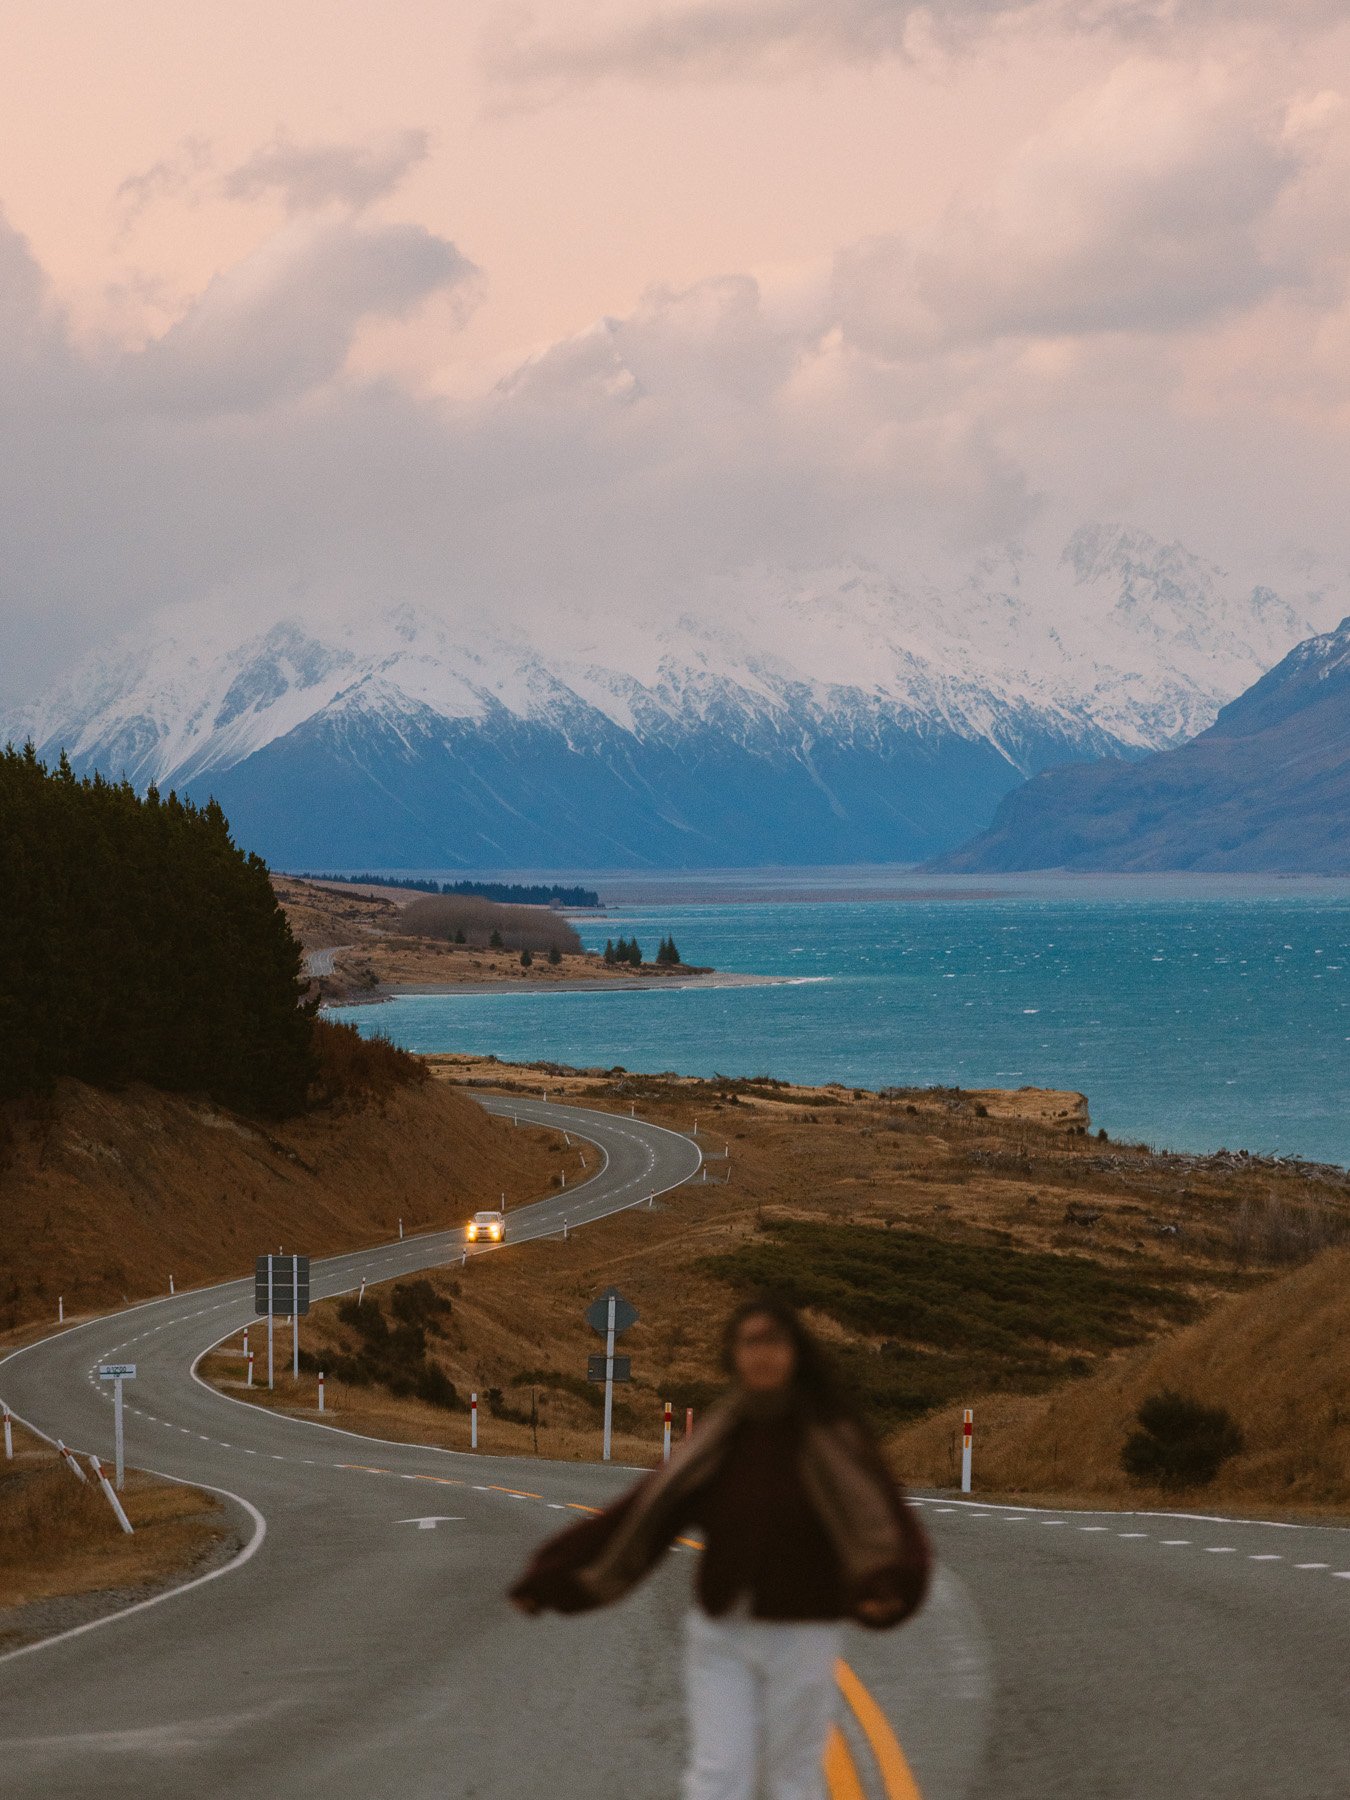
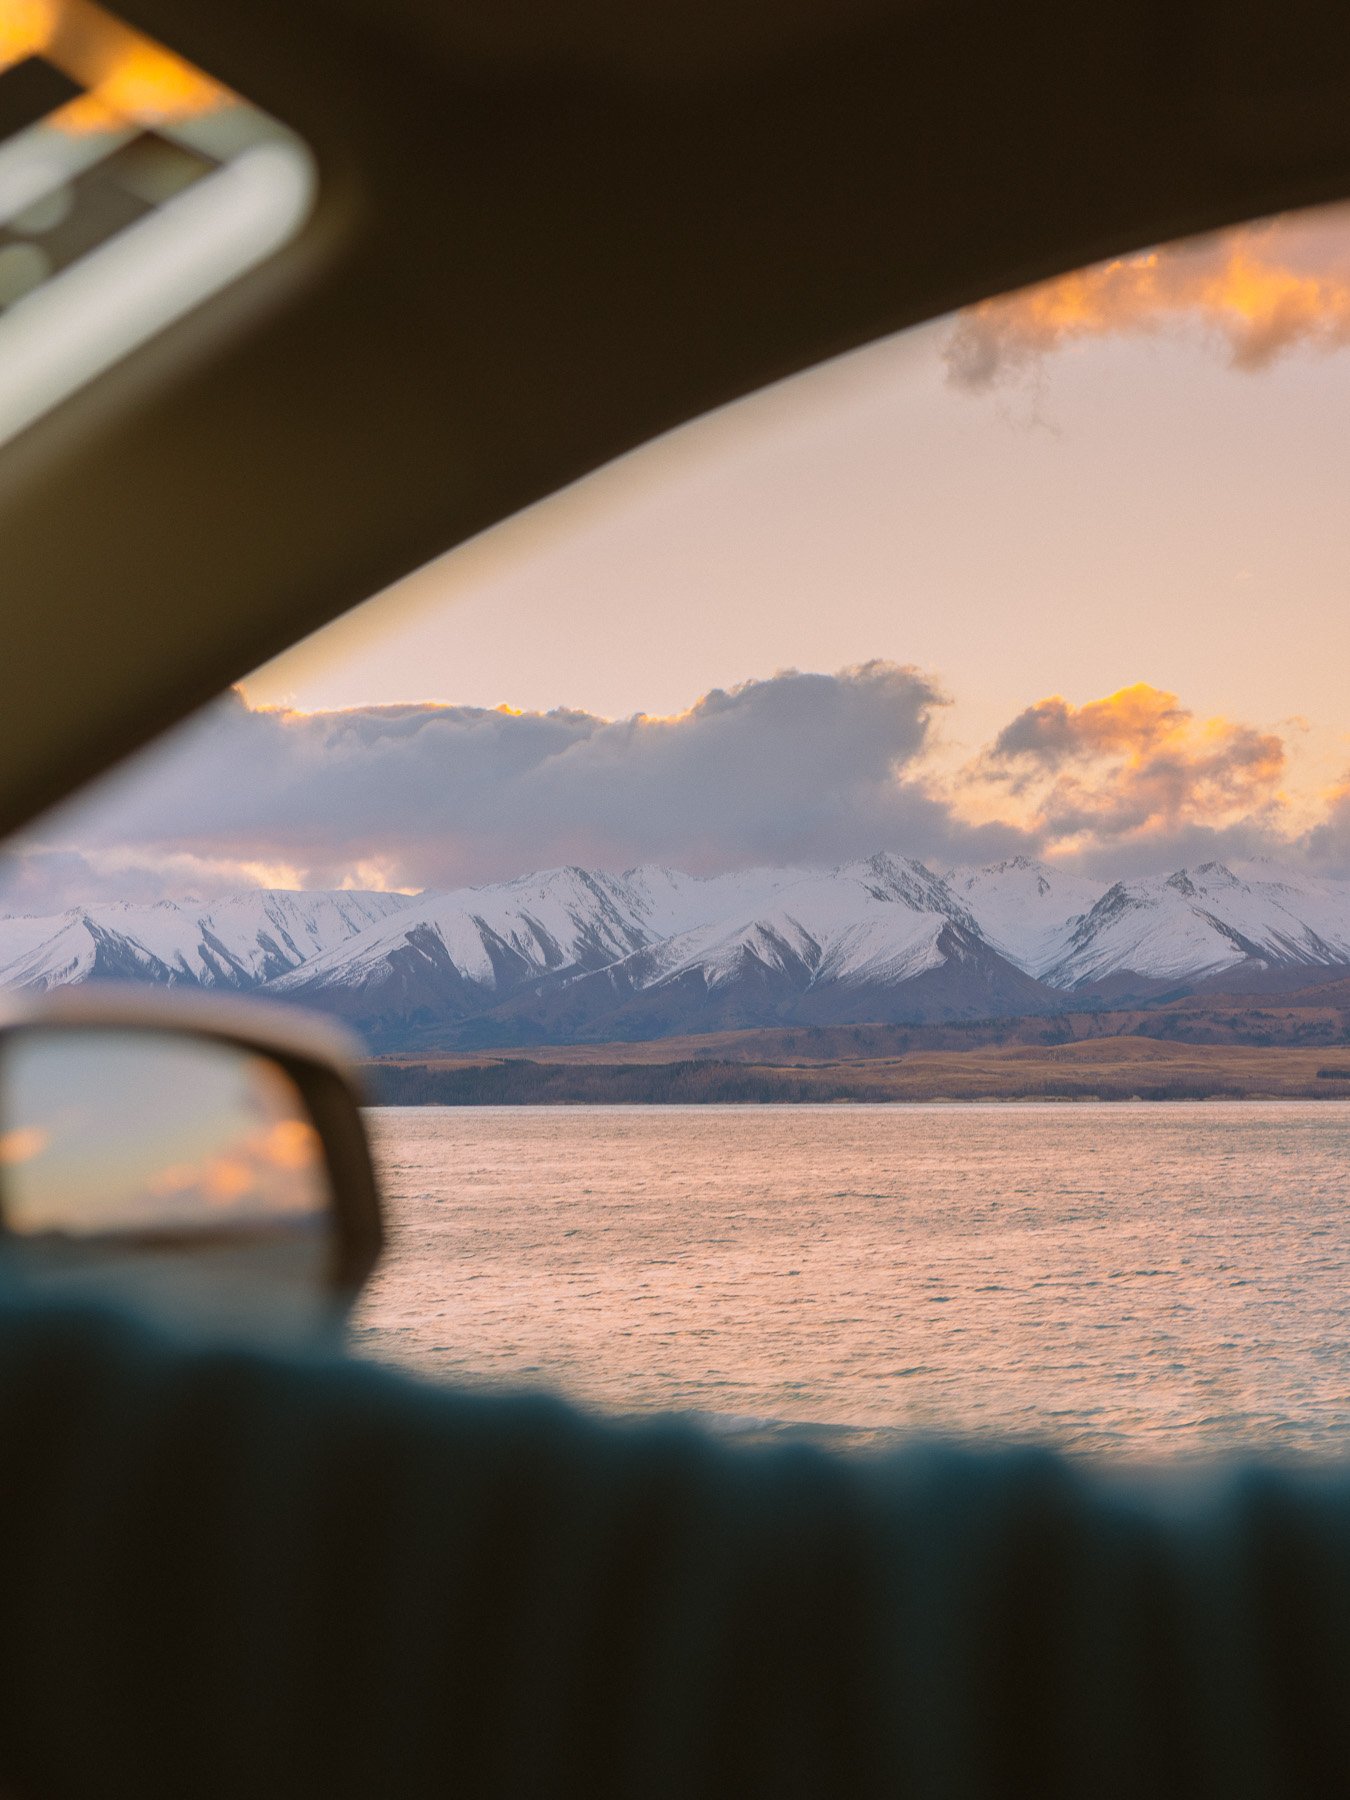
As you continue along the highway beside Lake Pukaki towards Mount Cook, there are plenty of beautiful viewpoints. The most famous is Peters Lookout, where you get that iconic view of the road curving towards Aoraki/Mount Cook. It’s one of those photo locations we’d seen countless times before visiting New Zealand, so finally seeing it ourselves was pretty special.
Hiking the Hooker Valley Track
We arrived in Mount Cook around midday, just as it started snowing! Rather than waiting around, we decided to make the most of the conditions and headed straight to the Hooker Valley Track which ended up being one of our favourite hikes of the trip.
It’s relatively easy compared with Sealy Tarns and took us around four hours return, with plenty of stops for photos along the way. The landscape constantly changes as you make your way through the valley with snow-covered mountains, suspension bridges above glacial water, winding boardwalks and eventually Hooker Lake, where you can see the glacier and icebergs floating in the water.
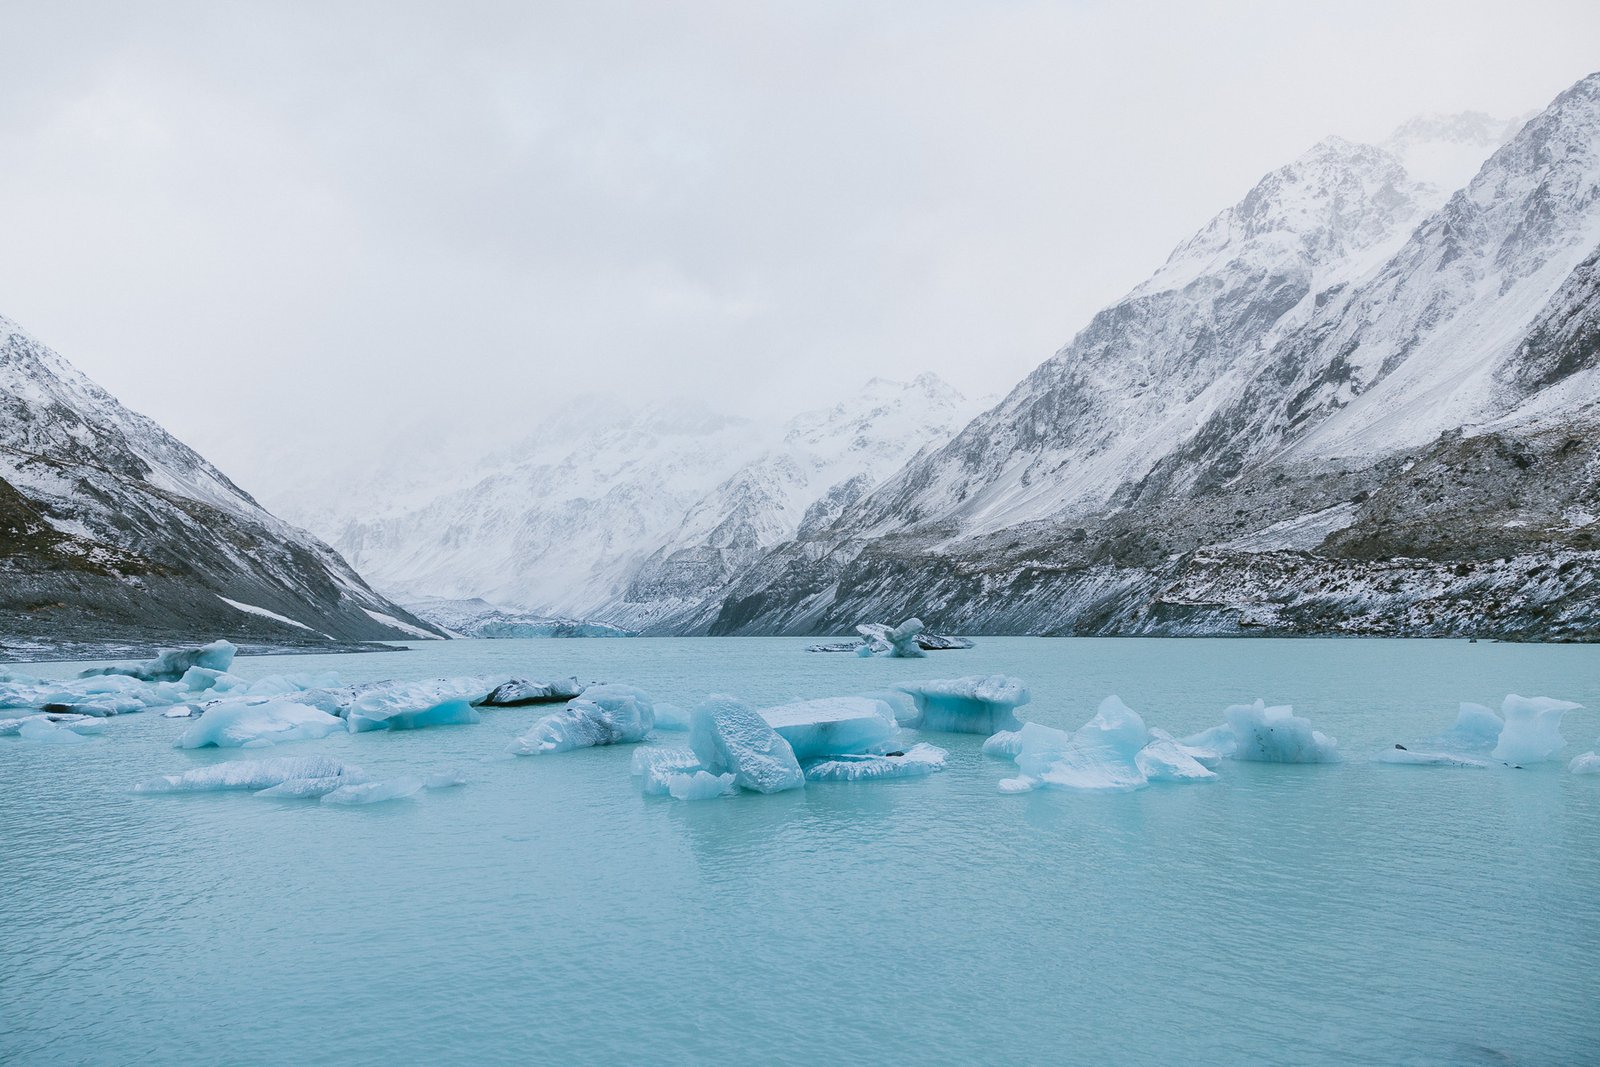
Snow covered most of the track and the mountain views were hidden during our visit, but that almost made the experience more memorable. It genuinely felt like we were hiking through a winter wonderland. Winter conditions here can be icy and cold, so check the latest track conditions before setting off and come prepared with proper footwear and warm layers.
Where to Stay in Mount Cook
Accommodation in Aoraki/Mount Cook is much more limited than Queenstown or Wanaka, so this is one part of the trip I’d recommend booking in advance. There is camping at White Horse Hill, which is convenient if you’re travelling in a campervan because many of the main walking tracks begin nearby. For something more comfortable, The Hermitage has several accommodation options ranging from its main hotel to more affordable lodge and motel-style rooms.
We stayed at Mount Cook Motels for two nights. Our room was spacious, but the main reason we chose the motel was the kitchen. Being able to cook our own meals was incredibly handy given the limited dining options around Mount Cook.
It was also only around a five-minute drive from White Horse Hill and the start of several of the area’s most popular hikes. For a hiking-focused trip where you’re mainly using the room to sleep, warm up and cook between adventures, it was perfect for us.
Find accommodation in Aoraki/Mount Cook Village.
Day 7: Hiking in Aoraki/Mount Cook National Park
Day seven was our biggest hiking day and one of the highlights of our entire New Zealand winter itinerary.
Hiking the Sealy Tarns Track in Winter
We woke up bright and early to tackle the more challenging Sealy Tarns Track. On the drive to White Horse Hill, we were treated to one of the most insane sunrises of the trip. The entire sky erupted with colour over the mountains, so we had to pull over and snap a few photos before continuing.
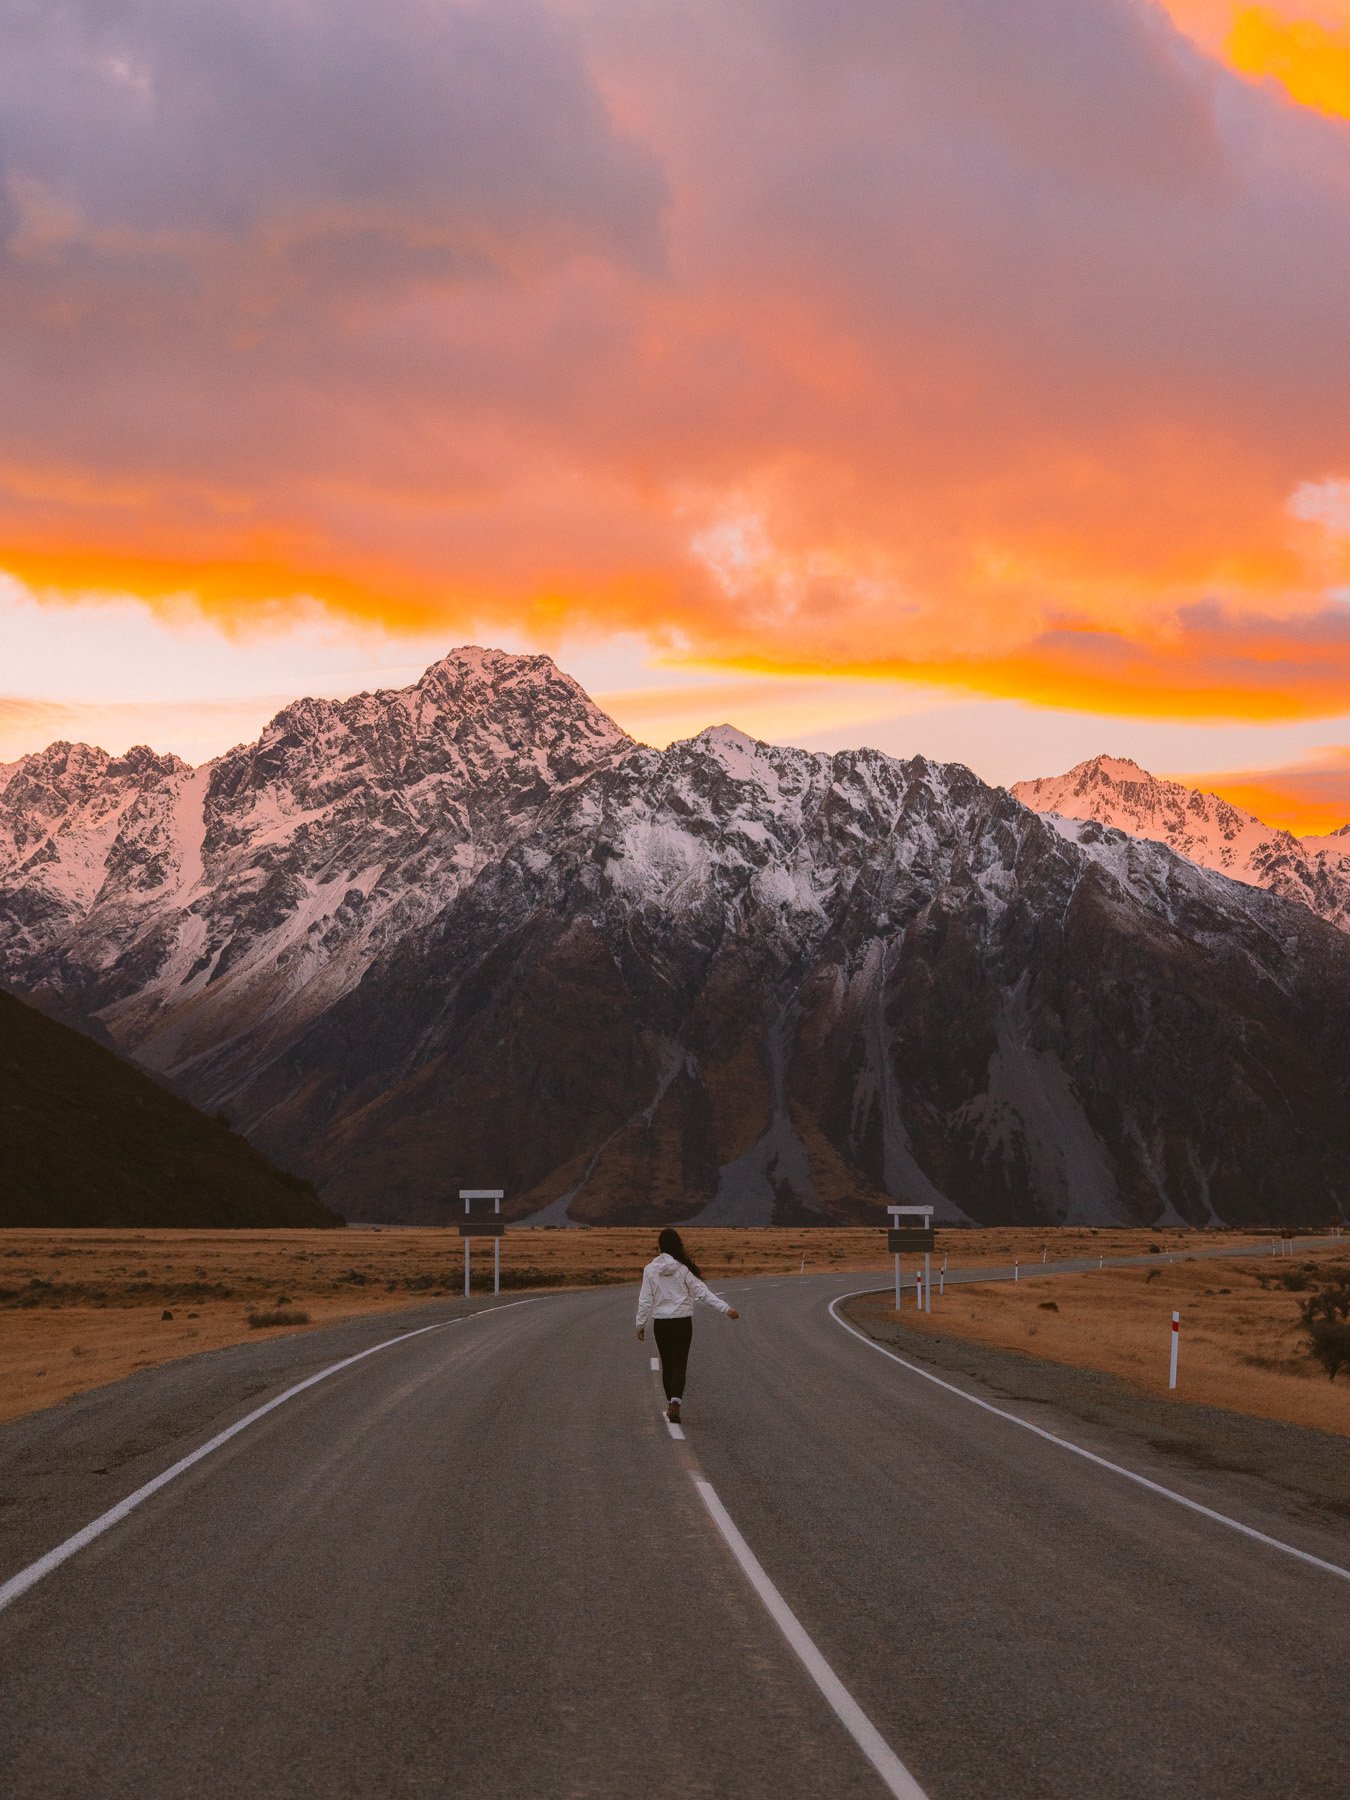
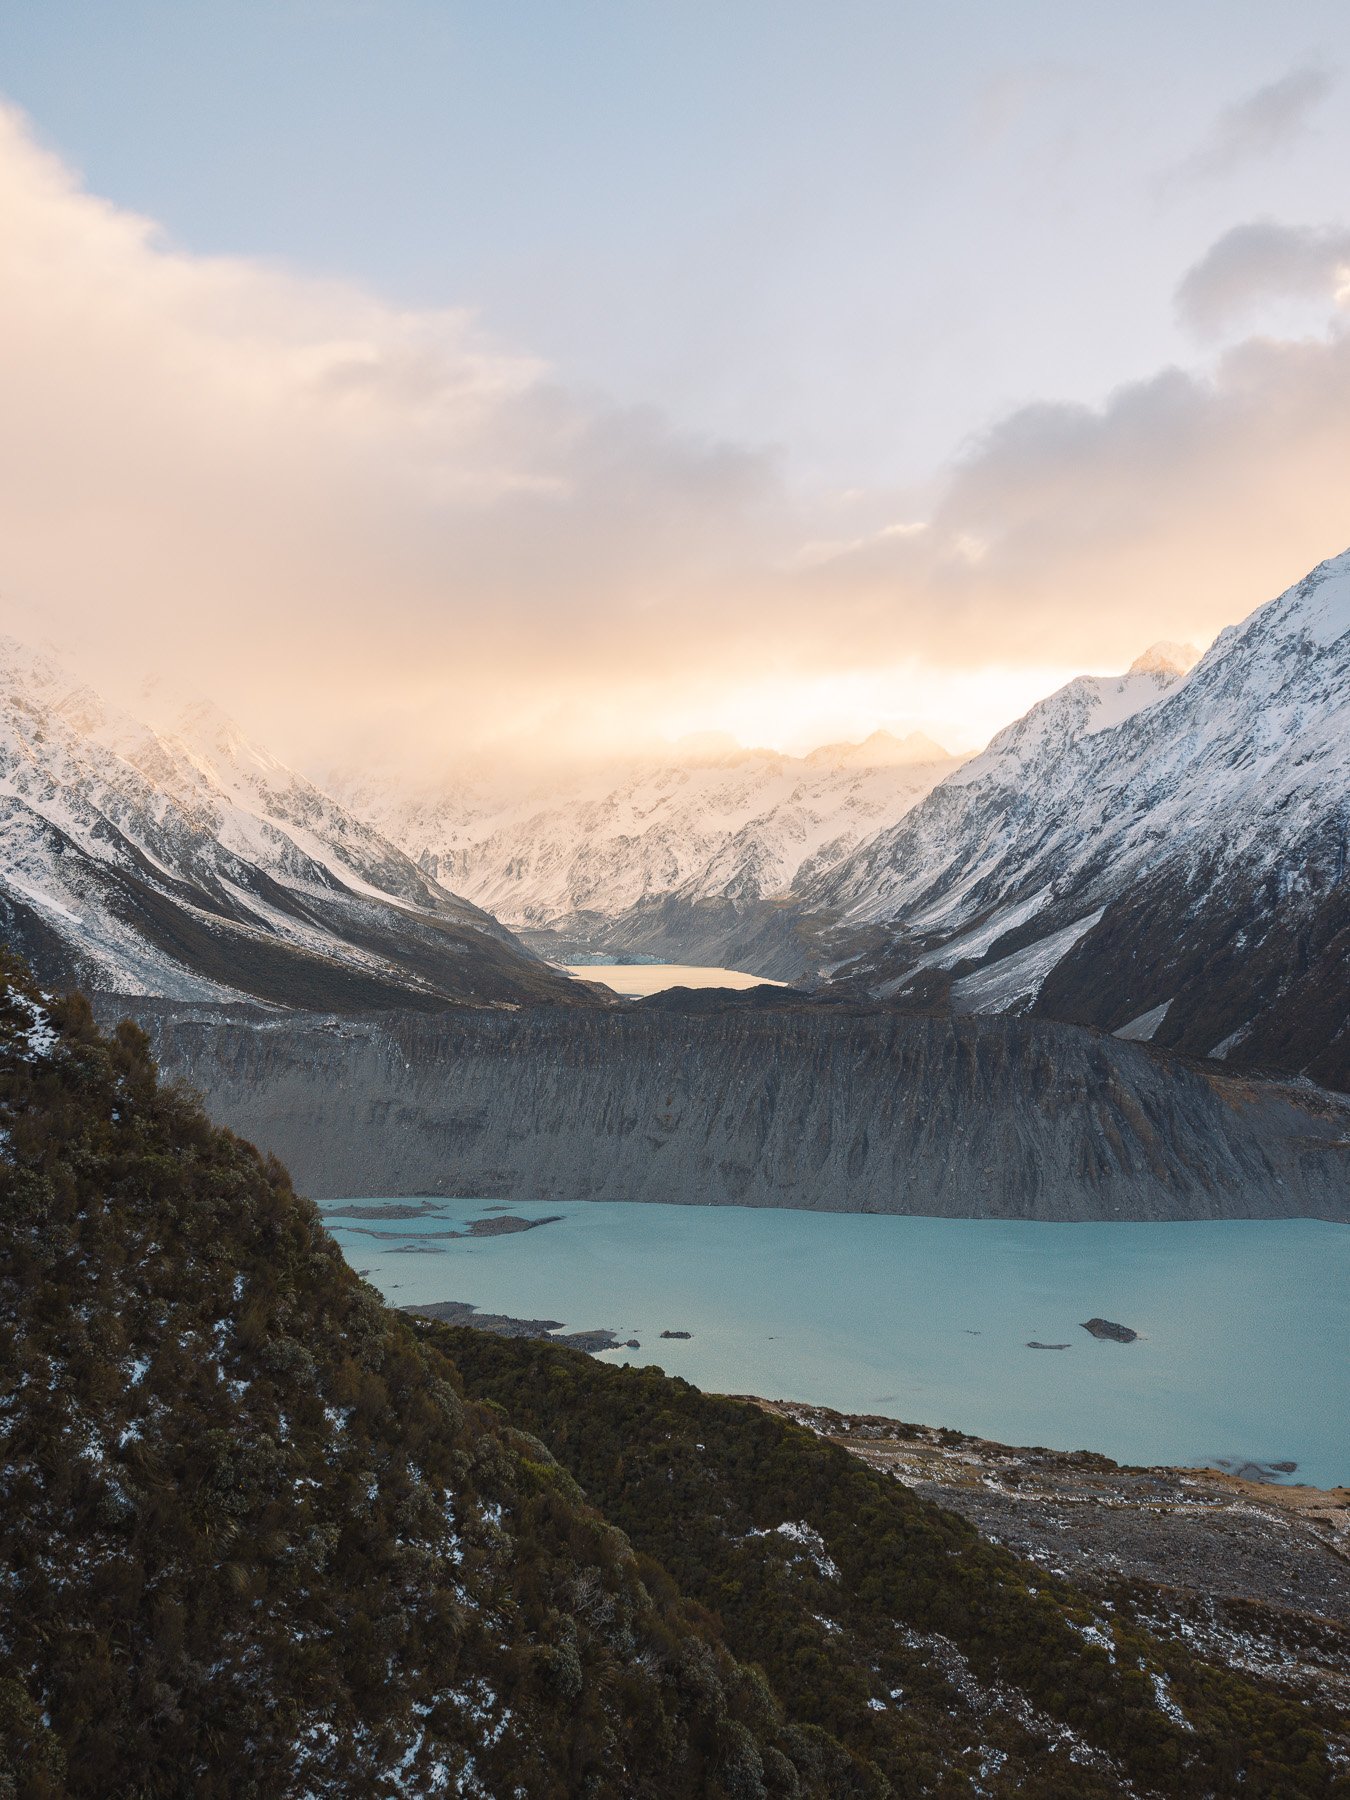
Sealy Tarns starts from the same general area as Hooker Valley Track near White Horse Hill. The official track involves around 2,200 steps and climbs roughly 600 metres, so despite not being particularly long, it’s definitely a workout.
We started early because we wanted the best morning light and there was bad weather forecast later in the day. The climb pretty much gets straight into it. The first half was manageable, but winter conditions became much more difficult as we climbed higher. Snow and ice covered sections of the steps and made the track slippery.
We were wearing boots and saw other hikers in hiking shoes, and while everyone managed, in hindsight it would have been much better to have some extra traction with microspikes. The Sealy Tarns Track can become extremely icy during winter and during heavy snowfall, crampons and an ice axe is sometimes needed depending on conditions. Avalanche risks can also exist, so we’d definitely recommend checking with the Aoraki/Mount Cook National Park Visitor Centre before attempting it in winter.
It was also extremely windy near the top and light snow began falling. We wore multiple layers including thermals, fleece and a waterproof outer shell, which made a huge difference.
Views from Sealy Tarns
The views became better and better the higher we climbed. Unlike Hooker Valley, where the landscape changes constantly along the trail, Sealy Tarns essentially gives you the same panoramic view as you gain elevation.
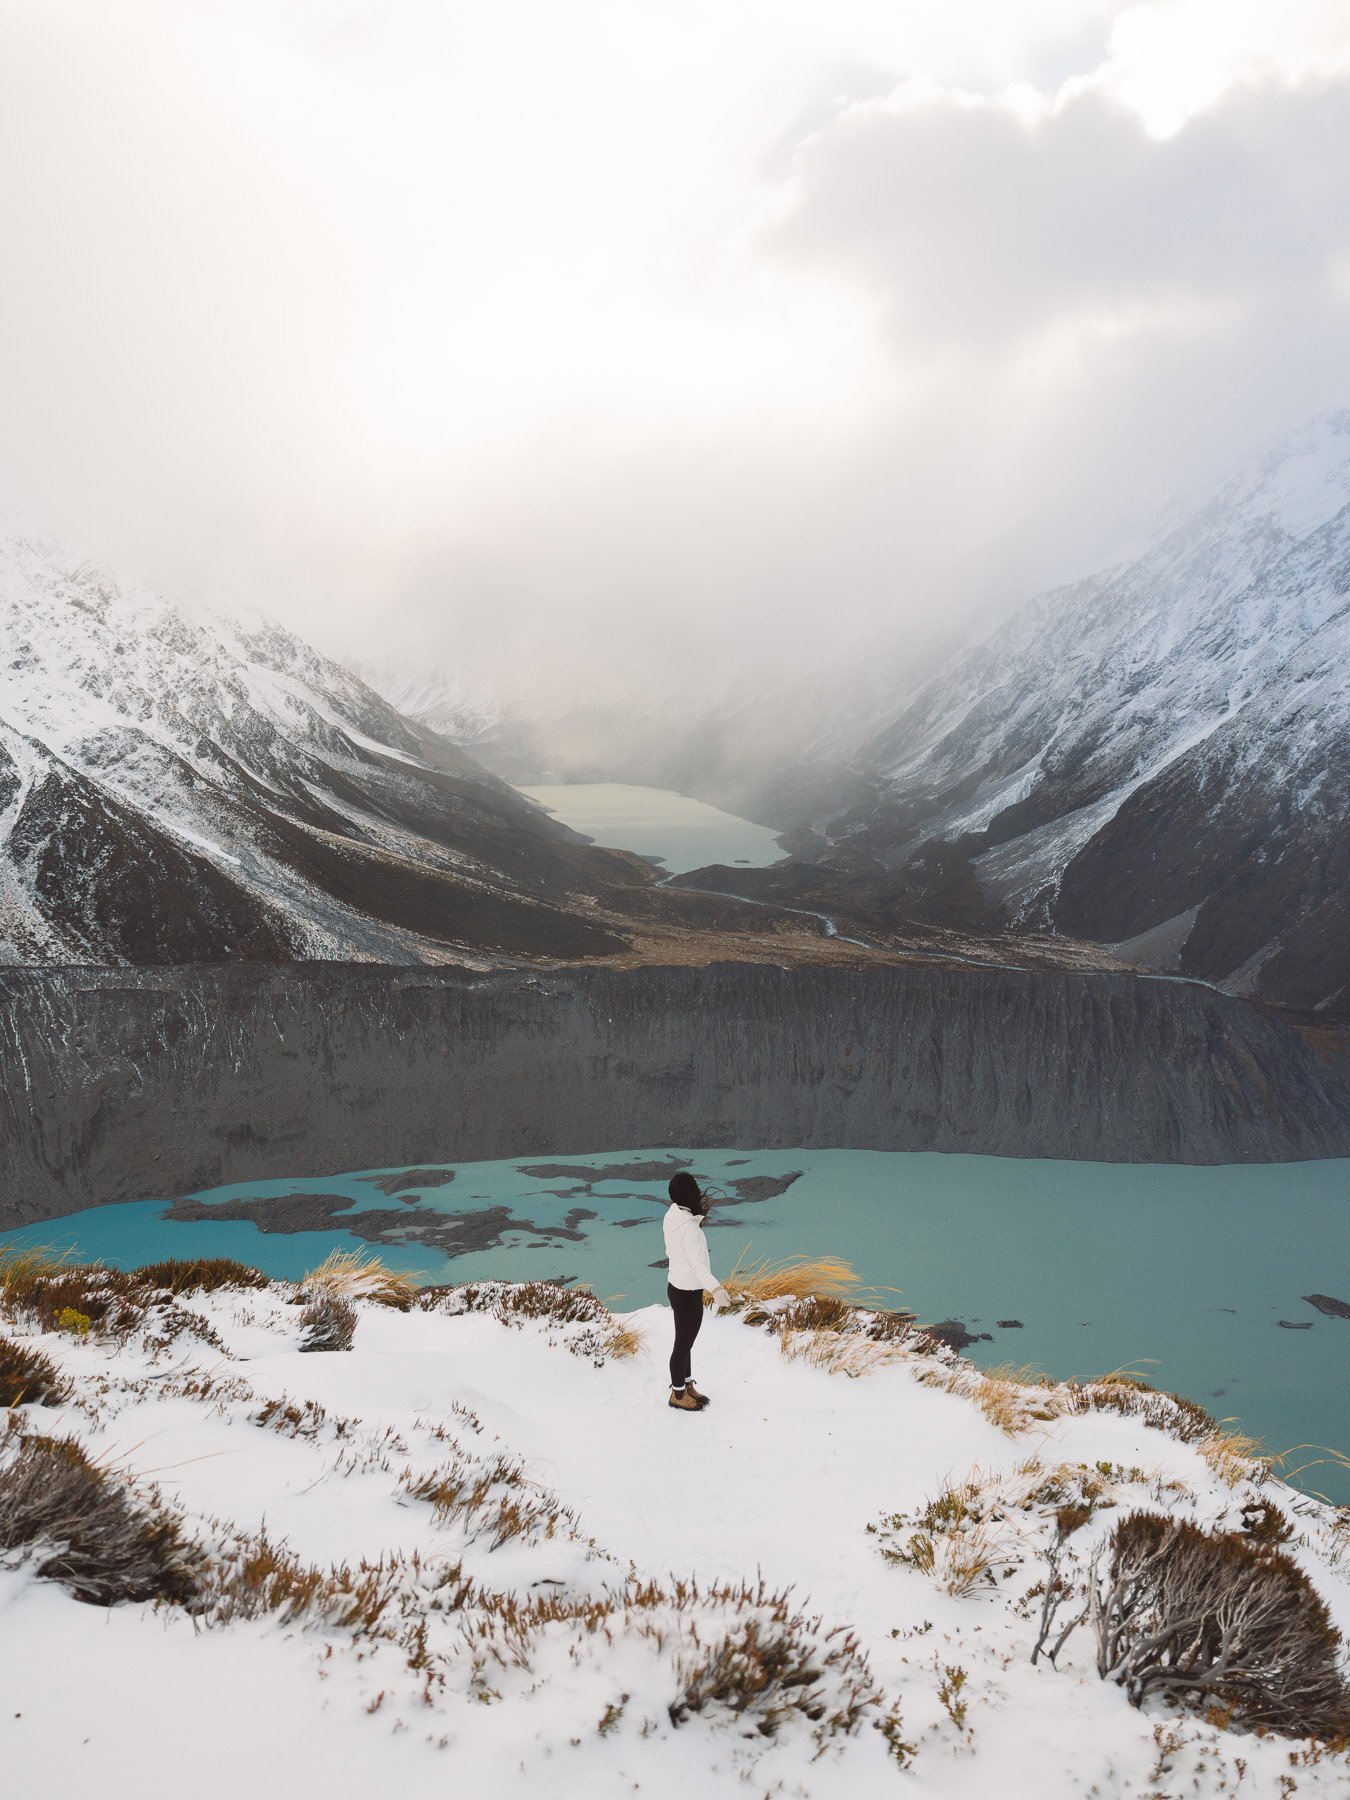
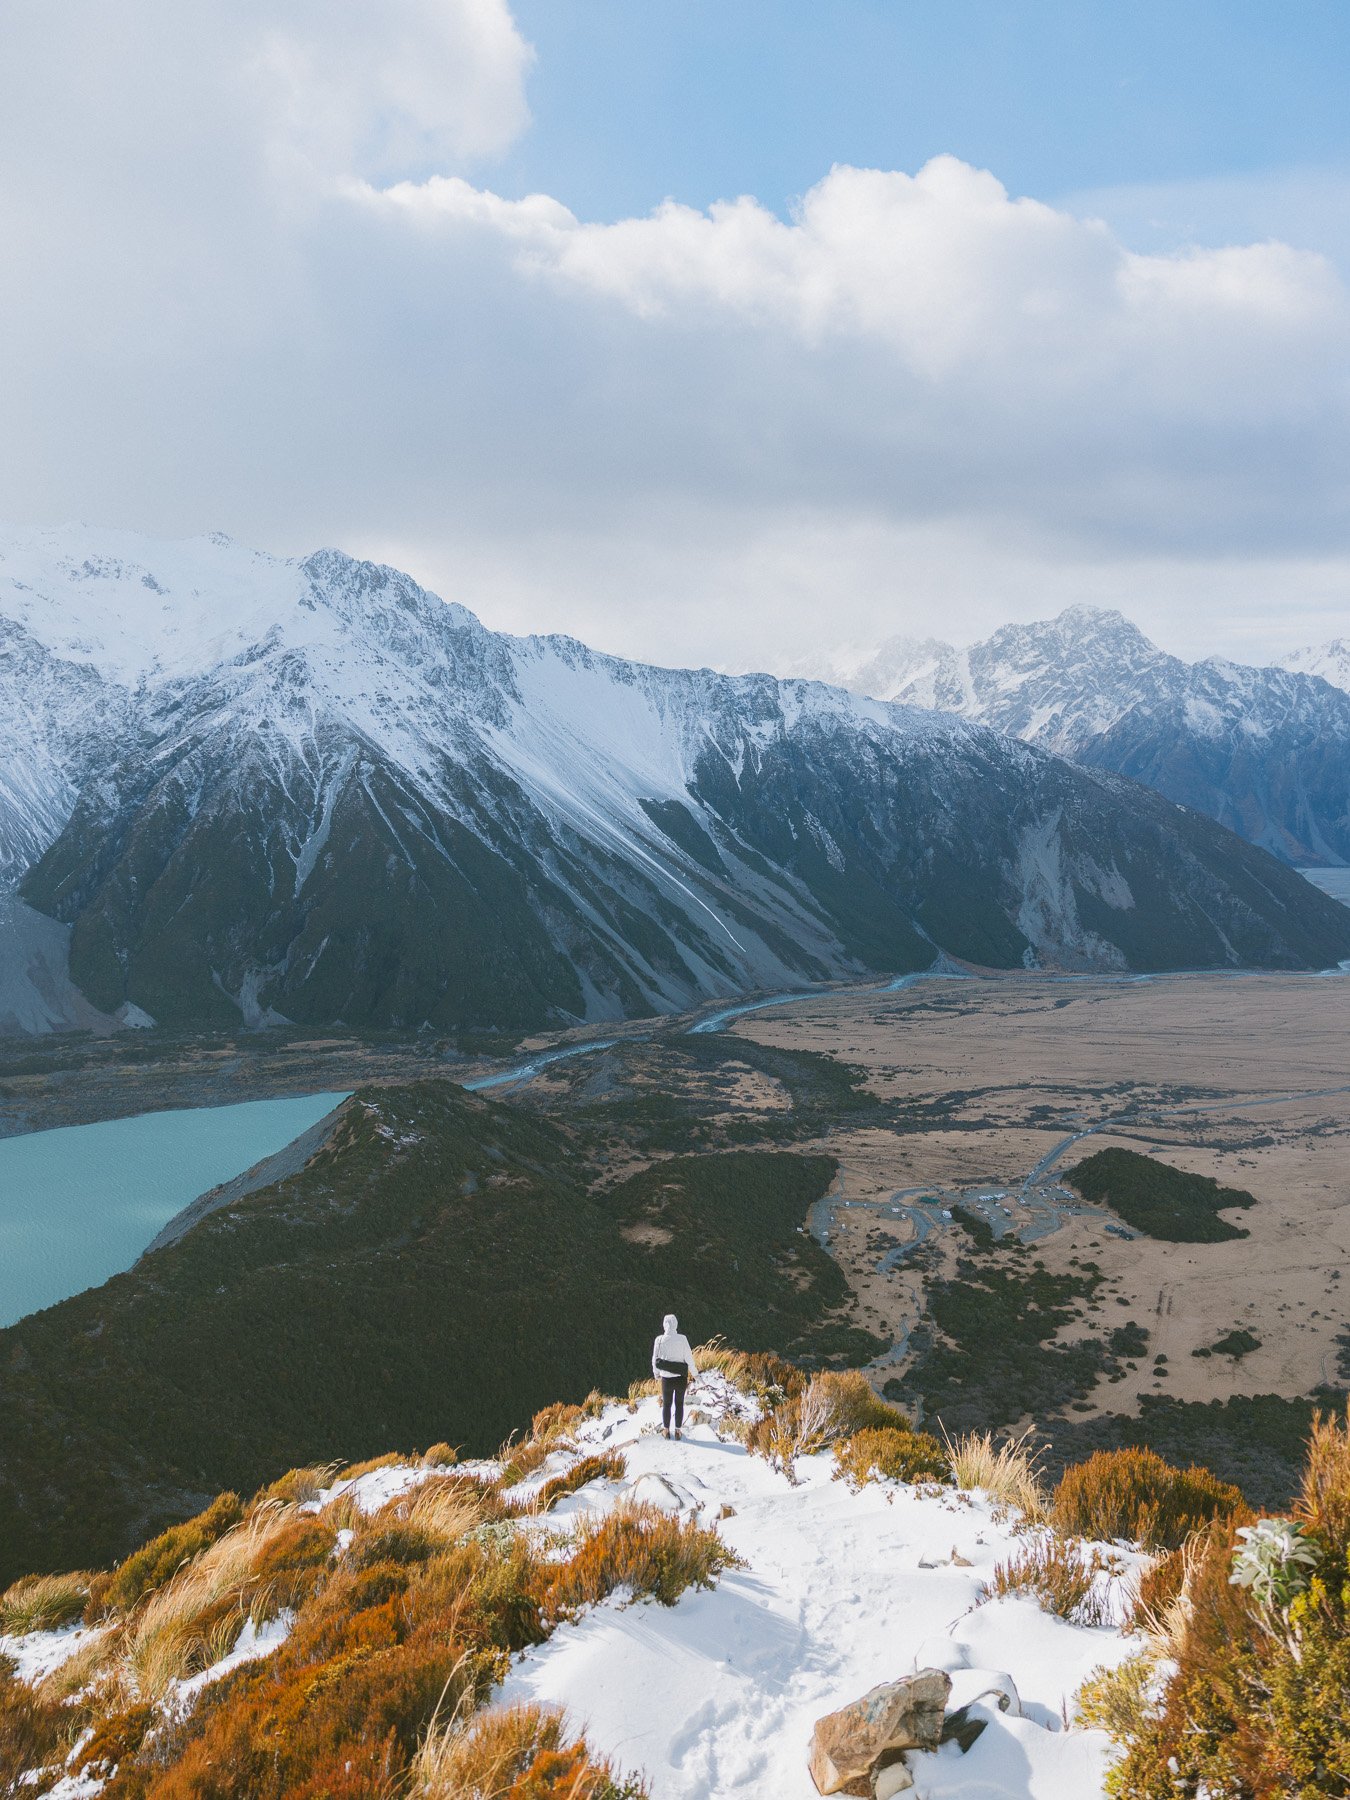
At the top you’ll find a picnic table in what has to be one of the most scenic picnic spots in New Zealand, overlooking the Hooker Valley, Mueller Glacier and Aoraki/Mount Cook on a clear day. Unfortunately, we weren’t particularly lucky with visibility at the top. A storm began rolling in and cloud covered some of the surrounding peaks. Even so, standing at the top surrounded by fresh snow was such a cool experience.
The Sealy Tarns Track took us around four hours return and we were completely exhausted by the time we reached the bottom. With clearer weather and better traction for the icy sections, it would have been even better, but it was still one of the most memorable hikes we did.
Tasman Glacier Lake
After returning to our accommodation, making lunch and giving our legs a much-needed break, we headed out for one final short walk around Tasman Glacier Lake. Compared with Sealy Tarns, this was incredibly easy.
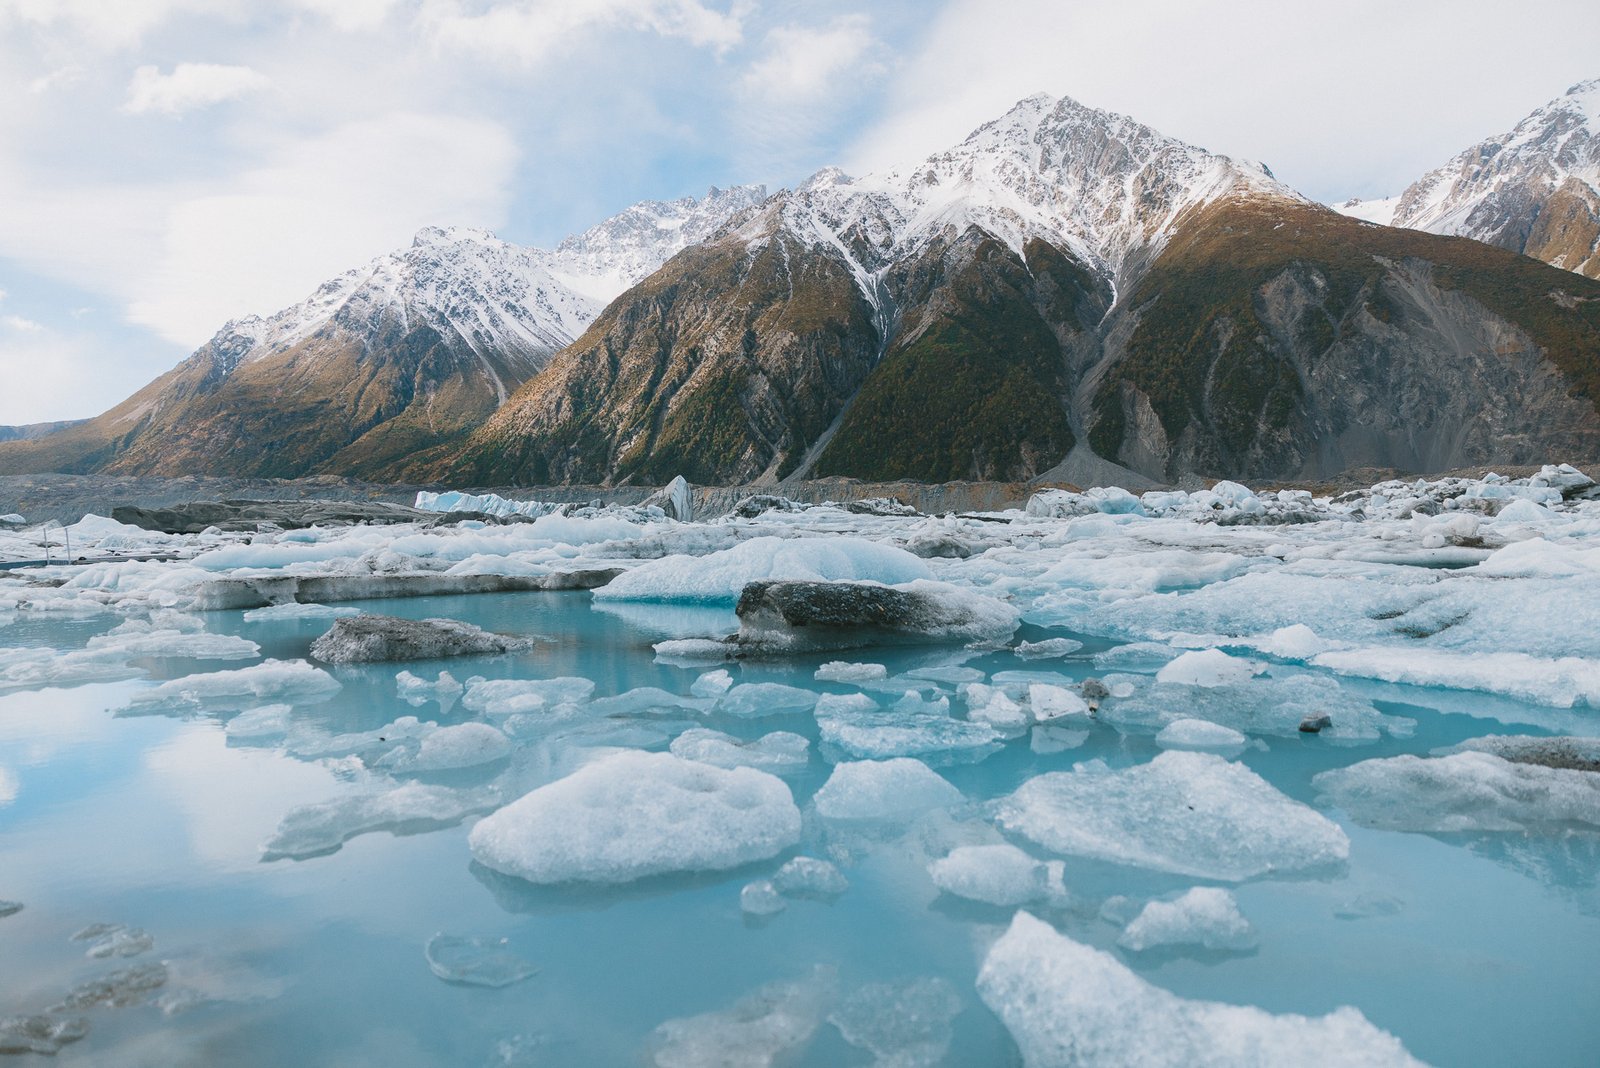
There are a few different walking options around the Tasman Glacier area. We chose to head down towards the lake and jetty, which took us around 20 minutes from the car park. From the edge of the lake, we had beautiful views across the blue glacial water towards Tasman Glacier, with pieces of ice floating across the lake.
If you’re looking for a short Mount Cook hiking option after one of the longer trails or simply don’t want to tackle a big hike, this is a great addition to your itinerary.
Day 8: Mount Cook to Queenstown via Lake Hawea & Cardrona
After two nights in Aoraki/Mount Cook, it was time to begin the final leg of our South Island road trip itinerary and make our way back towards Queenstown. For us, two nights felt like the perfect amount of time in Mount Cook. We managed two big hikes plus a shorter walk around Tasman Glacier, which was enough to get a really good feel for the national park without rushing. If hiking is a major focus of your trip, though, adding a third night would give you much more flexibility around New Zealand’s unpredictable alpine weather.
The Secret Sauna, Lake Hawea
After a week of skiing, driving and hiking, our first stop on the return journey couldn’t have been timed better. We detoured to The Secret Sauna at Lake Hāwea, around 15 minutes outside Wanaka.
A one-hour shared sauna session is around NZD $30 per person with incredible views overlooking the lake and mountains. The sauna itself is beautiful, but pairing it with a plunge into the freezing water of Lake Hāwea made the experience even more memorable.
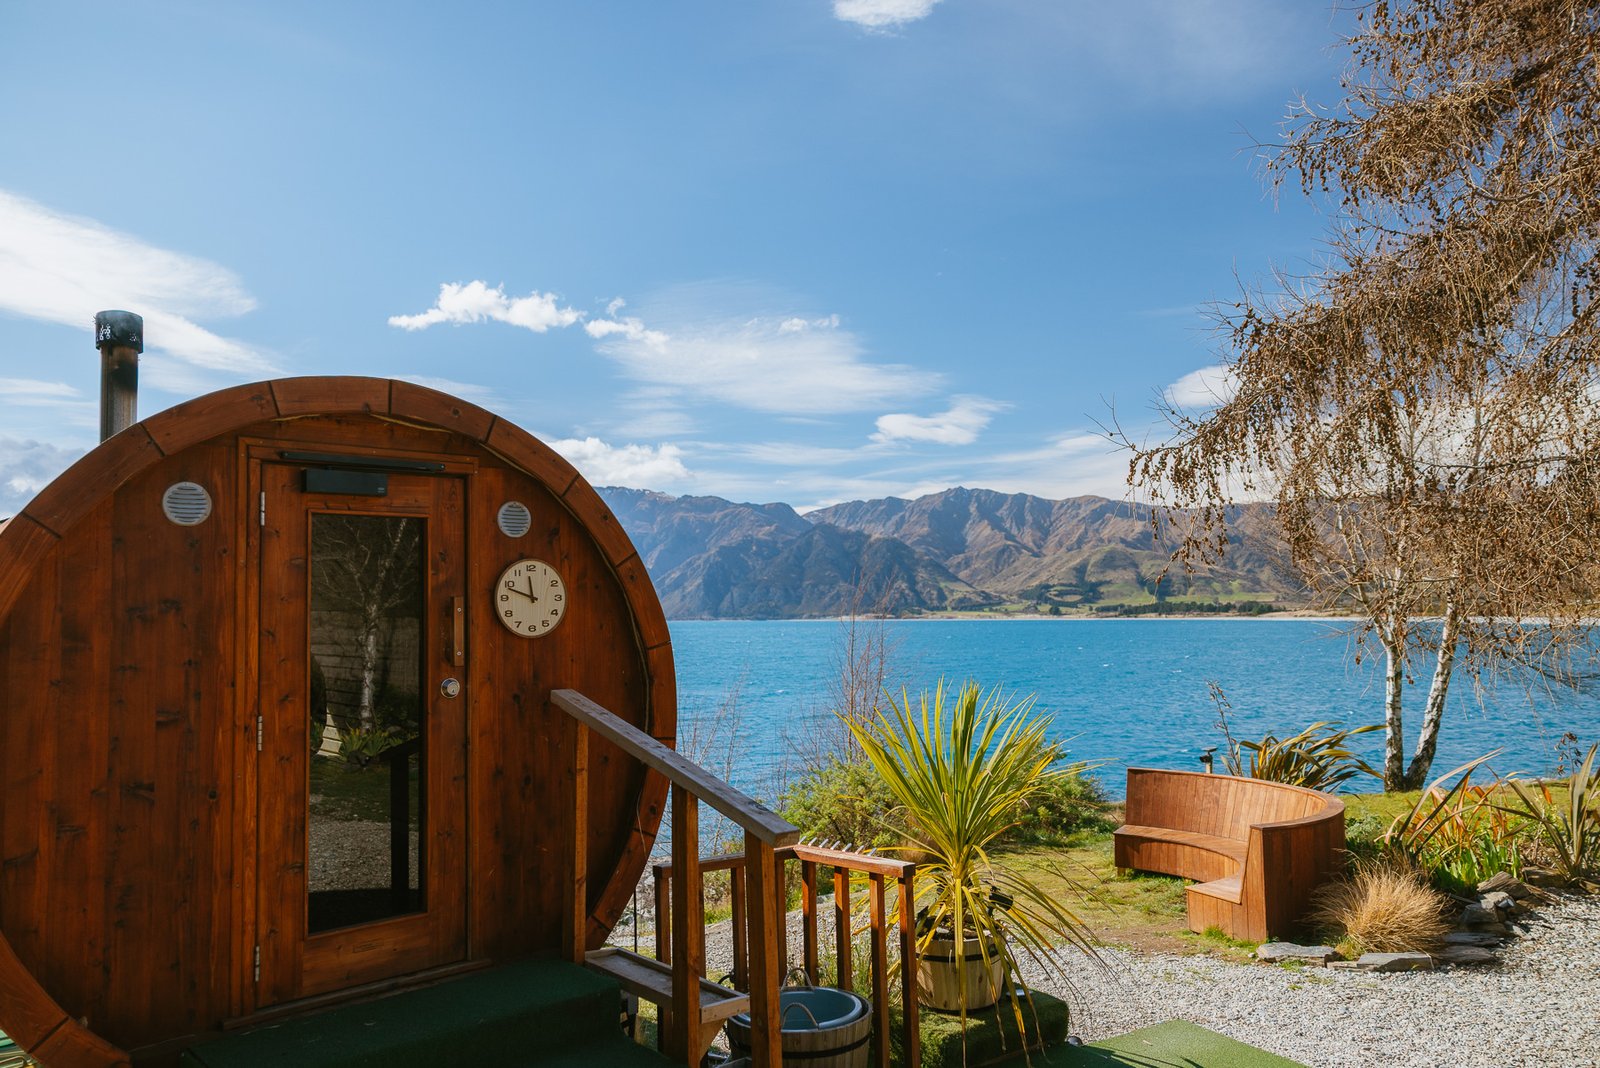
Running from a hot sauna straight into an icy New Zealand lake surrounded by mountains felt like the ultimate way to finish our winter road trip. We came out feeling incredibly refreshed and our muscles definitely appreciated it after Sealy Tarns the previous day.
What to bring: swimwear and drinking water. If you don’t have towels, you can rent them, and they also provide footwear you can use between the sauna and lake.
Lunch at Cardrona Hotel
After the sauna, stop past the Cardrona Hotel for big pub lunch. It’s on the pricier side, but the food is delicious and the portions are generous. We also loved the cosy historic interior and the beautiful courtyard/beer garden that’s perfect for enjoying the mountain views.
From Cardrona, continue back to Queenstown and check into your accommodation for your final night.
Day 9: Queenstown & Fly Home
We couldn’t leave New Zealand without one final morning in Queenstown. This time we stopped at Fergbaker for pies and one last hot chocolate. The pies were unreal, with so many different flavours to choose from, but the main winner is the hot chocolate that became one of our favourites of the trip.
After one final walk along the lakefront and a last look at the mountains, it was time to head back towards Queenstown Airport to catch our flight back home. Nine days went incredibly quick, but we’d managed to fit skiing, hiking, scenic drives, alpine lakes, small towns and plenty of snow into our first trip to New Zealand.
How Much Did Our 9 Day New Zealand Road Trip Cost?
Our 9 day South Island road trip itinerary cost approximately AUD $6,500 for two people, or around AUD $3,250 per person.
| Expense | Cost (AUD) |
| Return flights from Sydney for two | $1600 |
| Accommodation | $1600 |
| Rental car & transport | $1000 |
| Fuel | $250 |
| Ski passes (3 days) & lessons | $1000 |
| Ski & snowboard equipment hire (3days) | $250 |
| Meals | $300 |
| Groceries | $200 |
These costs are simply what we paid during our trip in August 2026. We booked the trip last minute so ended up paying more for flights, accommodation, and the rental car. We saved some money by buying groceries and packing food for ski and hiking days rather than eating every meal at restaurants.
Book Your South Island Road Trip
If you’re planning a similar trip, these are the main things I’d compare and book before arriving:
- Queenstown accommodation: compare hotels and stays around Queenstown, Frankton and Jacks Point.
- Wānaka accommodation: staying near the lakefront makes it easy to explore town without driving.
- Mount Cook accommodation: book this one early because options inside the national park are limited.
- Queenstown activities: ski experiences, transfers and day trips can fill up during winter.
- Glenorchy tours: useful if you’d rather enjoy the scenery without self-driving.
- Wānaka activities: a good place to add experiences if you have an extra day.
Driving the South Island in Winter
Before the trip, we expected that driving the South Island in winter meant snowy conditions everywhere, every day, and that all of the towns would be covered in snow, but that isn’t necessarily the case. It mainly snows in the alpine regions, and it takes a lot more for the snow to reach the lower altitudes in towns. Even if there has been a huge dump of snow, it’ll often only last a couple of days at lower elevations.
With that being said, a South Island winter road trip requires a little more preparation than doing the same route in summer. Before setting off each morning, particularly when driving through mountain passes or up ski-field access roads, check both the weather forecast and current road conditions. We’d also recommend knowing how to fit snow chains before travelling in case you do run into snowy or icy road conditions. Generally, if there has been snow or ice on the road overnight, it’s best to avoid driving too early if you can and give the sun some time to warm up the roads and help melt any ice.
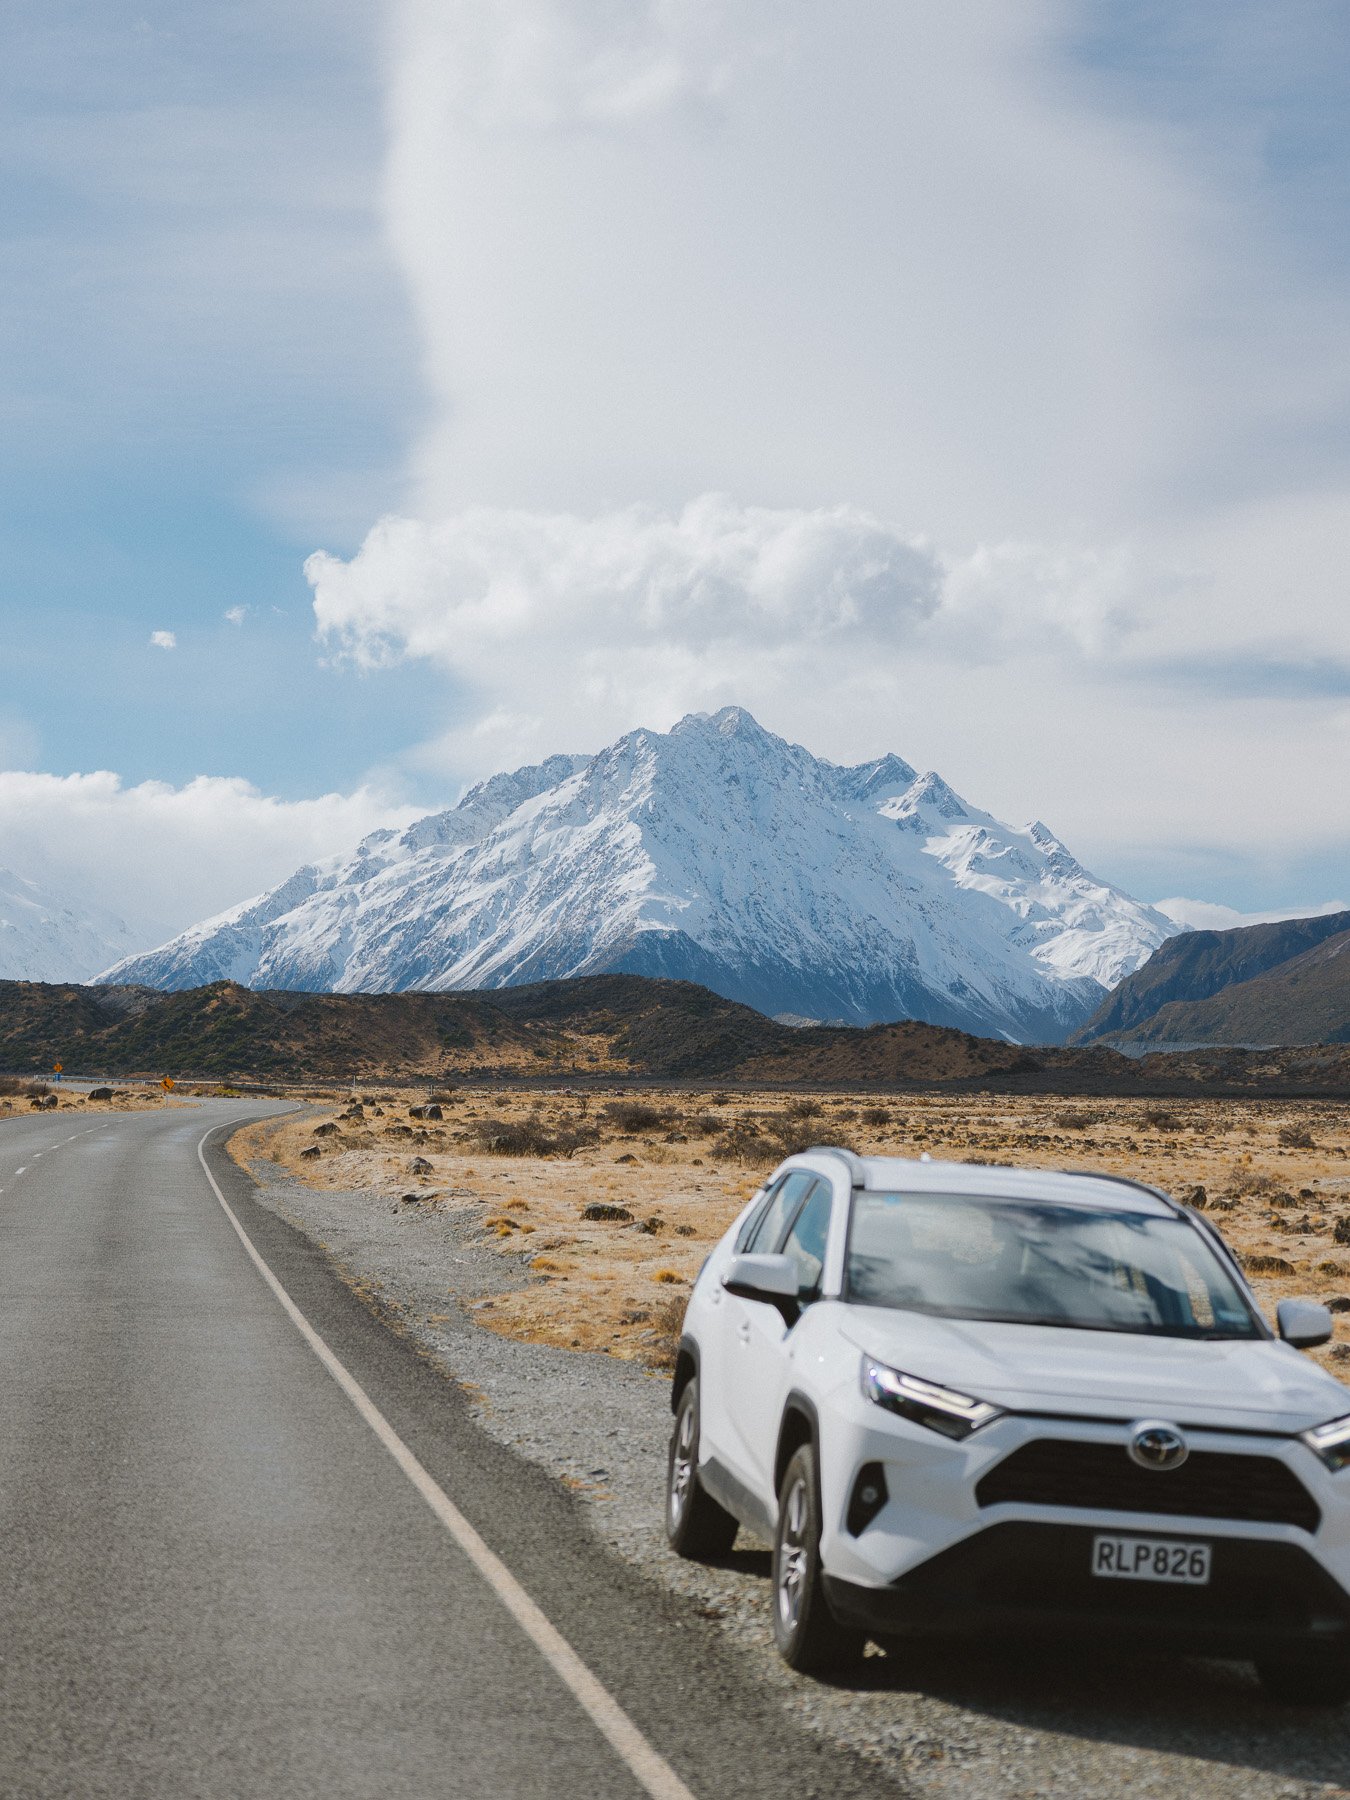
We rented an AWD Toyota RAV4 and added snow chains to our booking. We didn’t end up needing to fit them, but conditions around the mountains changed incredibly quickly. One day we could be driving on completely clear roads, and the following day the same area could have fresh snow. We found the drives themselves relatively straightforward, but don’t underestimate travel times. Many of the roads are winding, and you’ll almost certainly want to stop for viewpoints and photos.
What to Pack for a New Zealand Winter Road Trip
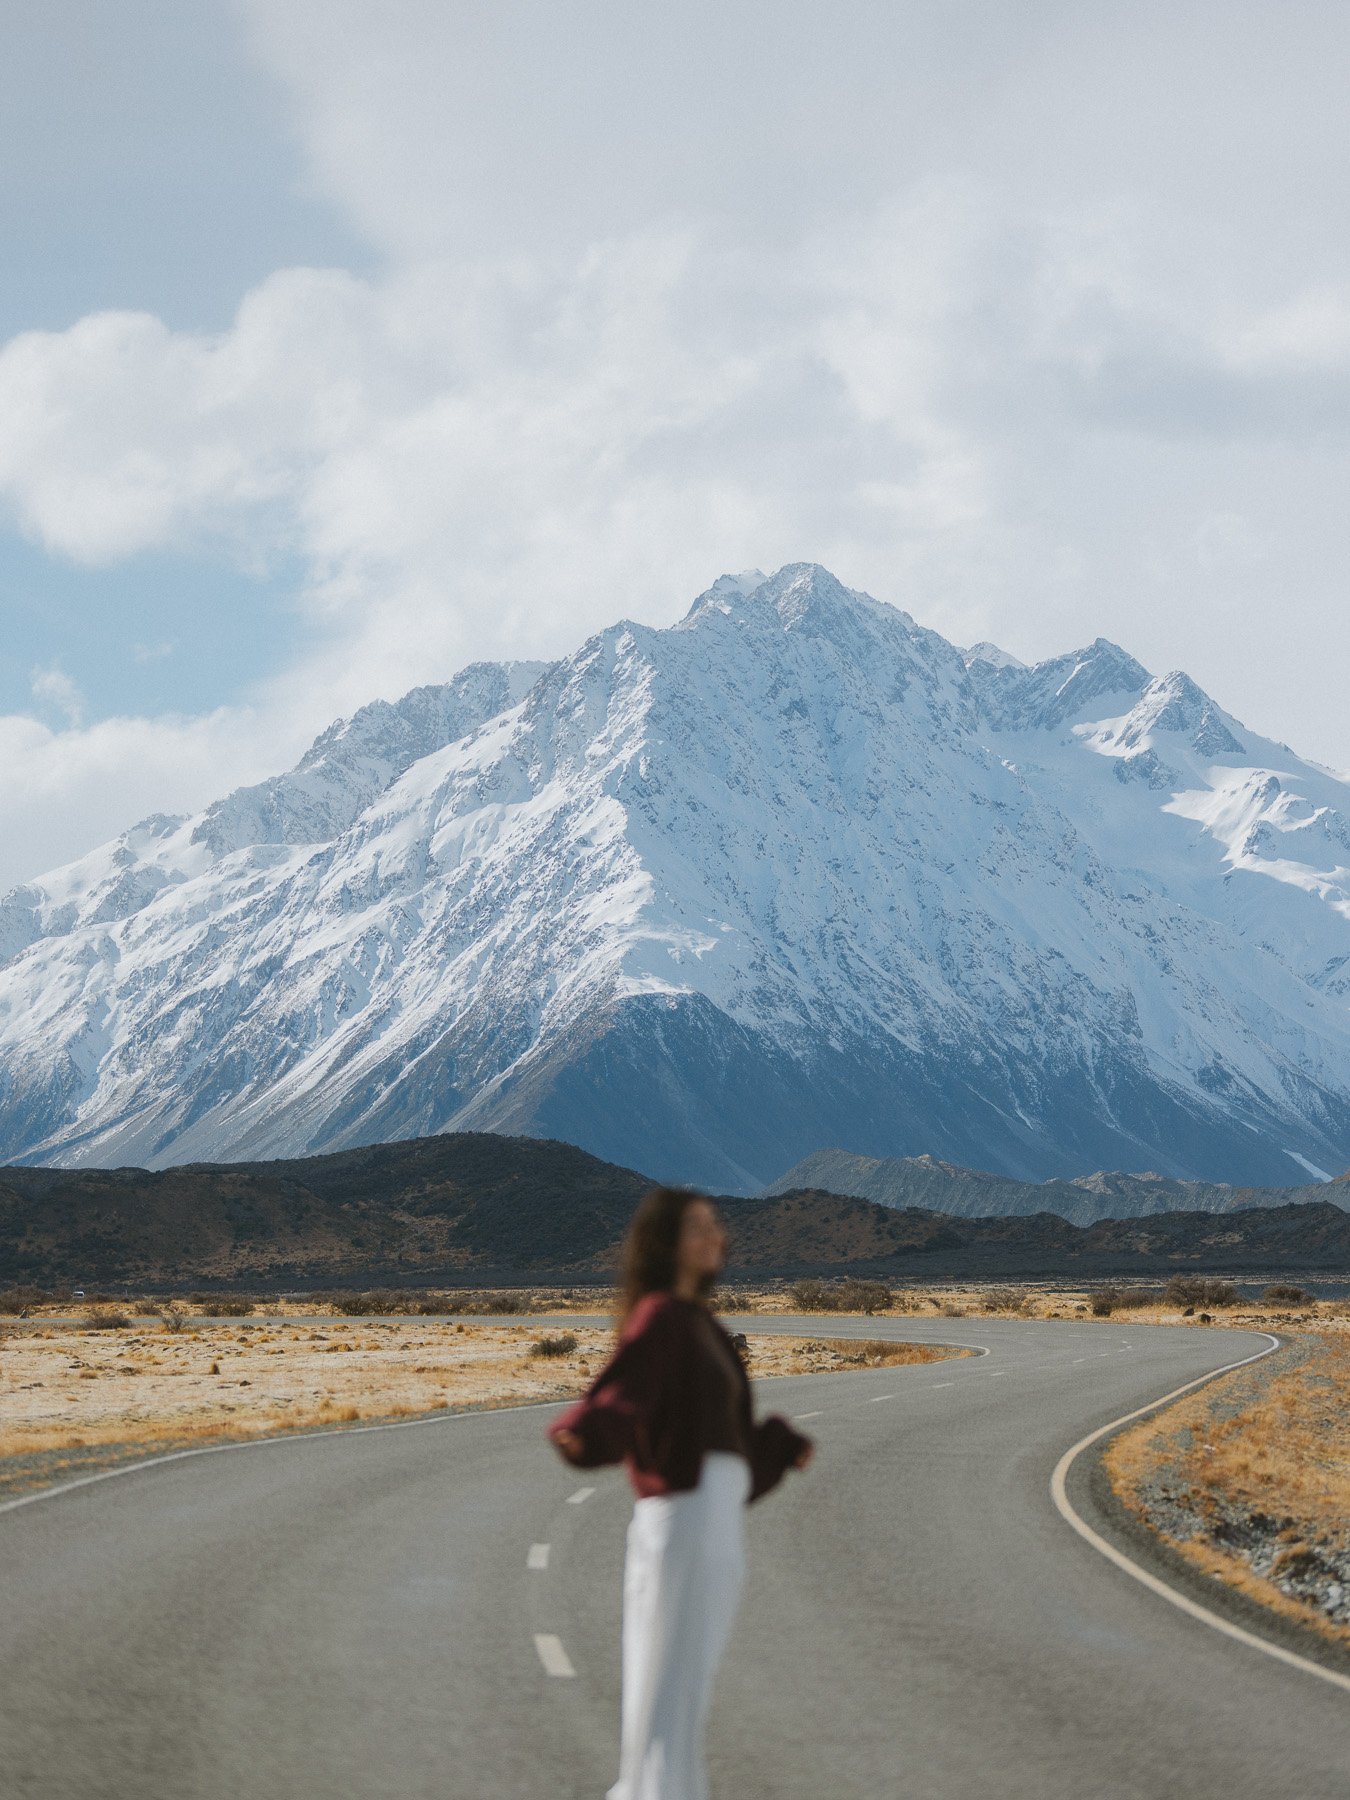
Packing proper layers made a huge difference during our August trip because conditions can change dramatically between Queenstown, the ski fields and Mount Cook. For everyday exploring, we’d recommend packing thermals, warm mid-layers such as fleece, a waterproof outer jacket, comfortable waterproof footwear, warm socks, gloves and a beanie.
If you’re skiing, you can hire the bulky equipment once you arrive rather than travelling with everything. We hired our skis/snowboard, boots and other equipment in Queenstown before our first day at The Remarkables.
New Zealand winter packing list:
- Thermals
- Fleece or another warm mid-layer
- Waterproof outer shell
- Warm waterproof footwear
- Thick socks
- Gloves
- Beanie
- Sunglasses
- Sunscreen
- Small daypack
- Reusable water bottle
- Portable charger
- Camera
Final Thoughts
This South Island road trip itinerary gave us such a good mix of everything we’d hoped to experience in New Zealand during winter, from skiing in Queenstown to hiking through fresh snow in Aoraki/Mount Cook. Nine days felt like a great amount of time for this route without having to rush between destinations, although we’d happily spend longer in any of them next time.