Mount Cook Hikes: The Best Walks in Aoraki Mount Cook National Park
Aoraki Mount Cook offers some of the best hikes on the South Island of New Zealand, with something for everyone. From short scenic walks to more challenging climbs, glacier views and alpine lakes, there are plenty of Mount Cook hikes to choose from.
We visited during winter and spent two nights in Mount Cook. During that time, we were able to experience a handful of the tracks in snowy conditions, although many of these Mount Cook walks can be enjoyed throughout the year.
There are so many hiking tracks throughout the national park that we didn’t have time to complete them all, but we’ll definitely be back. Hiking in Mount Cook National Park ended up being one of the highlights of our New Zealand trip.
If you’re planning your own visit, here are some of the best Mount Cook hikes and walks to add to your itinerary.
Best Mount Cook Hikes at a Glance
There are so many walking tracks around Aoraki Mount Cook that it can be difficult to decide which ones to choose.
If you’re short on time, Hooker Valley is the best all-round walk in our opinion. For something more challenging, Sealy Tarns offers some of the best elevated views in the national park, while Kea Point and the Tasman Glacier tracks are great options if you’re looking for something shorter.
|
Mount Cook Hike |
Time |
Difficulty |
Best For |
|---|---|---|---|
|
Hooker Valley Track |
3 hours return |
Easy – Moderate |
Best overall |
|
Sealy Tarns Track |
3-4 hours return |
Hard |
Best elevated views |
|
Tasman Glacier View Track |
30 mins return |
Easy |
Glacier views |
|
Tasman Glacier Lake |
50 mins return |
Easy |
Tasman Lake and icebergs |
|
Kea Point Track |
1 hour return |
Easy |
Short scenic hike |
1. Hooker Valley Track
Distance: 10km return
Time: Around 3 hours
Difficulty: Easy-Moderate
Start: White Horse Hill Campground/Parking Area
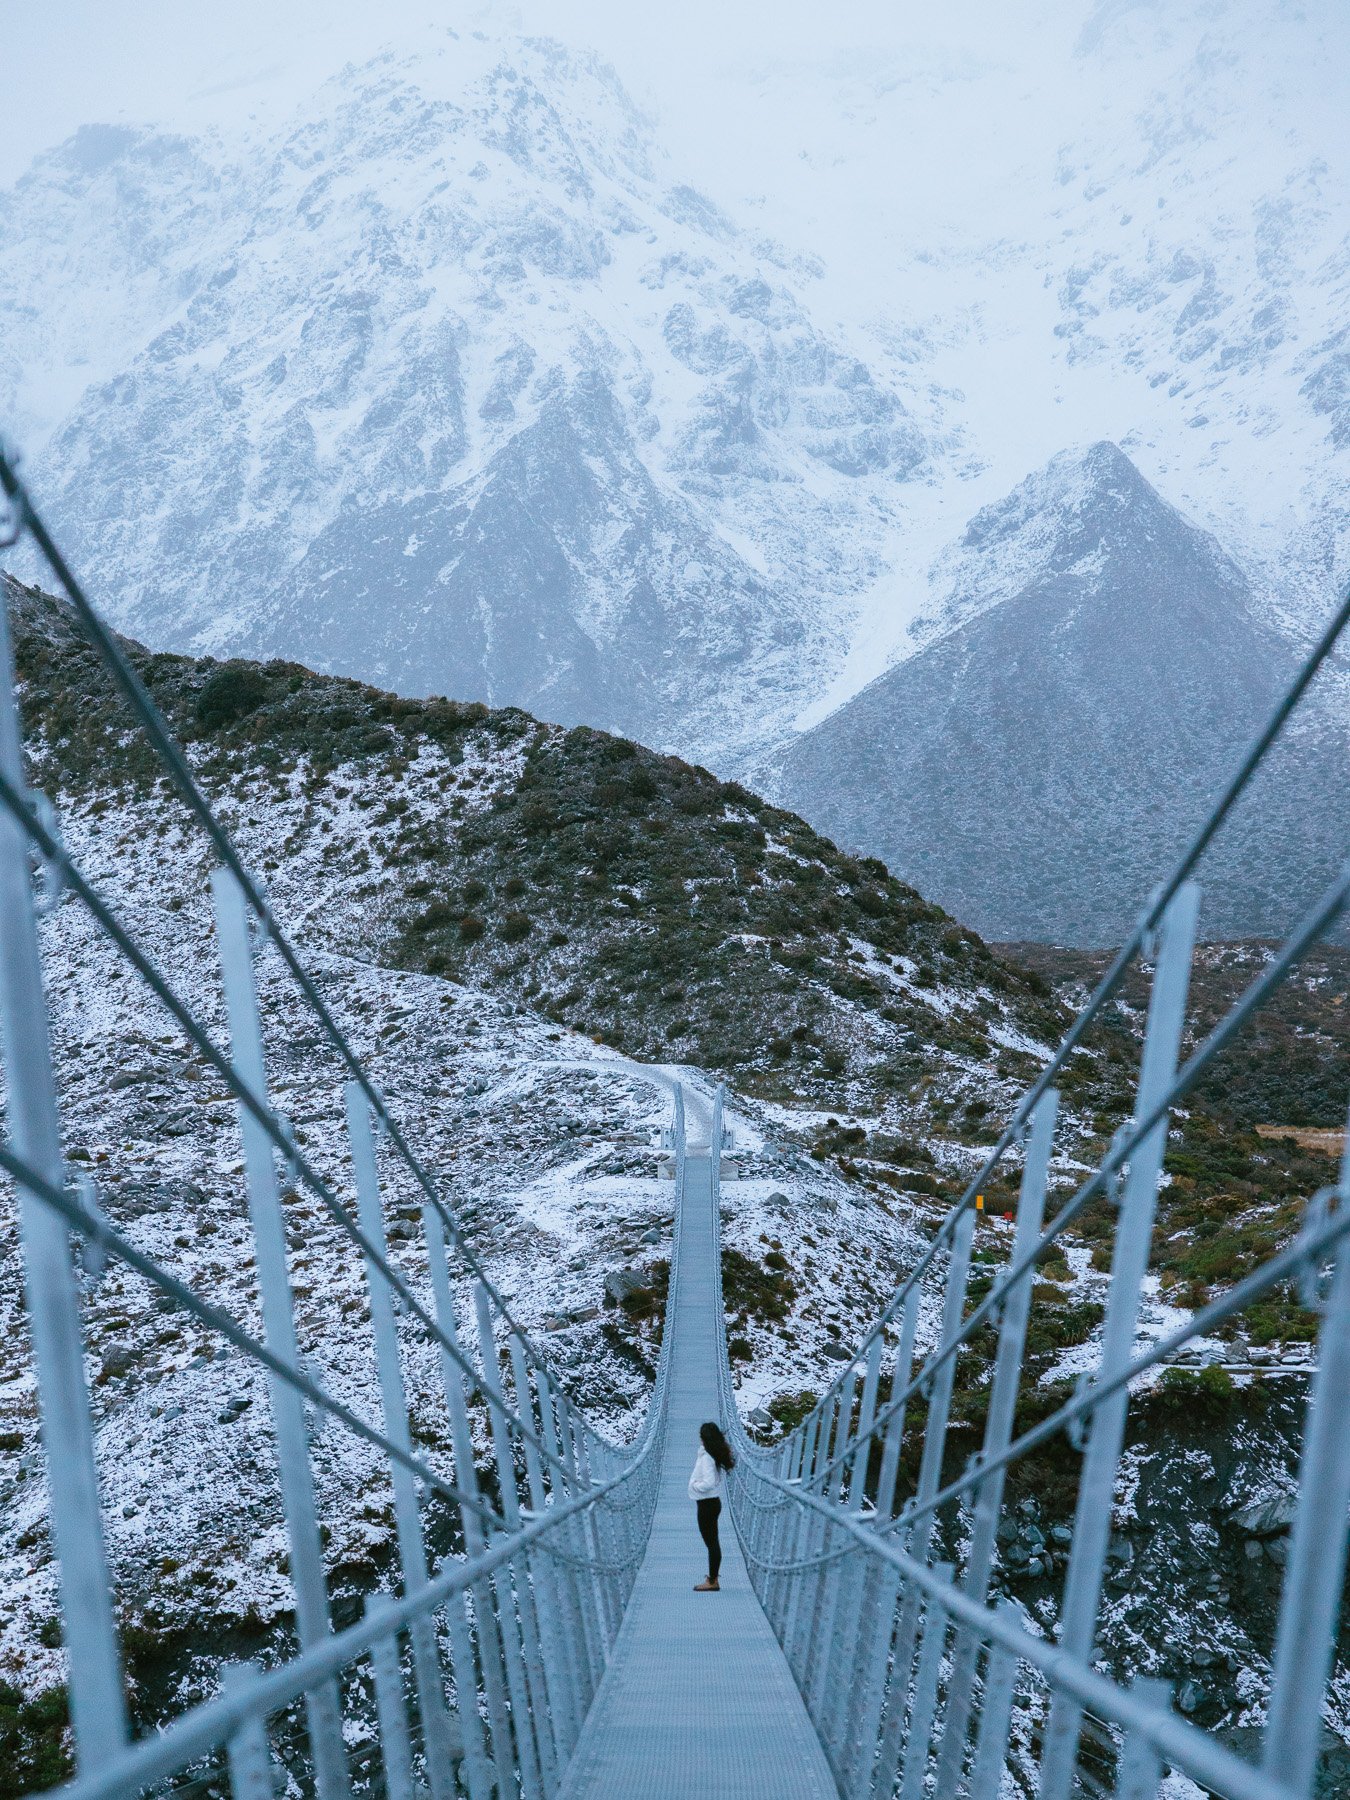
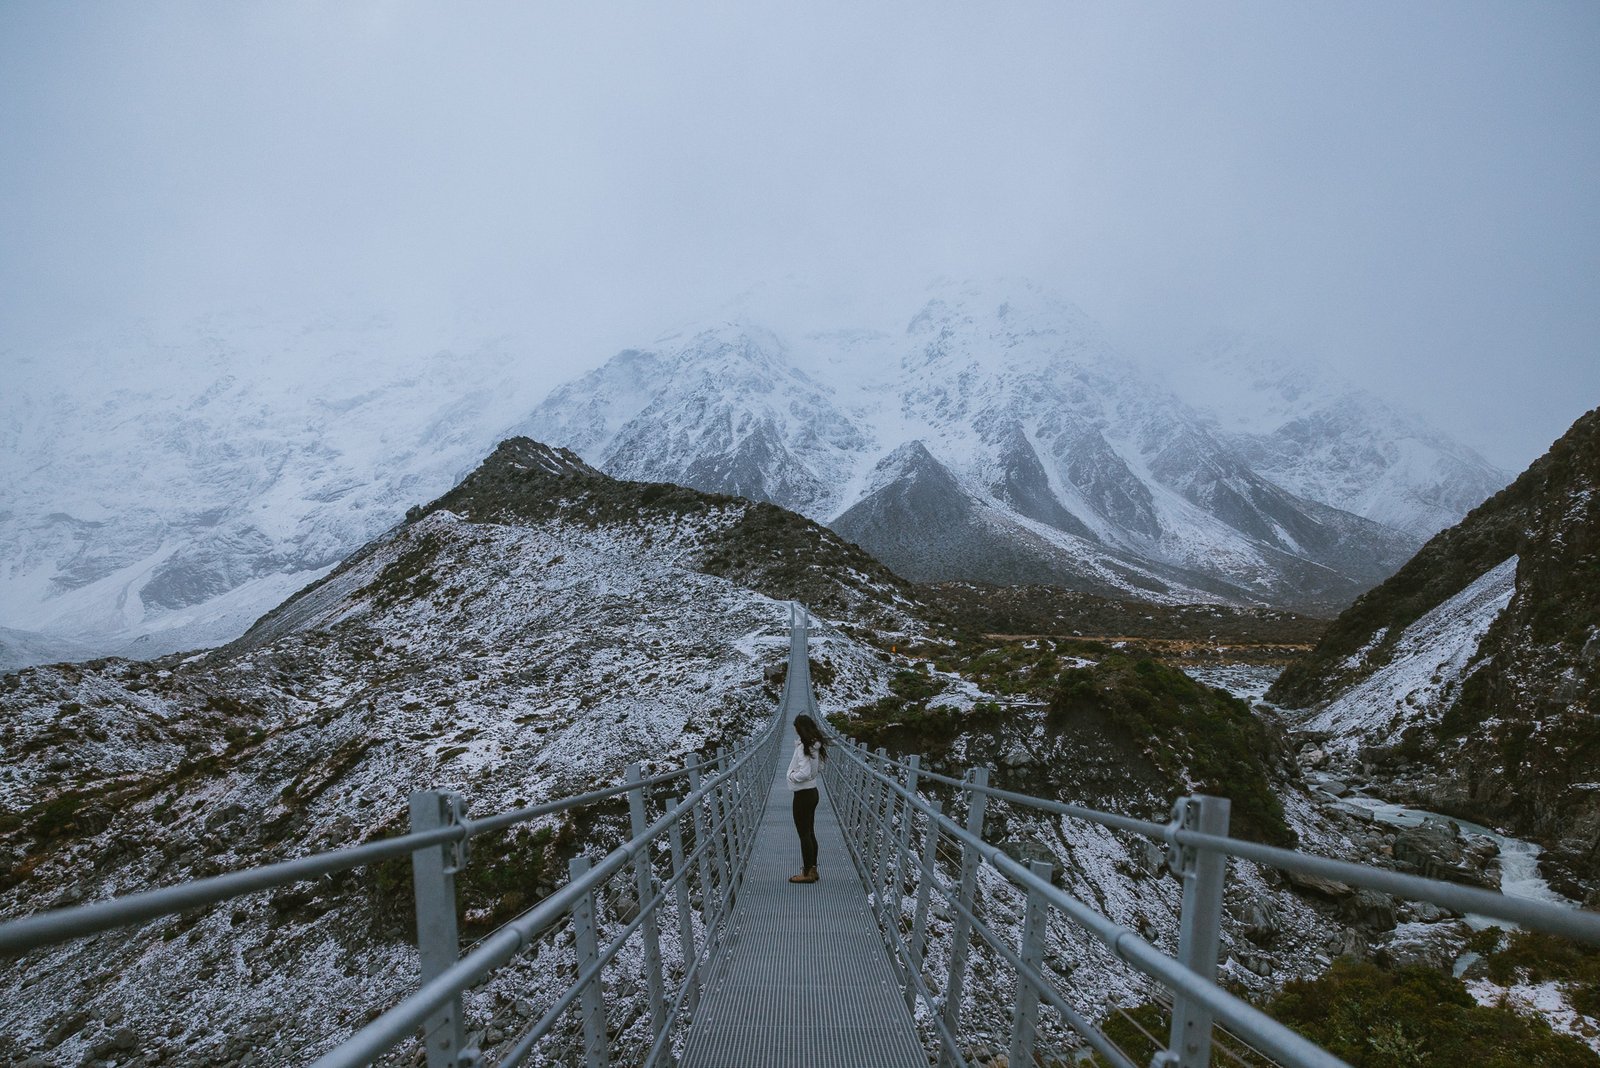
The Hooker Valley Track is probably the most iconic of the Mount Cook hikes and the one we’d recommend if you only have time for one. The walk itself is relatively flat and not particularly difficult, with only a few steps and gentle incline sections. One of the best things about this Mount Cook hike is how much the scenery changes along the way.
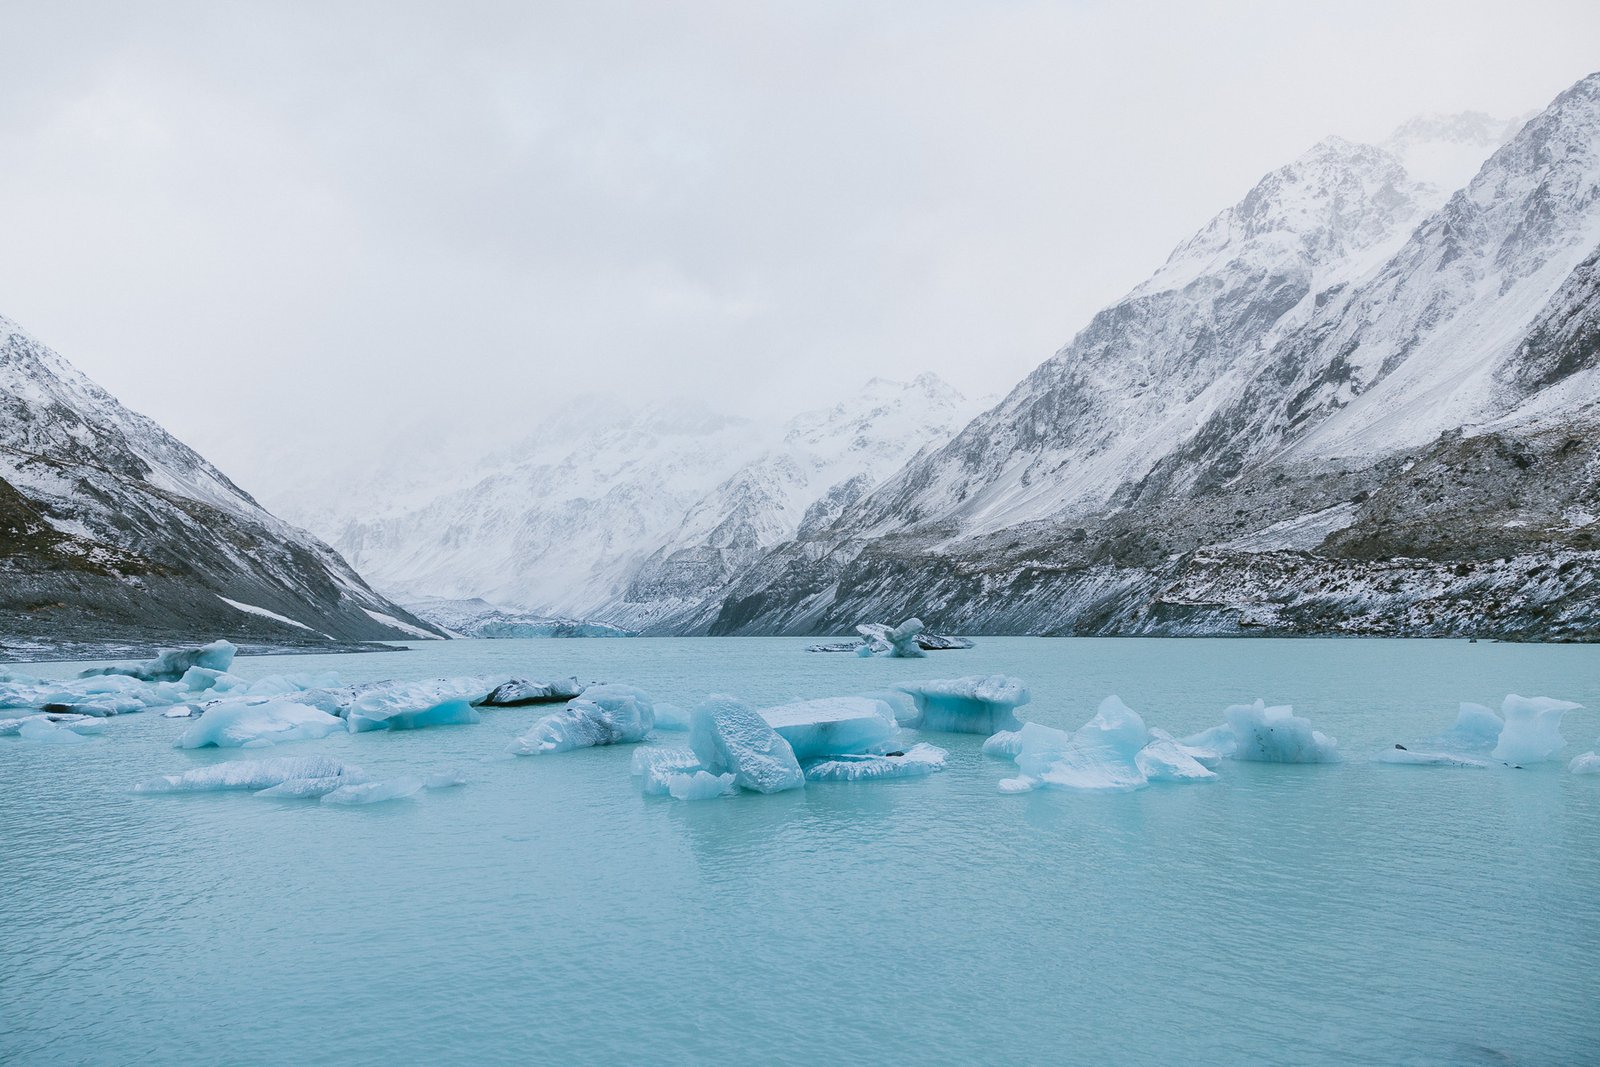
The track follows the Hooker Valley towards Hooker Lake, crossing suspension bridges and passing glacial rivers, alpine meadows and dramatic mountain scenery. The final viewpoint overlooks Hooker Lake towards Aoraki Mount Cook and Hooker Glacier.
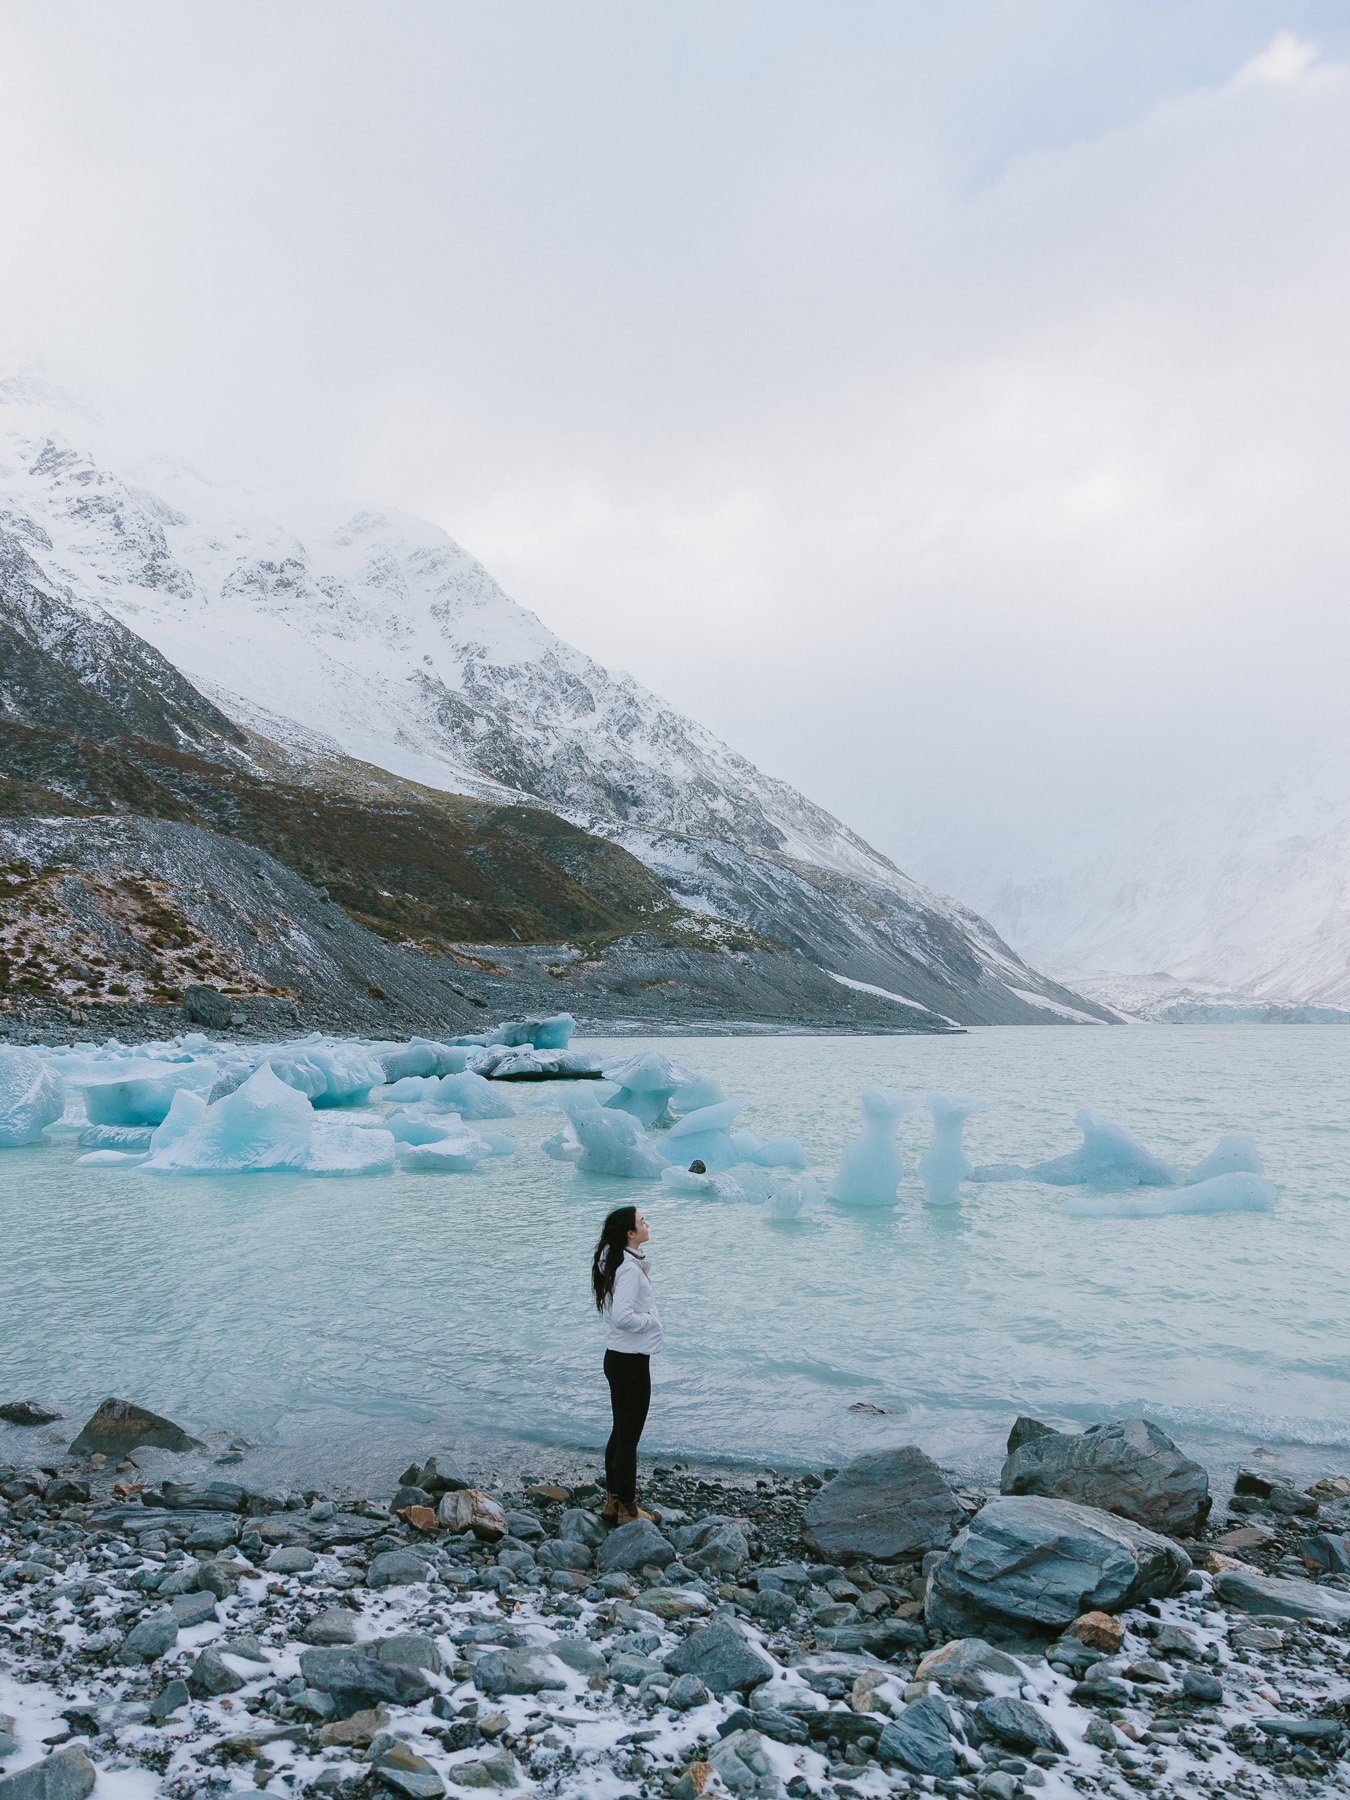
We visited in winter and were met with snowy conditions throughout most of the hike, covering the surrounding landscape in fresh snow. Although the cloud meant we didn’t always have completely clear mountain views, the snow made the entire valley feel like a winter wonderland.
Even with the weather blocking some of the views during our visit, this was still one of our favourite Mount Cook hiking tracks.
Best for: First-time visitors and anyone looking for an easy hike with iconic Mount Cook scenery.
2. Sealy Tarns Track
Time: 3–4 hours return
Elevation gain: Around 600m
Difficulty: Challenging
Start: White Horse Hill Campground / Parking Area
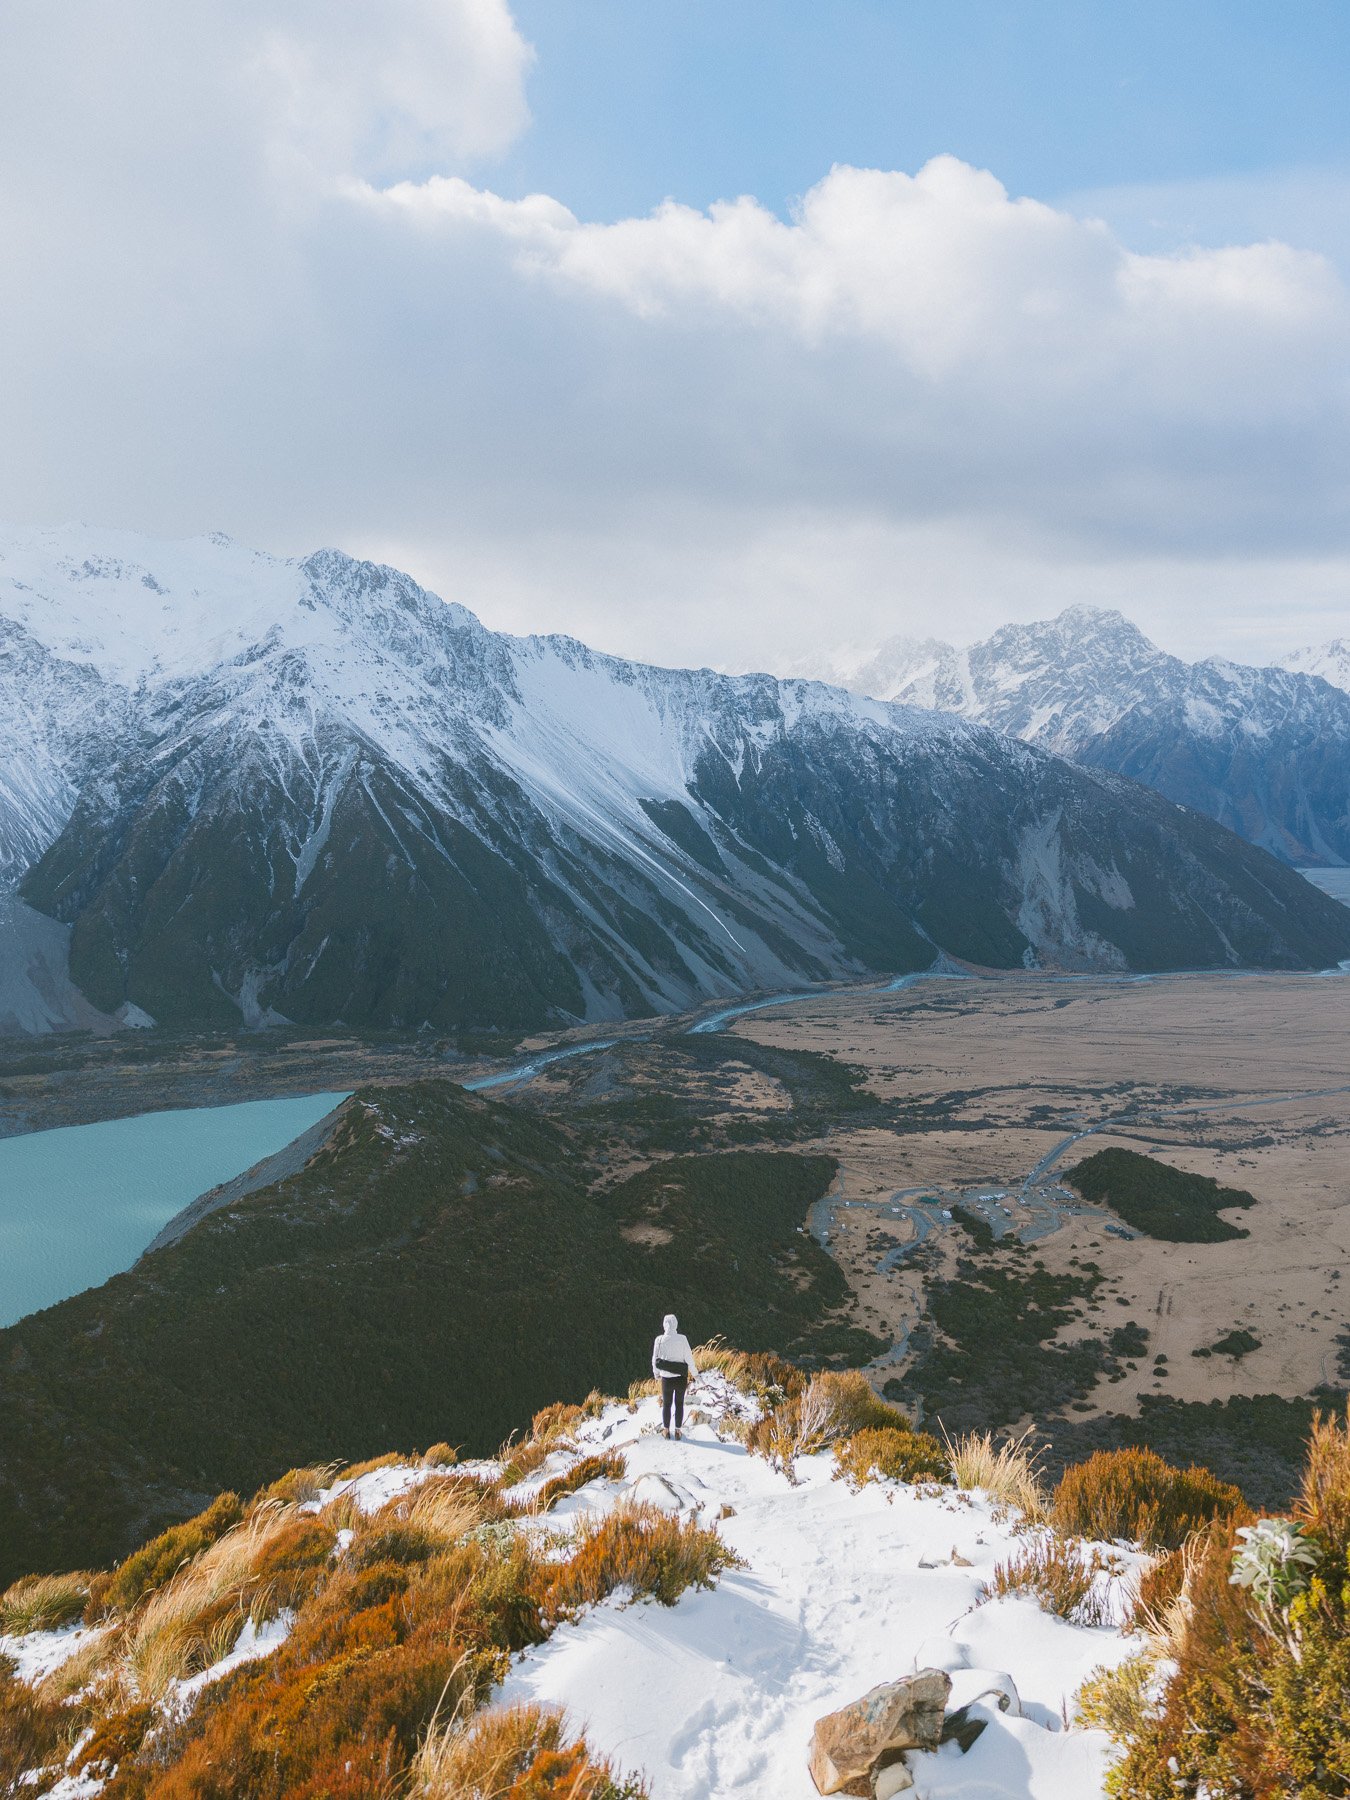
The Sealy Tarns Track is challenging, but it was also one of the most rewarding hikes we completed in Mount Cook. Often referred to as the “stairway to heaven”, the track climbs roughly 600 metres in elevation with around 2,200 steps, so your legs are definitely going to get a workout.
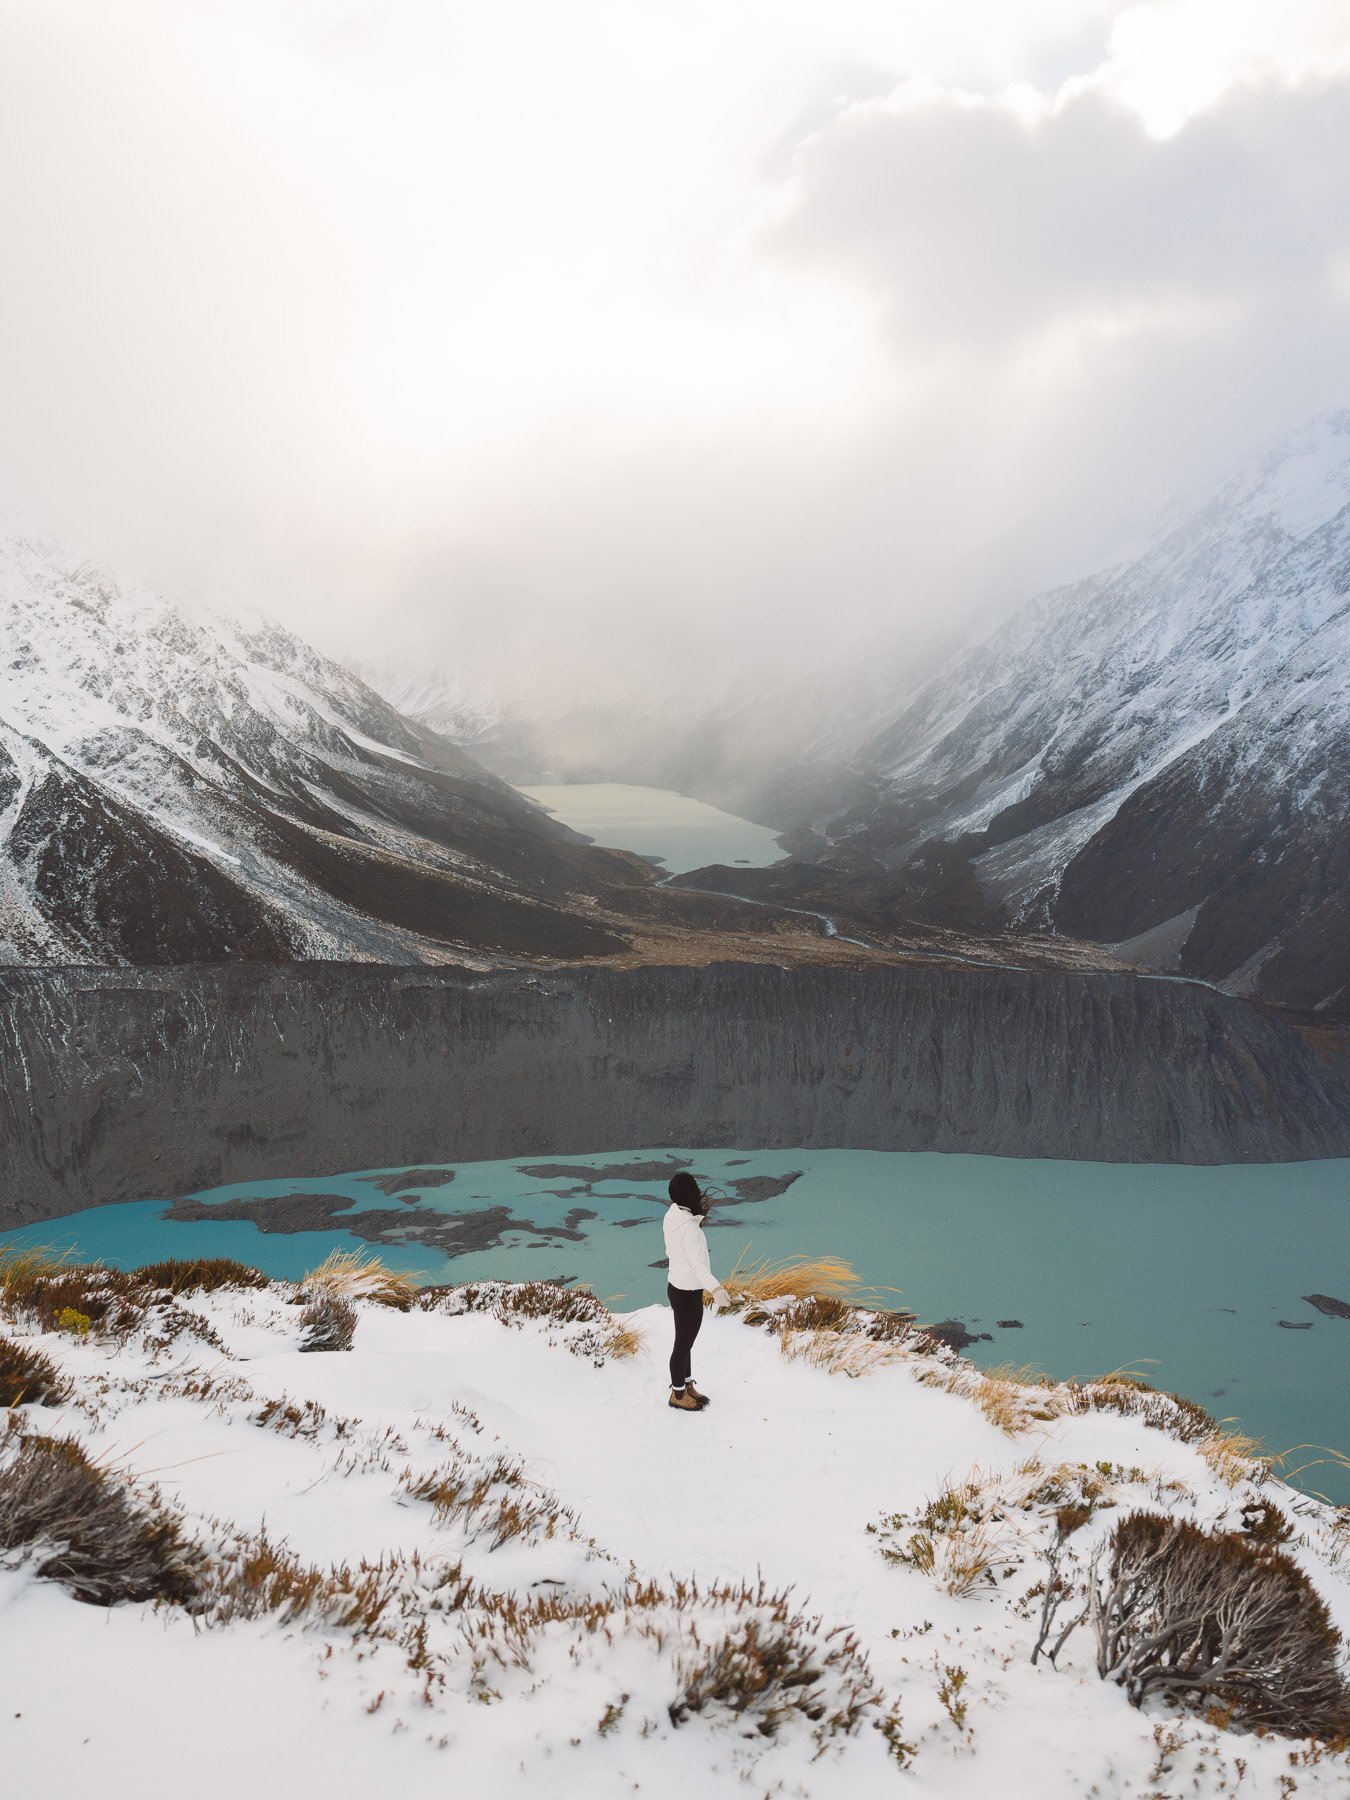
After a gruelling climb, you’ll reach the small alpine tarns with panoramic views over the Hooker Valley, Mueller Glacier and the surrounding mountains. Sealy Tarns is also roughly the halfway point of the much more difficult Mueller Hut route. We weren’t prepared to continue all the way to the hut during this trip, so decided to save that one for another visit.
We hiked Sealy Tarns in winter and came across snowy and icy conditions as we climbed. A storm began rolling in near the top, bringing strong winds, cloud and light snow.
The hike took us around four hours return and was definitely the hardest of the Mount Cook hikes we completed, but also one of the most rewarding.
Winter conditions can make the track significantly more difficult, and additional equipment such as microspikes, crampons or an ice axe may be required depending on conditions. It’s best to check the latest track information and speak with the team at the visitor centre before attempting Sealy Tarns in winter.
Best for: Hikers looking for a challenge and some of the best elevated views in Mount Cook.
3. Tasman Glacier View Track
Distance: 1.5km return
Time: Around 30 minutes return
Difficulty: Easy
Start: Tasman Valley car park
The Tasman Glacier View Track is one of the popular short walks in Mount Cook if you want impressive glacier views without committing to a half-day hike.
It’s a short but relatively steep climb of roughly 300 steps, leading to a viewpoint overlooking Tasman Lake and Tasman Glacier. It’s also easy to combine with the other Blue Lakes and Tasman Glacier walks that begin from the same car park.
If you’re looking for easier Mount Cook walks to add between longer hiking days, this is a great option.
Best for: Glacier views when you’re short on time.
4. Tasman Lake & River Track
Distance: 2.6km return
Time: Around 50 minutes
Difficulty: Easy
Start: Tasman Valley car park
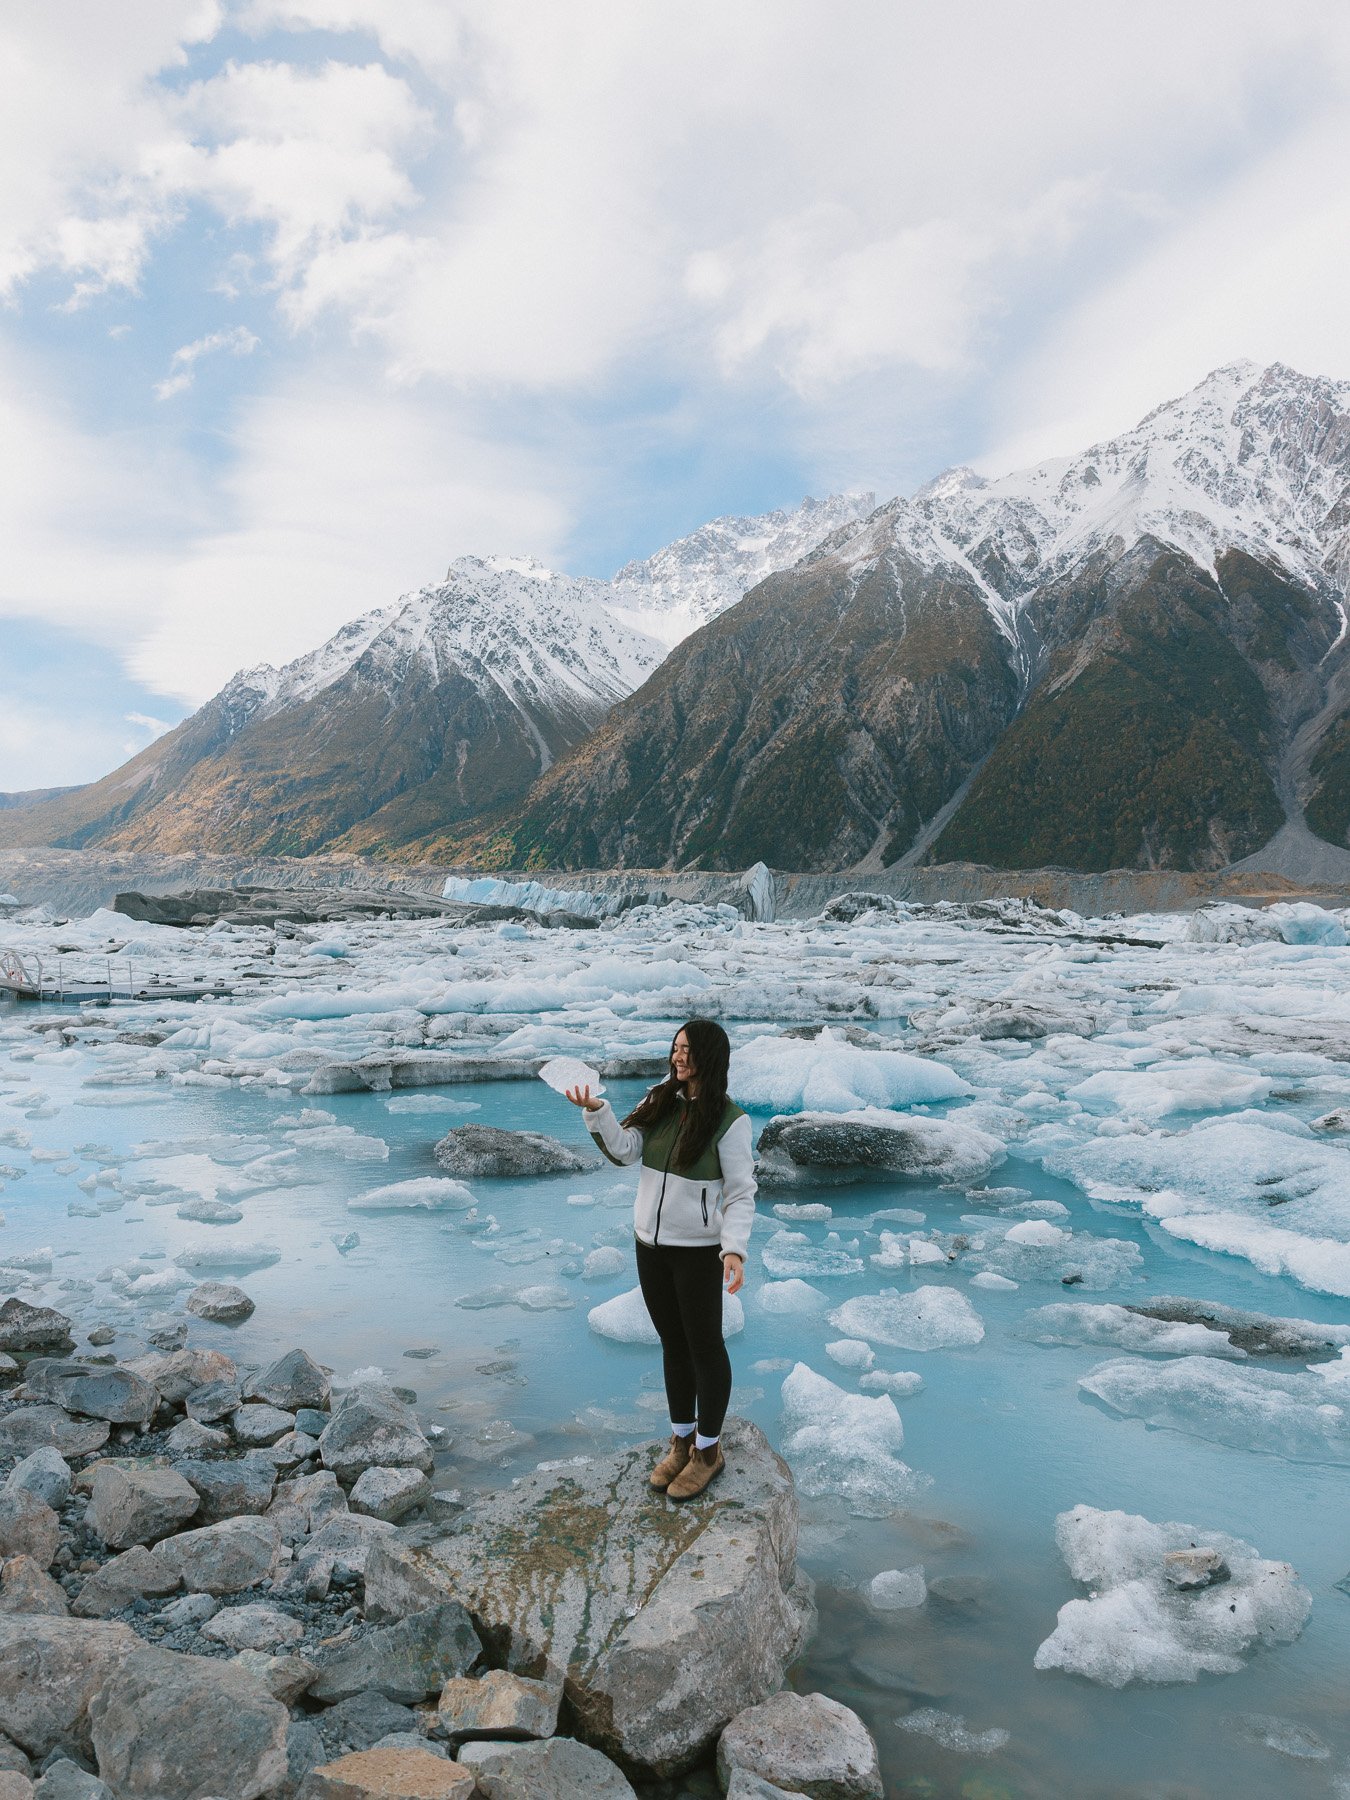
The Tasman Lake and River Track is another easy option in the Tasman Glacier area and follows a mostly flat gravel trail. Early in the walk, the track splits. Take the path to the right to head down towards the lake and jetty for a closer look at Tasman Lake.
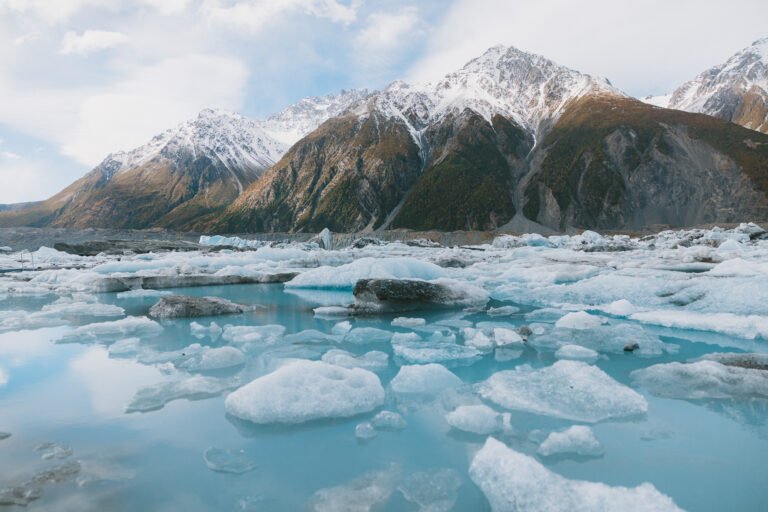
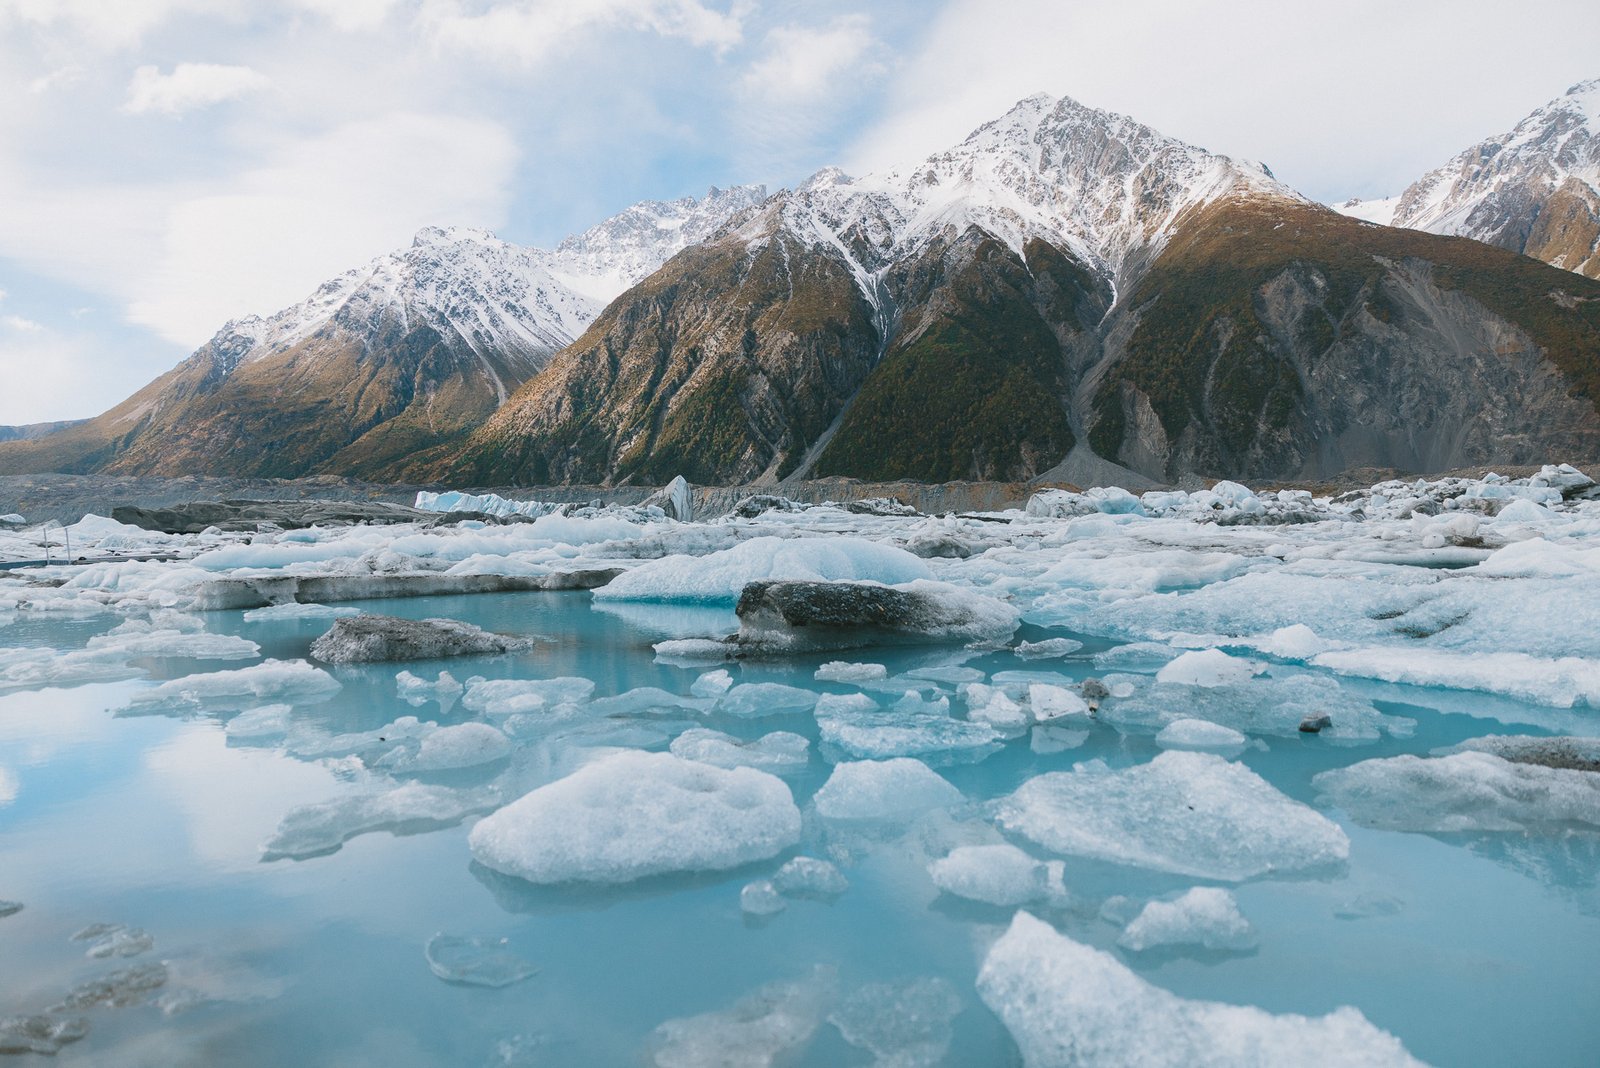
It took us around 20 minutes to reach the jetty, where we had views across the blue glacial water, with icebergs floating across the lake and huge mountains in the background.
Best for: An easy afternoon walk or something to combine with one of the longer Mount Cook hikes.

5. Kea Point Track
Time: 1 hour return
Difficulty: Easy
Start: White Horse Hill Campground / Parking Area
The Kea Point Track is a great option if you want similar mountain scenery to Sealy Tarns without the steep climb. The track leads through alpine grasslands to a viewpoint with views towards Mount Sefton, Hooker Valley, Mueller Glacier Lake and Aoraki Mount Cook.
It’s one of the easier Mount Cook hiking trails if you want big mountain views without committing to several hours of hiking.
Best for: An easy, short Mount Cook hike with impressive mountain views.
Hiking in Mount Cook in Winter
We visited Aoraki Mount Cook in August, and winter made the Mount Cook hiking experience completely different. There was fresh snow on the ground, with conditions becoming progressively snowier and icier as we gained elevation on certain hikes.
The weather can also change incredibly quickly. Clear conditions can turn into strong winds, cloud and snow within a short period, so it’s important to be prepared for a range of conditions.
For some of the easier Mount Cook walks, warm layers, waterproof outerwear and sturdy footwear may be enough in light snow and suitable conditions. Higher tracks such as Sealy Tarns can require proper winter equipment depending on the snow and ice.
Always check the current weather and track conditions before setting off, particularly when hiking Mount Cook in New Zealand during winter. It’s also worth checking in with the Aoraki Mount Cook National Park Visitor Centre for the most up-to-date advice.
How Long Should You Spend in Mount Cook?
We’d recommend spending at least two nights in Mount Cook if you want to complete a few of the best hikes. Two nights gave us enough time to hike Hooker Valley Track, Sealy Tarns and explore the Tasman Glacier area without feeling rushed.
Three nights would be even better if Mount Cook hiking is one of the main reasons for your visit. The extra time gives you some flexibility if bad weather affects your plans and allows you to tackle some of the other Mount Cook hiking tracks around the national park.
You can see exactly how we fit Mount Cook into our 9 day South Island road trip itinerary.
Where to Stay in Mount Cook
Staying inside Aoraki Mount Cook Village makes early starts much easier and puts you close to many of the main Mount Cook hikes.
We stayed at Mount Cook Motels for two nights. The room was spacious and having our own kitchen was incredibly useful because dining and grocery options around Mount Cook are limited.
It was also only around five minutes by car from White Horse Hill, which made getting to several of the main Mount Cook walks and hiking trails really convenient.
The Hermitage has several other accommodation options available in Mount Cook Village. White Horse Hill Campground is also a popular budget option and is conveniently located beside some of the main hiking trails.
Accommodation in Mount Cook is limited, so it’s best to book well in advance.